[SPA-ENG] MAGIC CUBE | BLENDER TUTORIAL
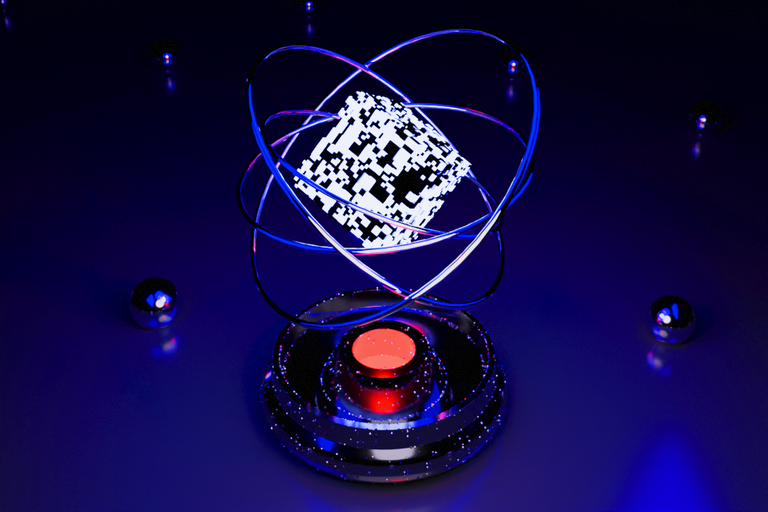
Hola Hivers, saludos a todos, estaba experimentando y practicando con blender y algunos modificadores y cree esta figura 3d , me parece increíble todo lo que se puede hacer con este programa, así que les muestro un poco como el fue el proceso para crear el modelado.
Hello Hivers, greetings to all, I was experimenting and practicing with blender and some modifiers and I created this 3d figure, everything that can be done with this program seems incredible to me, so I show you a little how the was the process to create the modeling.

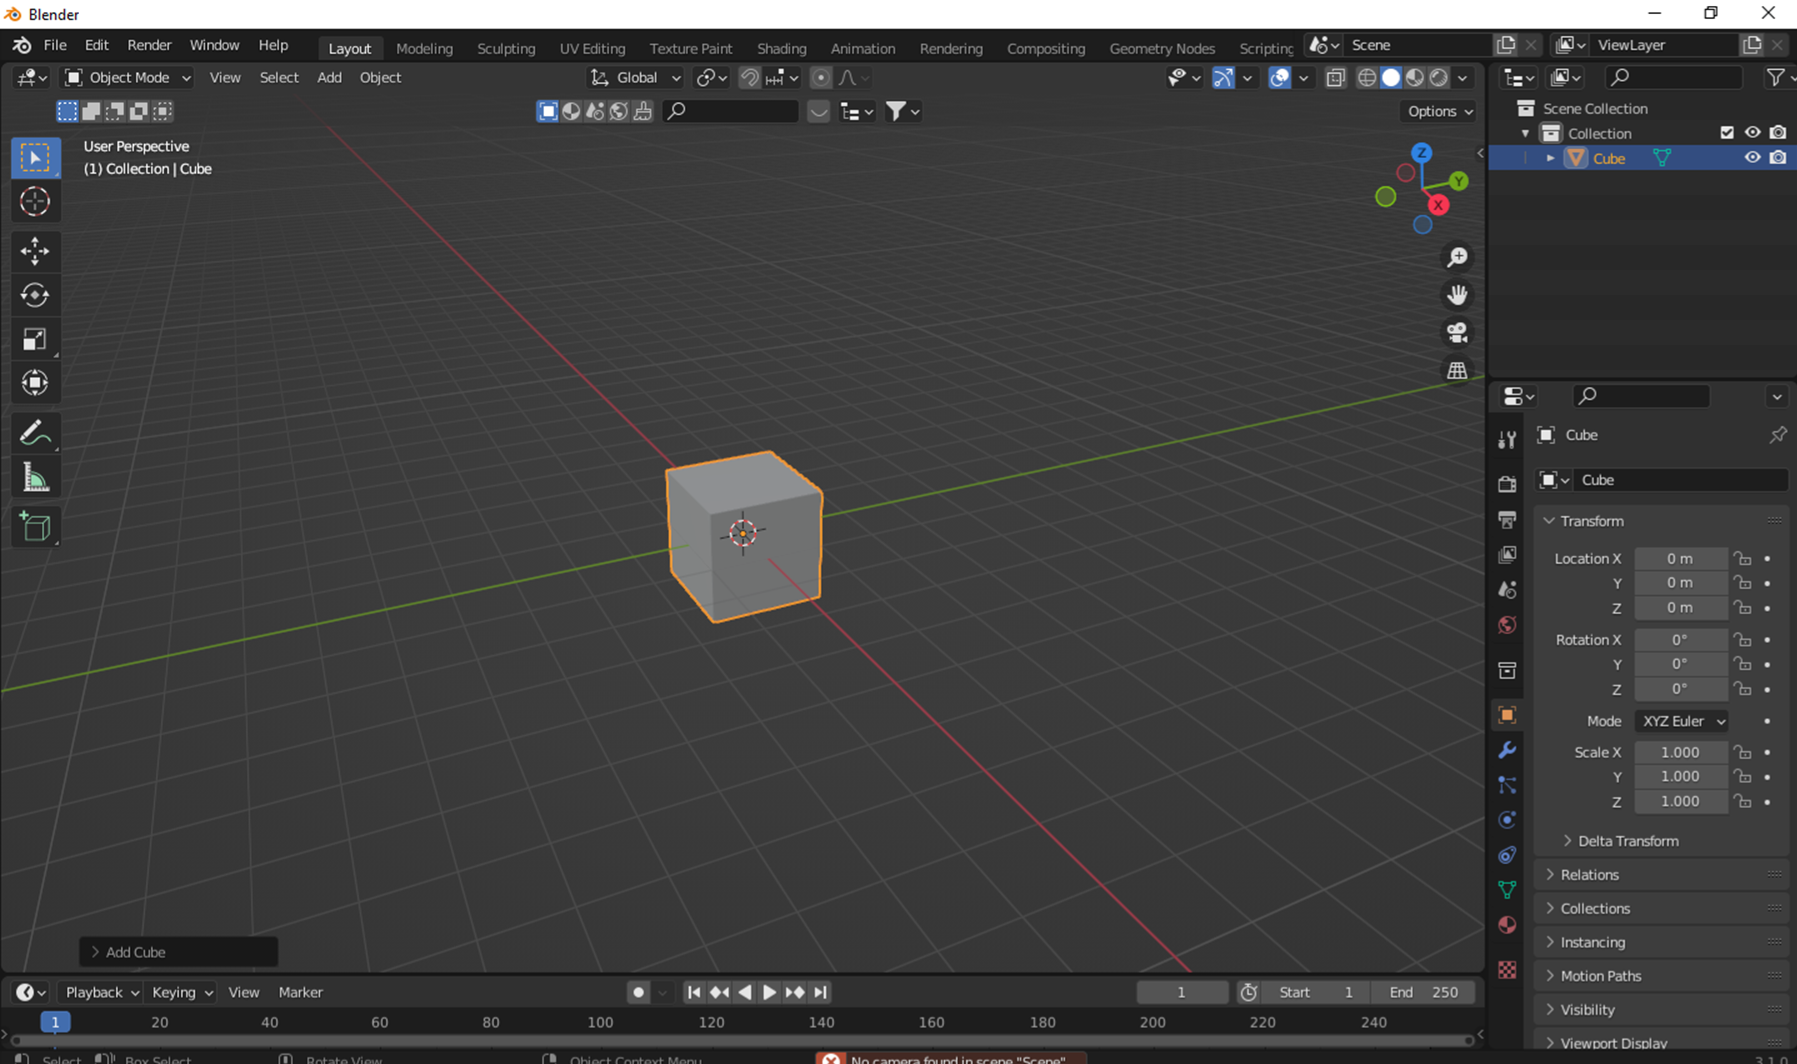
- Comencé añadiendo un cubo con shift+a mesh cube.
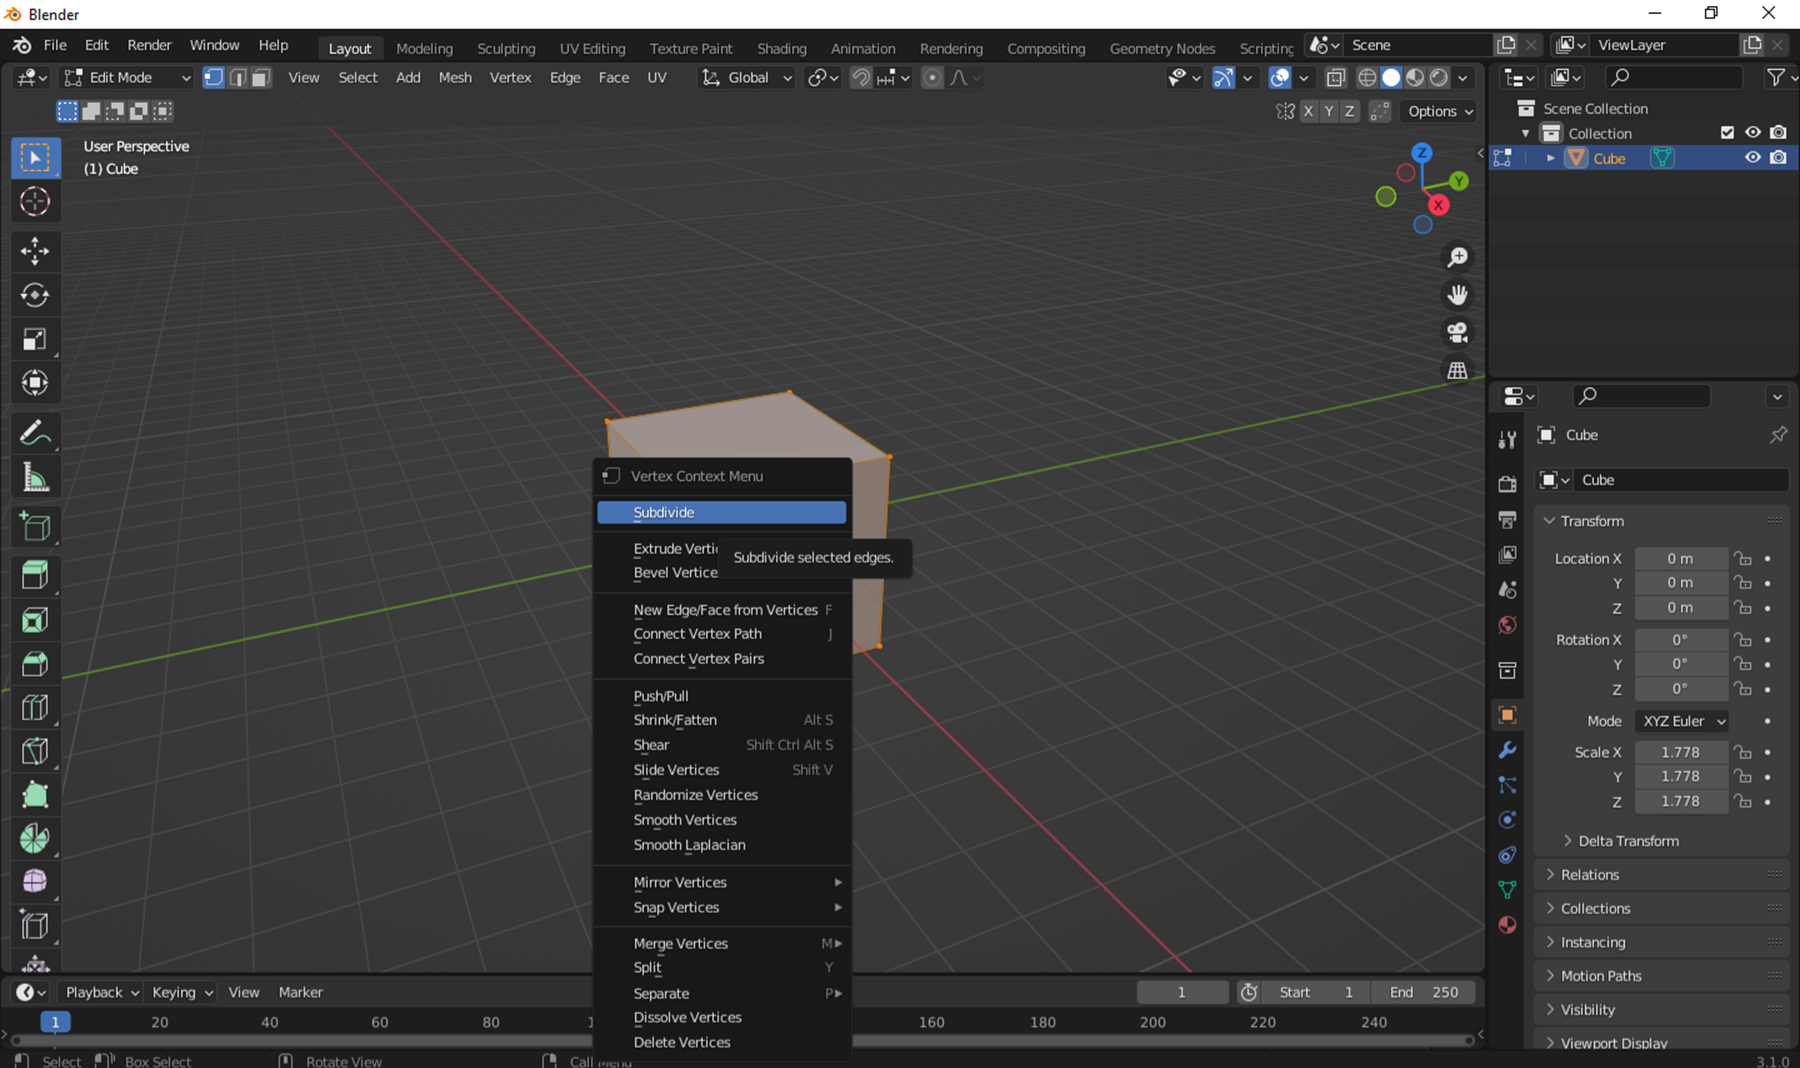
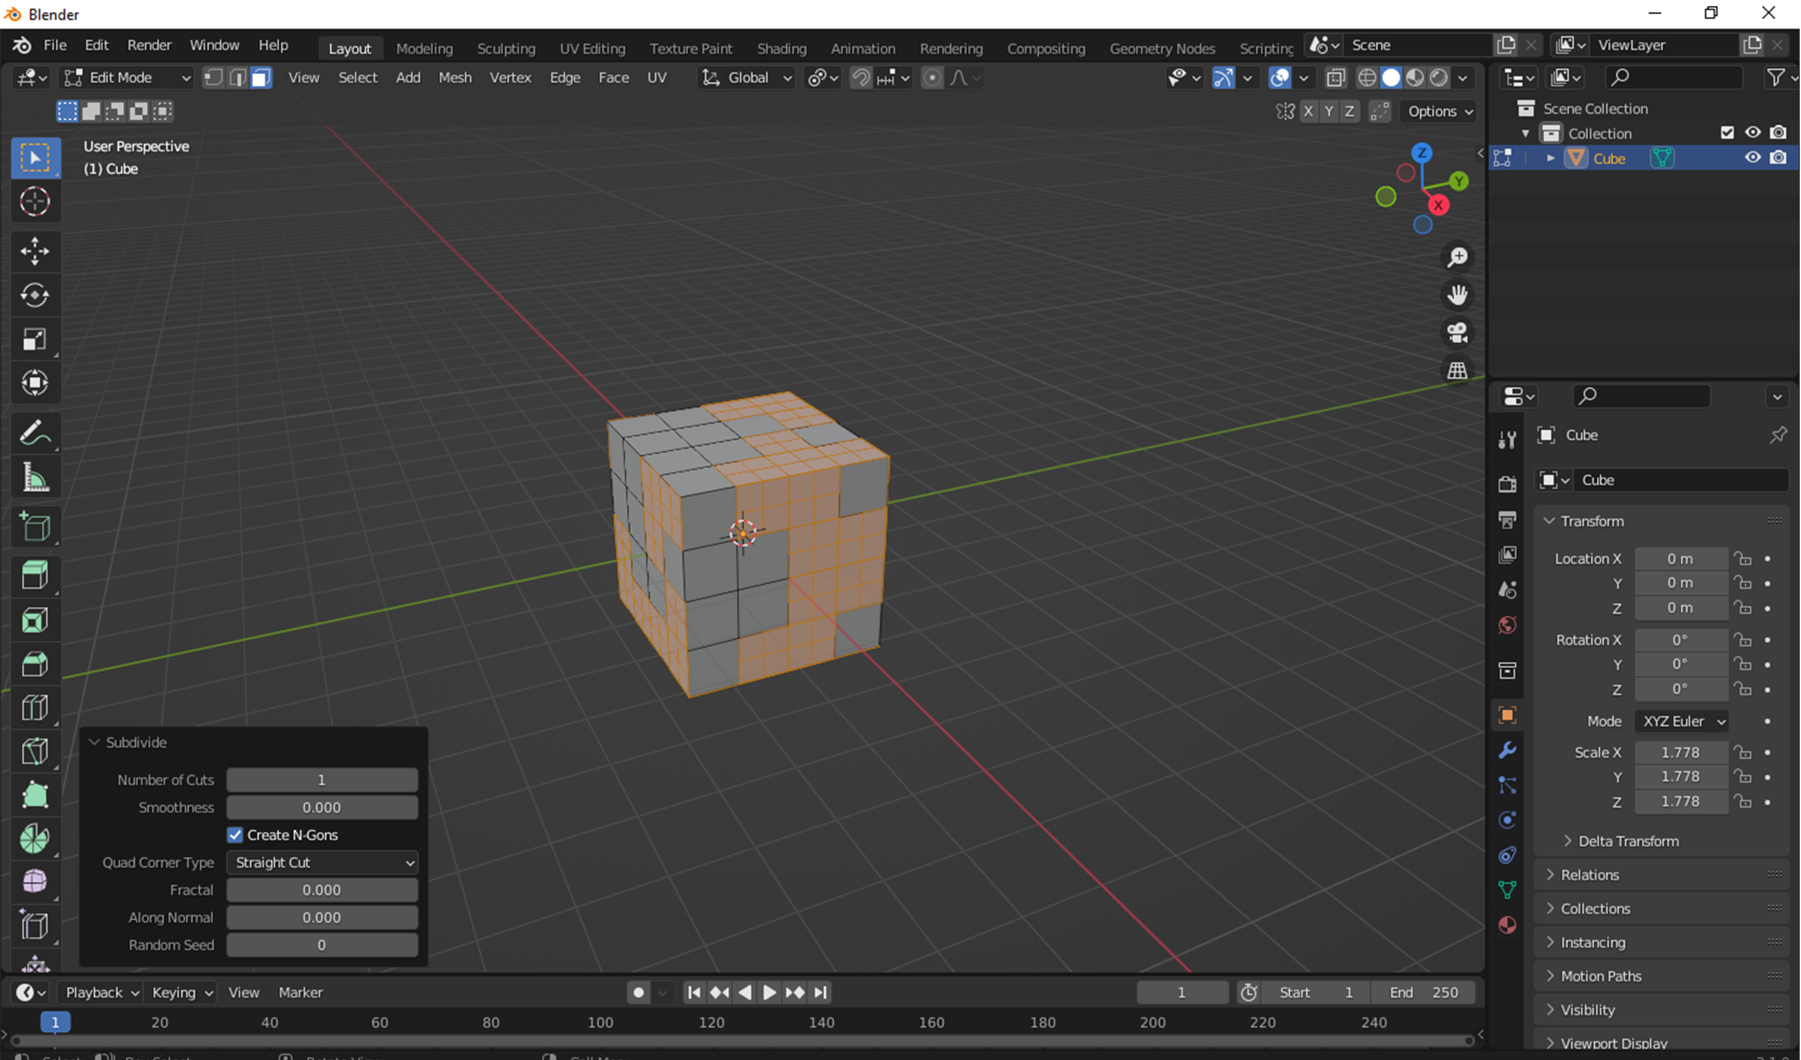
- Entre en el edit mode con tab y subdividí el cubo 2 veces.
- Presioné f3 y busque faces by edges. Con S verifique que las caras estuviesen separadas.
- Deseleccione la figura y en la parte superior en el menú de select busque select random y subdividí. Hice el procedimiento varias veces.
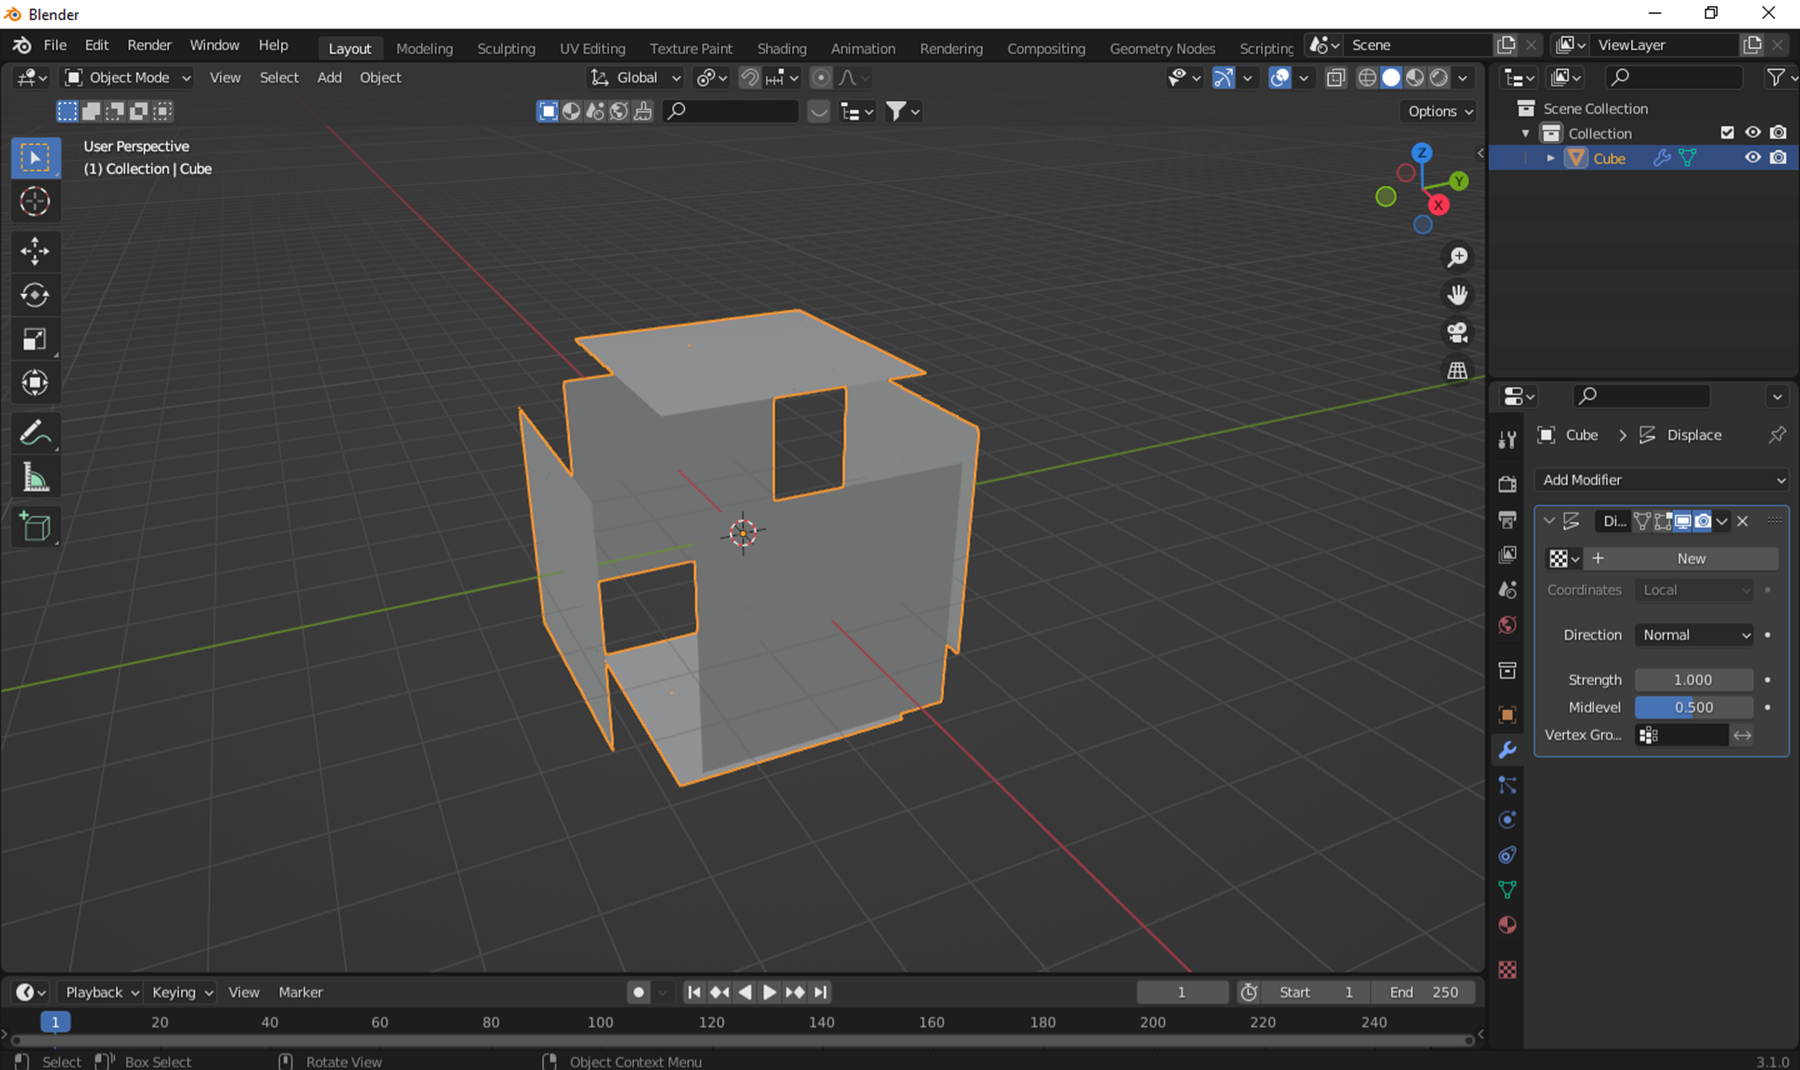
- Agregue el modificador Displace. Lo coloque que clouds y modifique los valores.
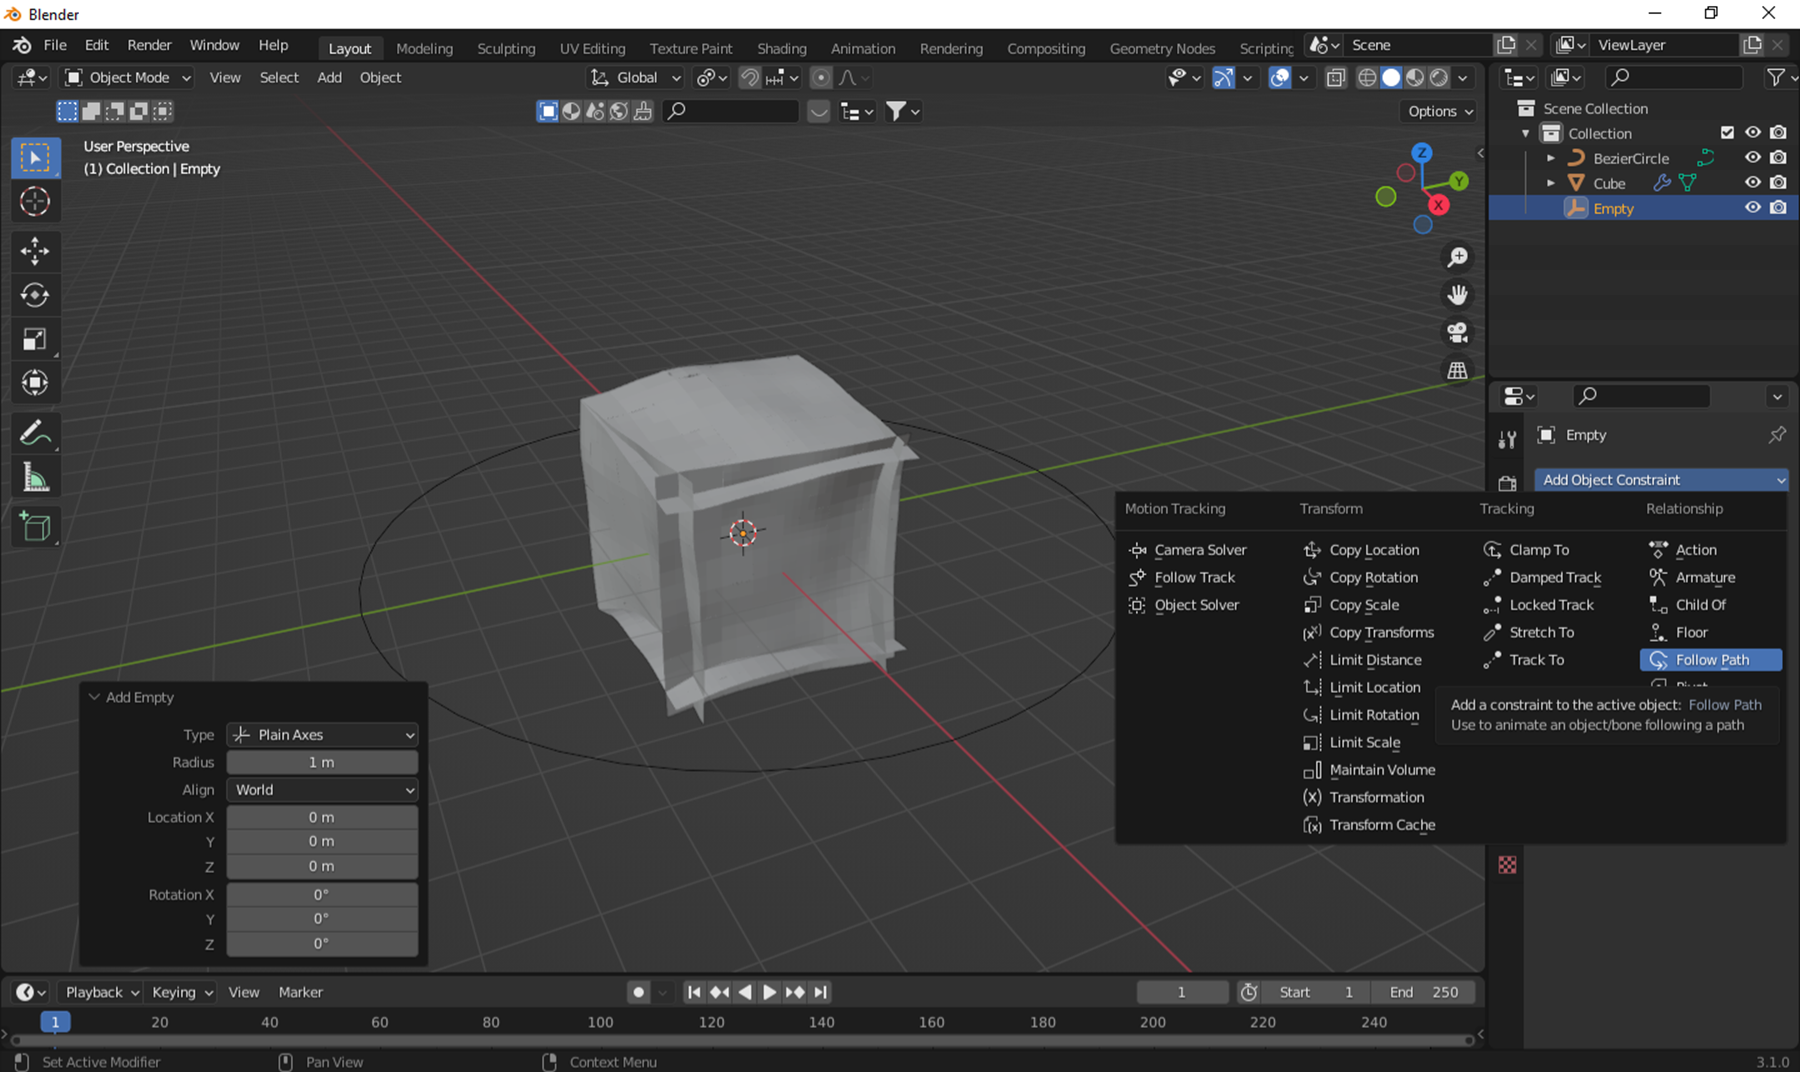
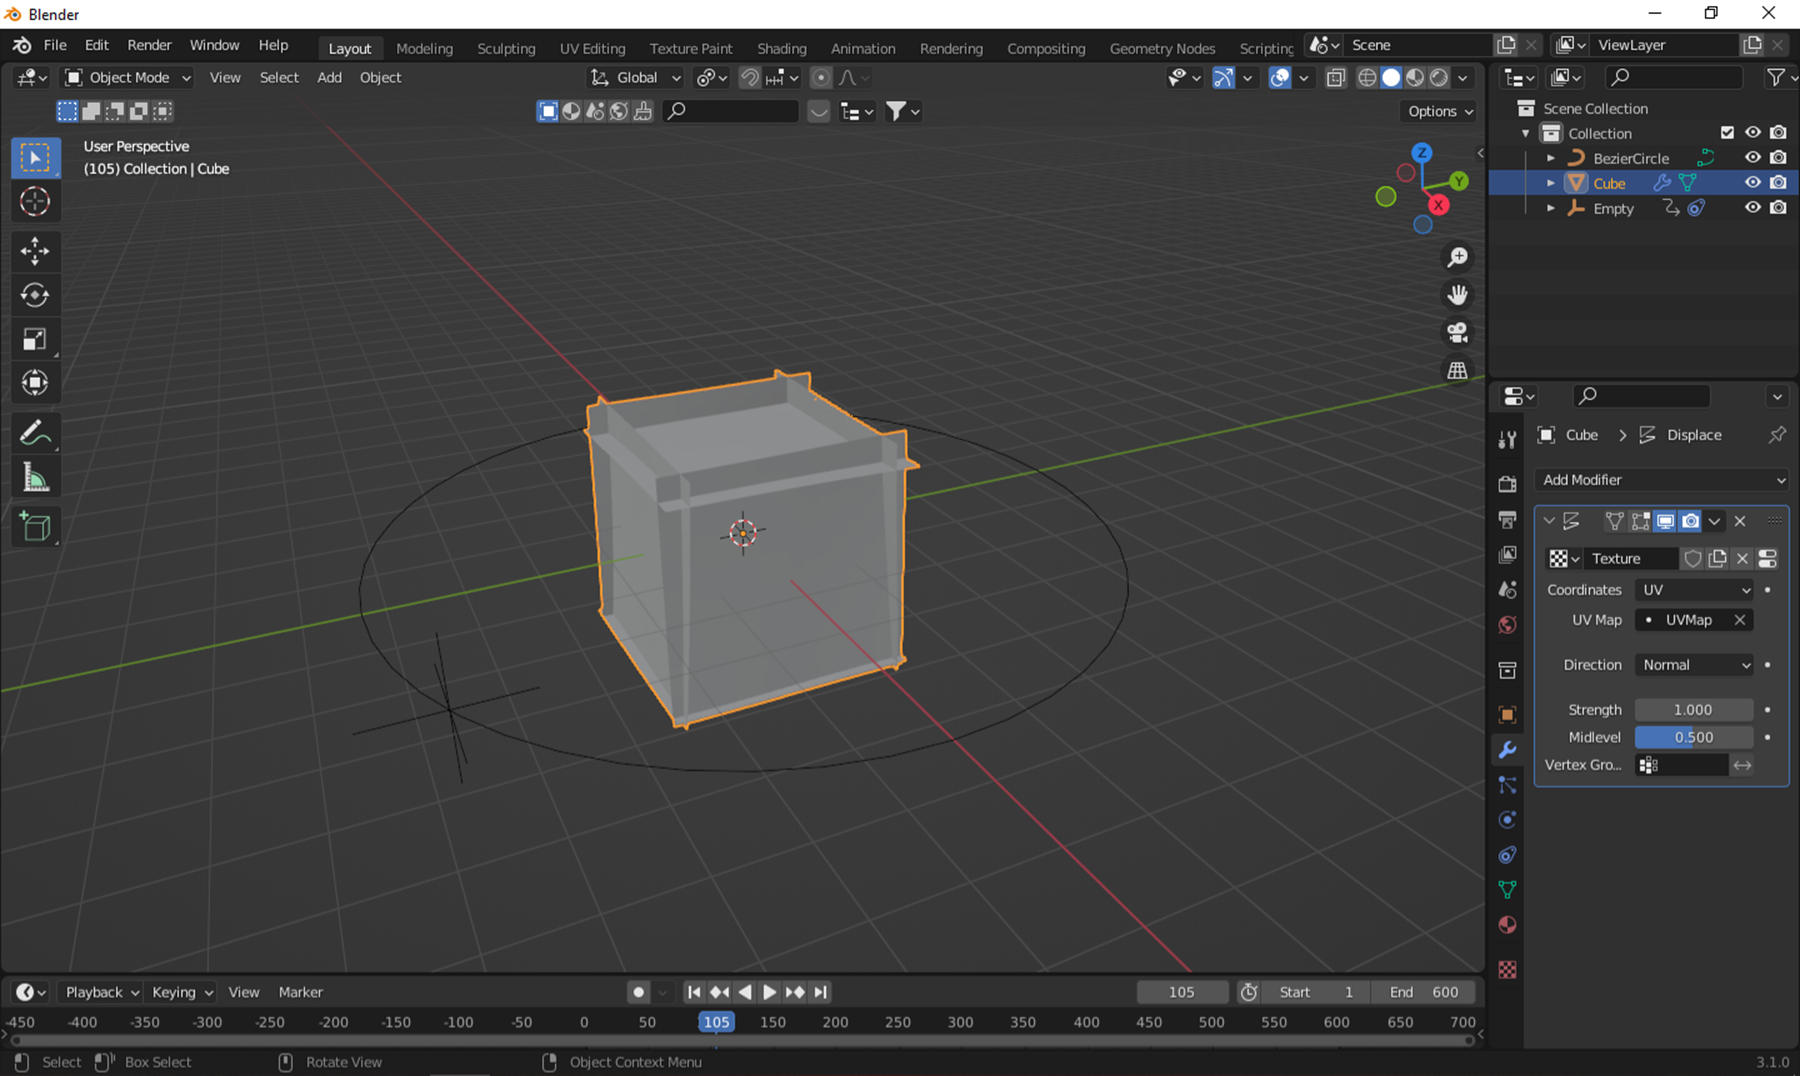
- Agregue un fallow path y un empty y al empty.
- Al fallow path coloque de target el empty.
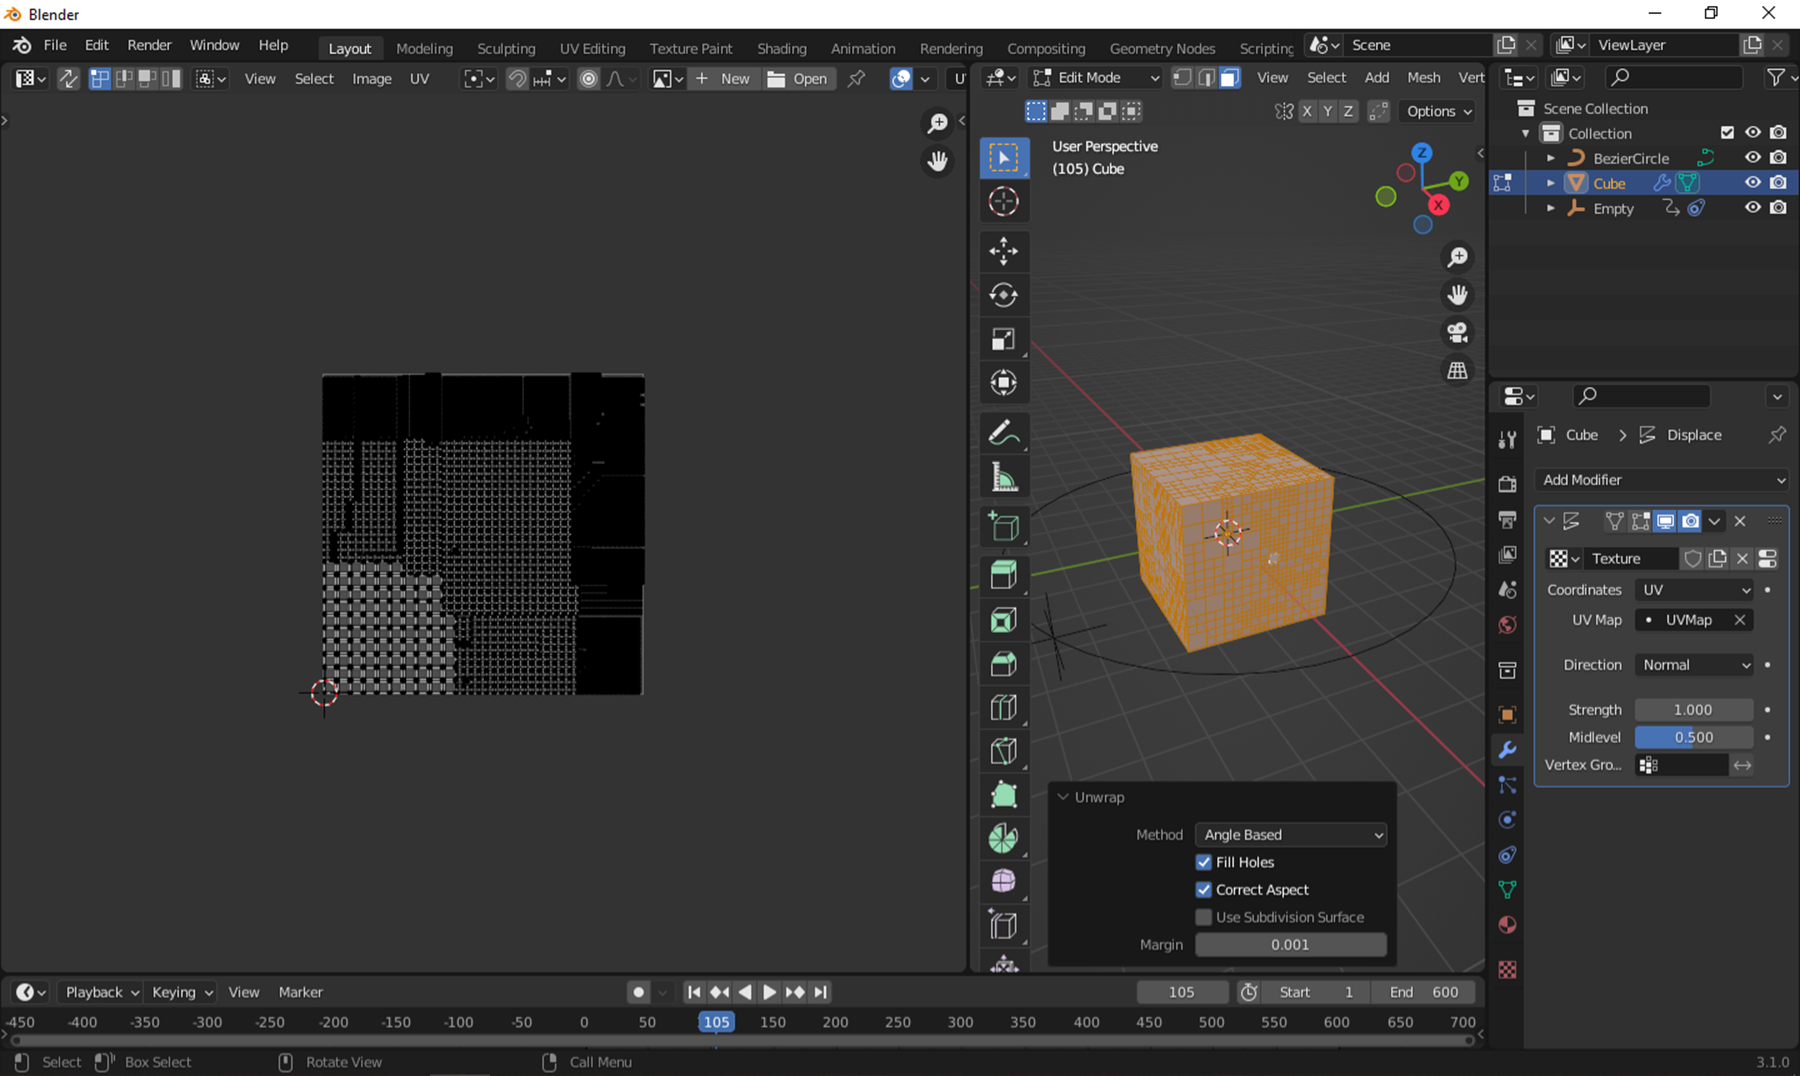
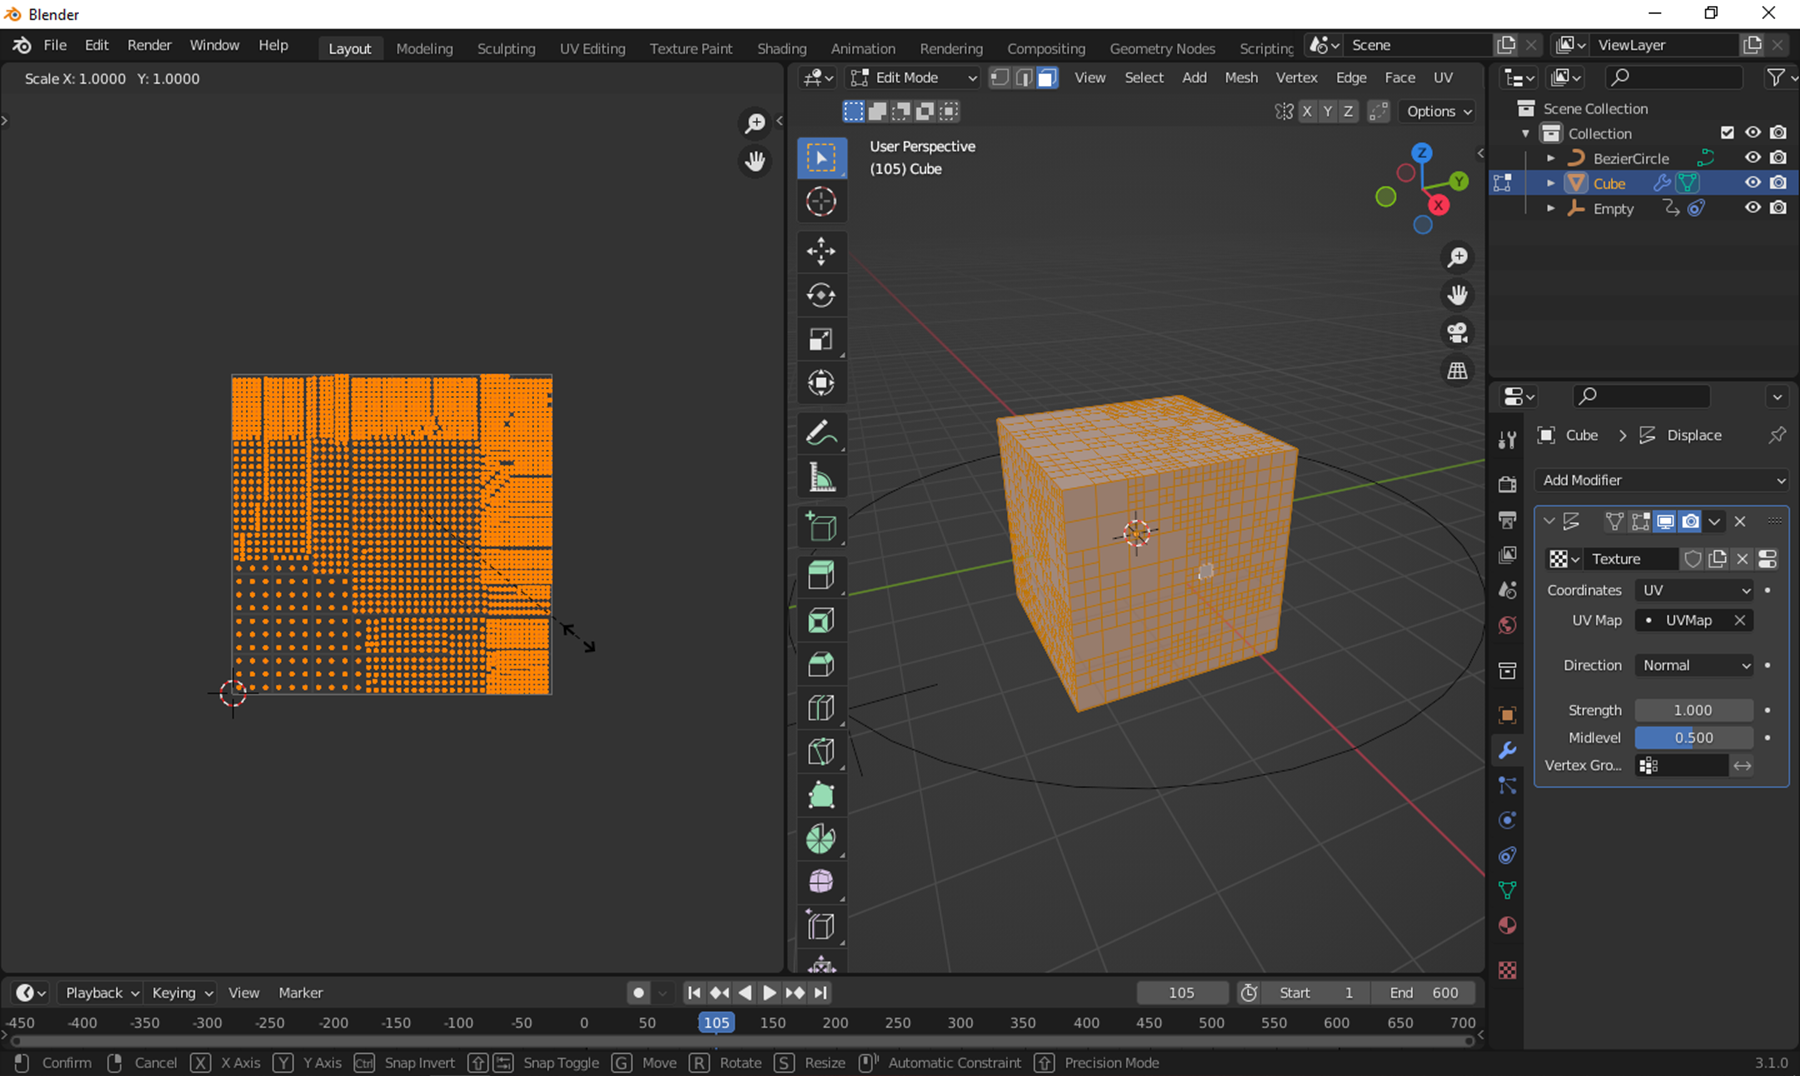
- Abrí la pestaña de UV editor y con en edit mode colocado con presionando un abri el menu que muestra unwrap.
- Con click en A y seleccione todo y escale los cuadros.
- Agregue un modificador de solidify y uno de uvwarp.
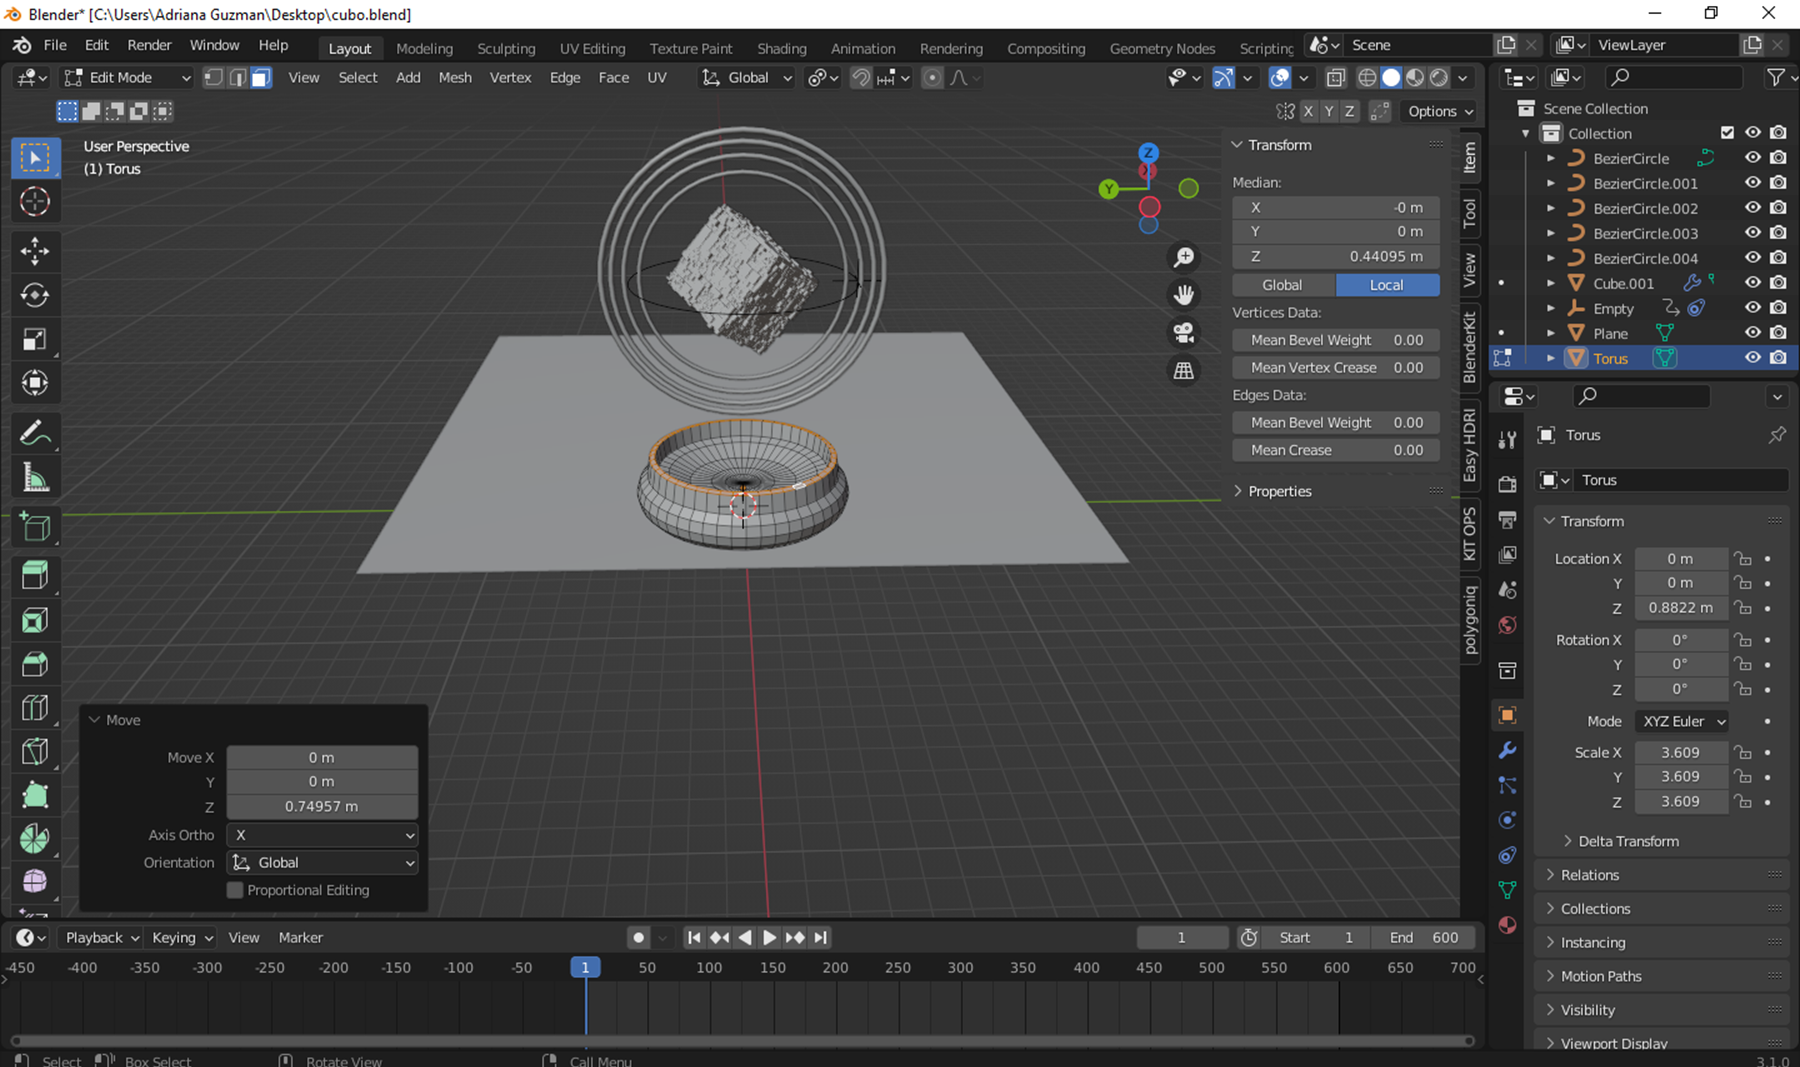
- Agregue un Torus y lo modele para que fuese la base. Agregue curvas las cuales las rote y aumente el depth.
- Agregue la cámara y el suelo.
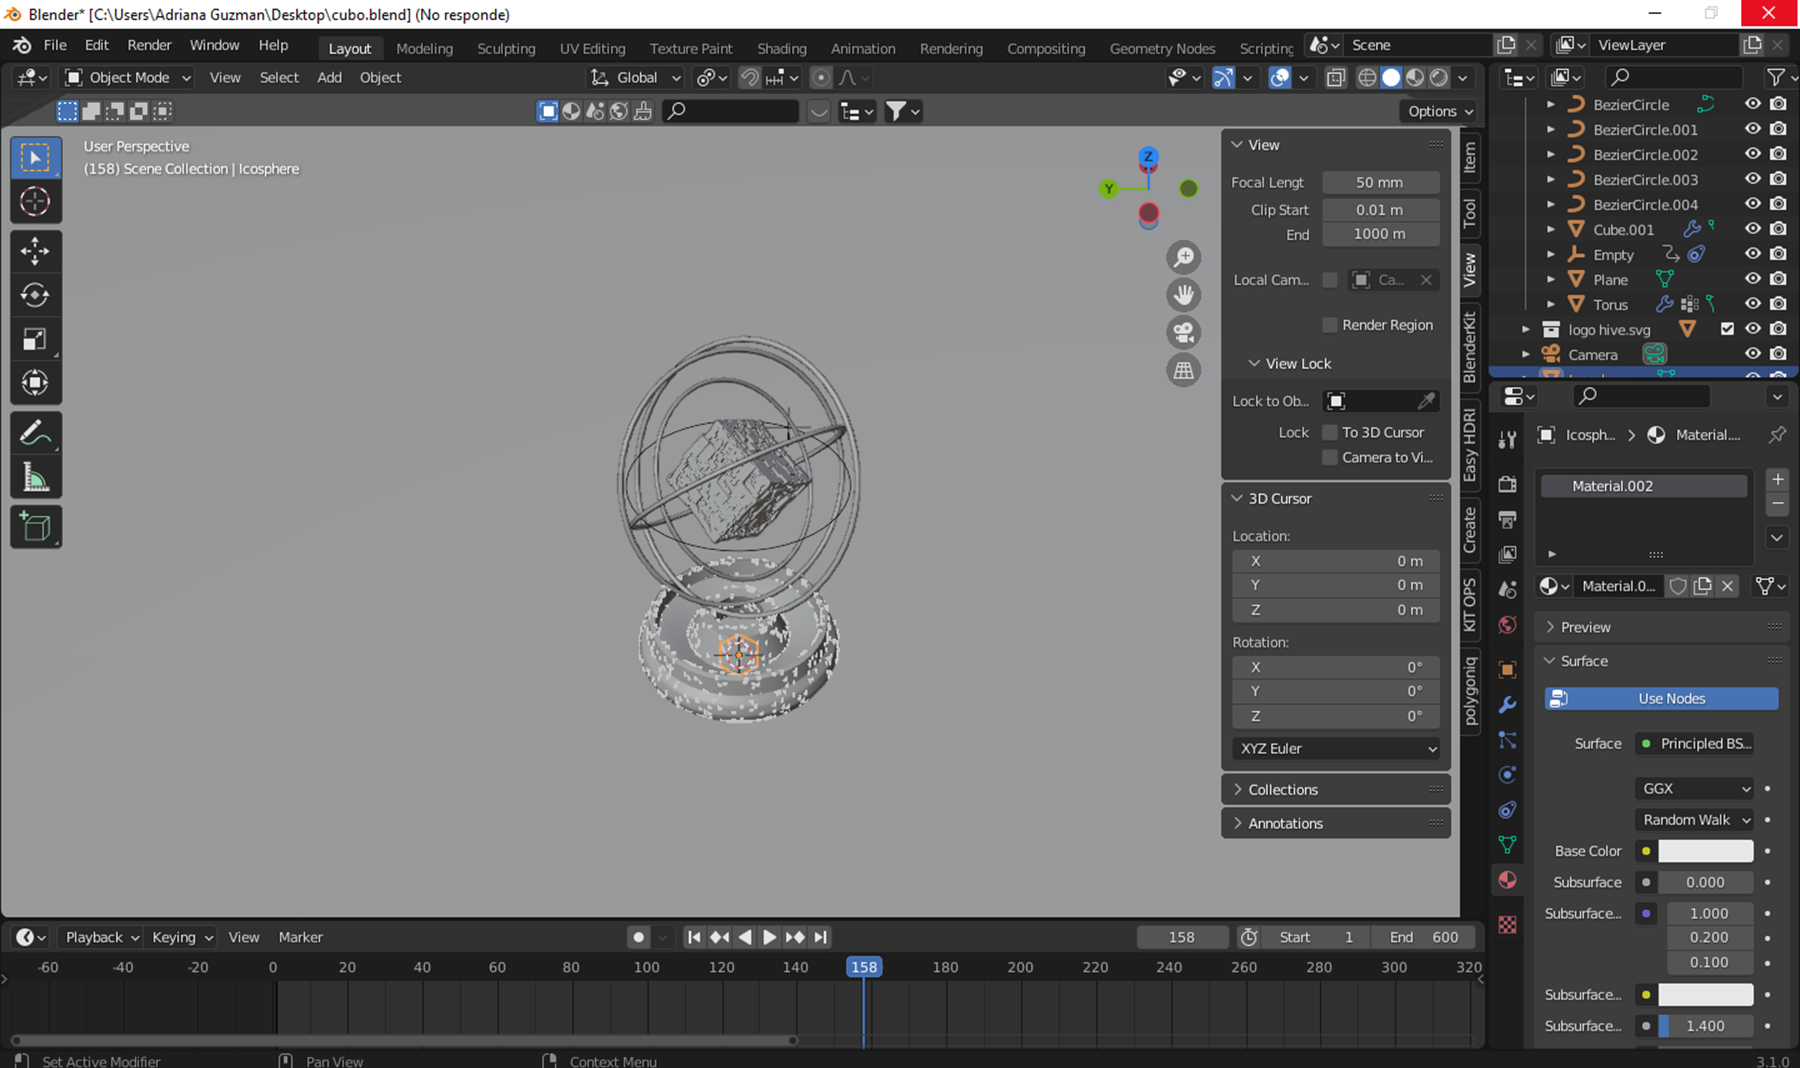
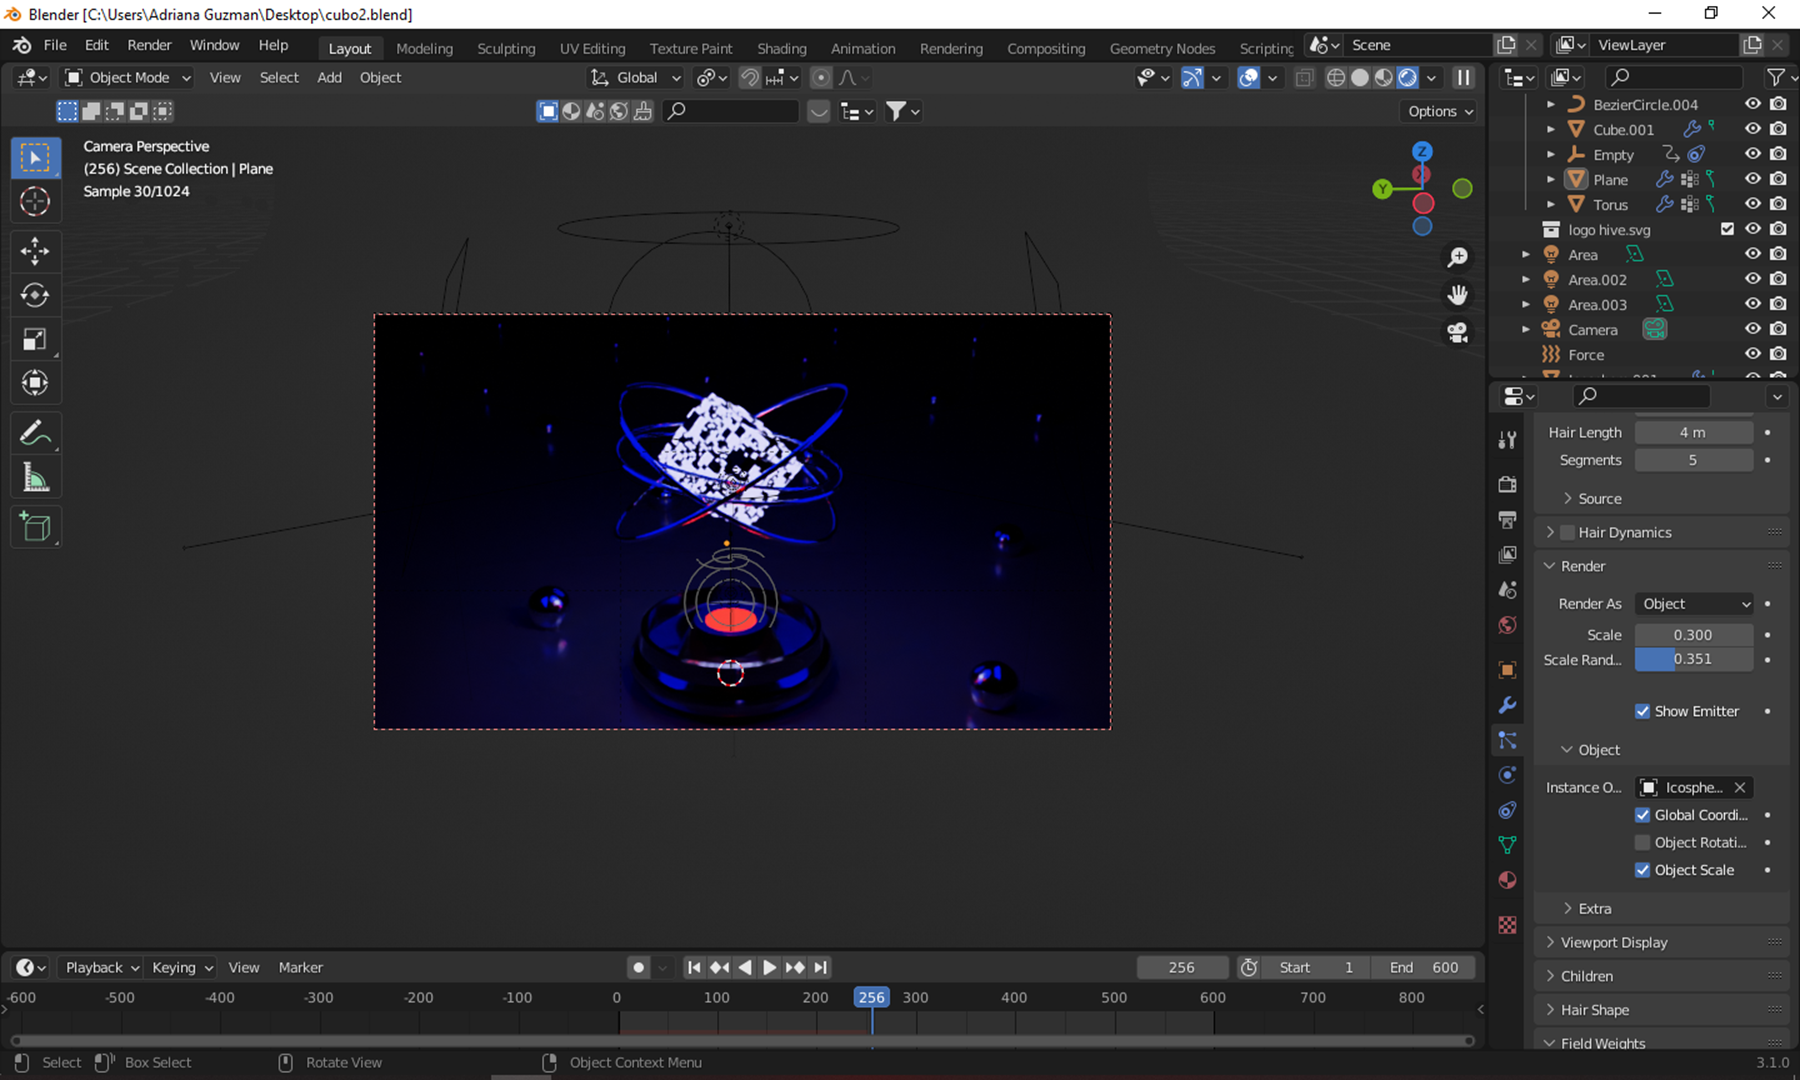
- Añadí partículas de objetos y coloque de target una ico sphere.
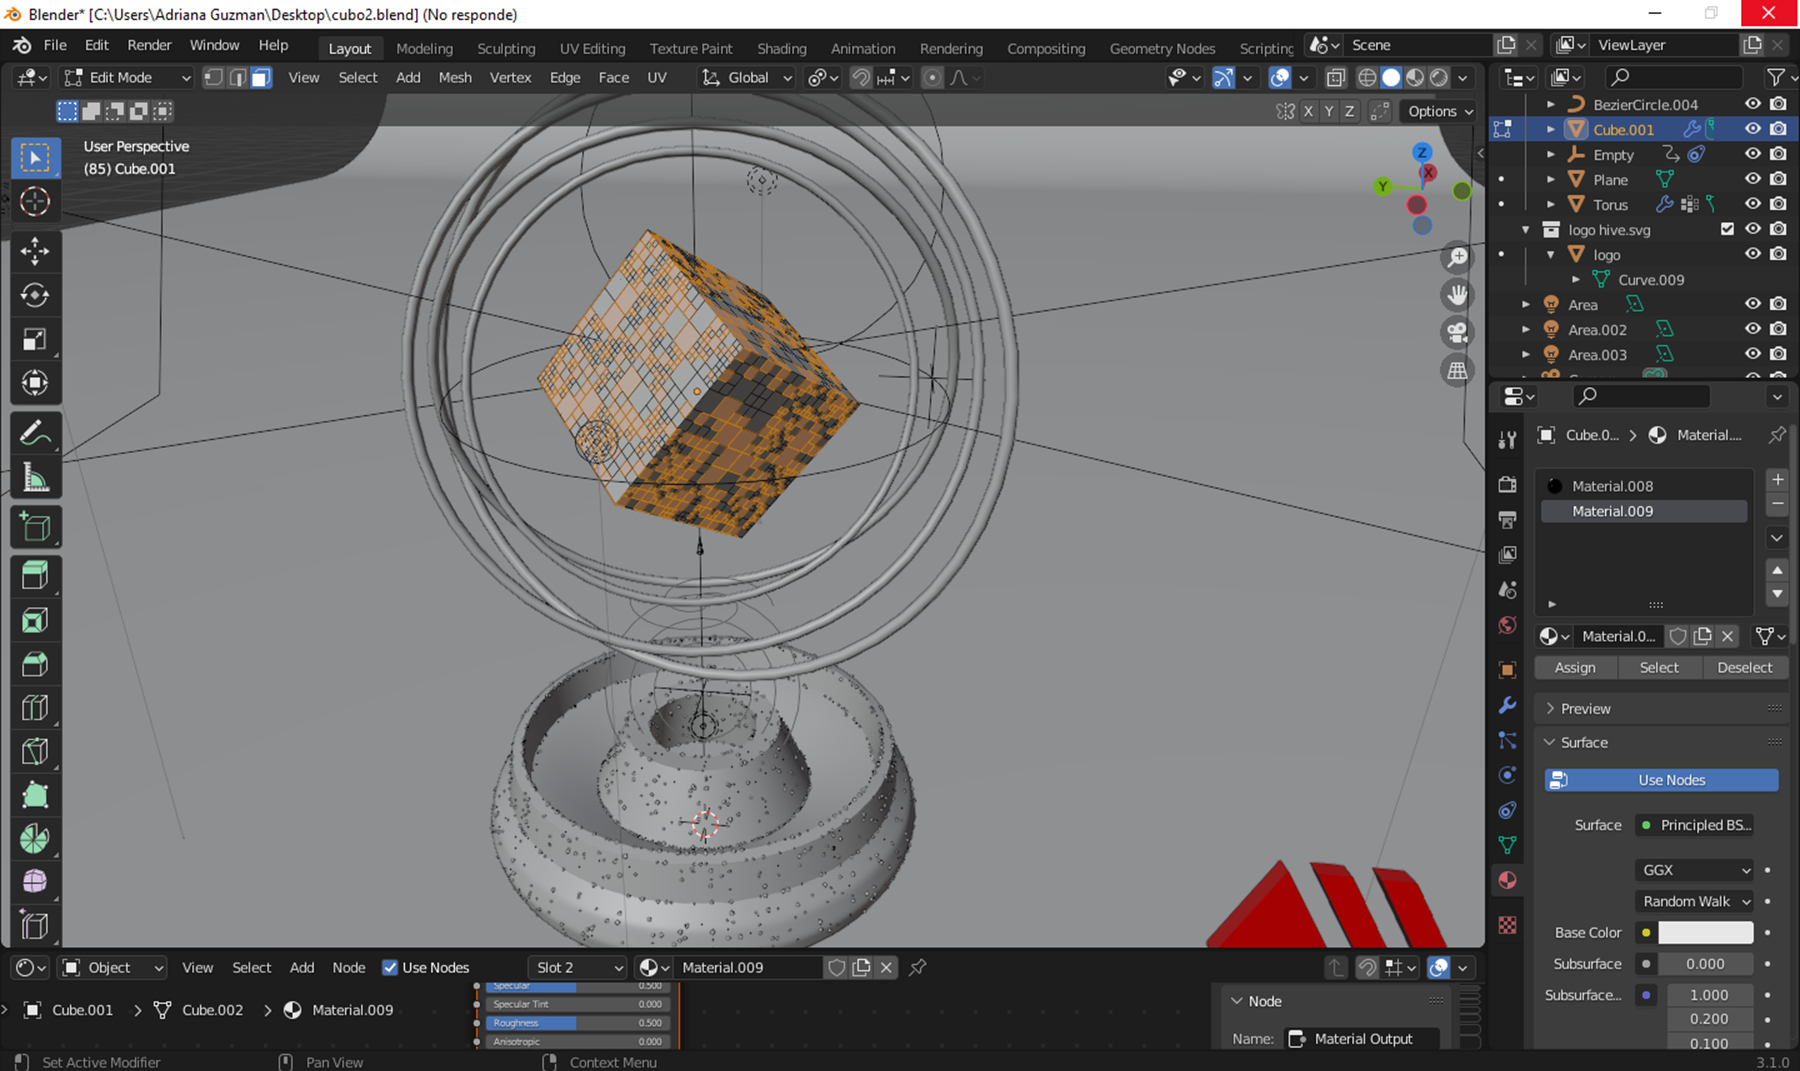
- Agregue el material de todos los objetos de mi escena.
- Rendericé con f12.
- Start by adding a cube with shift+a mesh cube.
- Go into edit mode with tab and subdivide the cube 2 times.
- Press f3 and look for faces by edges. With S verify that the faces were separated.
- Deselect the figure and at the top in the select menu look for select random and subdivide. I did the procedure several times.
- Add the Displace modifier. Place it in clouds and modify the values.
- Add a fallow path and an empty y to the empty.
- To the fault path put the empty target.
- I opened the UV editor tab and with edit mode placed with pressing a I opened the menu that shows unwrap.
- Click on A and select all and scale the boxes.
- Add a solidify modifier and a uvwarp modifier.
- Add a Torus and model it to be the base. Add curves which rotate them and increase the depth.
- Add the camera and the ground.
- I added object particles and placed an ico sphere as a target.
- Add the material for all the objects in my scene.
- I rendered with f12.
Paso 1
Paso 2

Paso 3
Paso 4
Paso 5
Paso 6
Paso 7
Paso 8
Paso 9

Paso 10
Paso 11

Paso 12
Paso 13
Paso 14
Paso 15

0
0
0.000
Congratulations @pinkgirl4! You have completed the following achievement on the Hive blockchain and have been rewarded with new badge(s):
Your next target is to reach 27000 upvotes.
You can view your badges on your board and compare yourself to others in the Ranking
If you no longer want to receive notifications, reply to this comment with the word
STOPCheck out the last post from @hivebuzz:
Support the HiveBuzz project. Vote for our proposal!