[Eng - Esp] 3D ball with geometry nodes | Blender tutorial
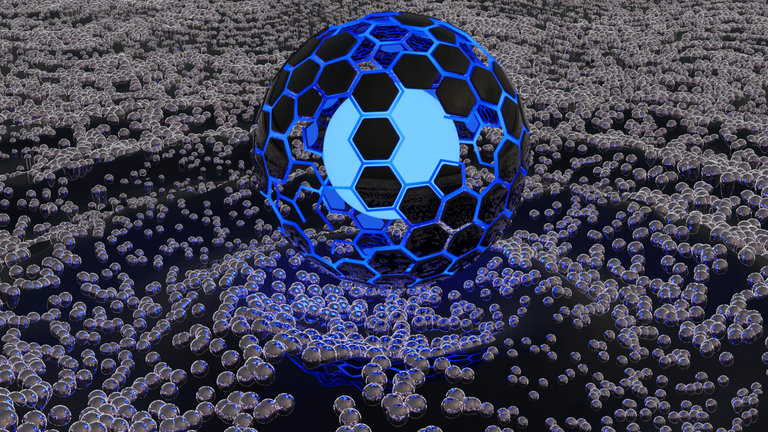
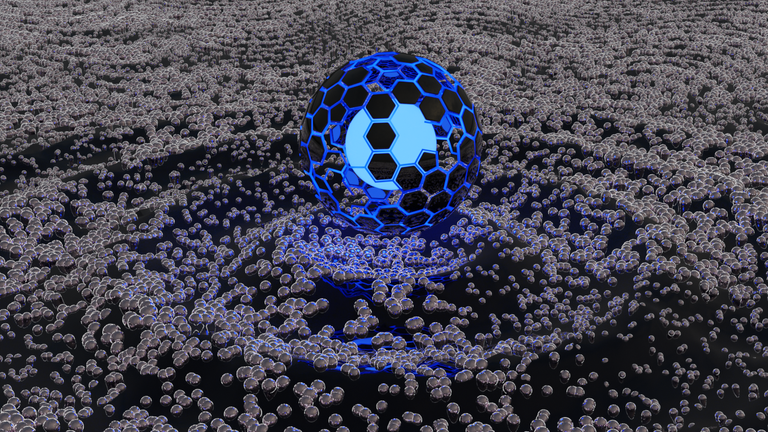
Hola Hivers, saludos a todos, sigo con mis prácticas de Blender, en esta oportunidad vengo con un modelado de una esfera con geometrical nodes, con emision y con particles. También agregue algunos modificadores como waves. Espero que les guste y me dejan sus apreciados comentarios.
Hello Hivers, greetings to all, I continue with my Blender practices, this time I come with a modeling of a sphere with geometrical nodes, with emission and with particles. Also add some modifiers like waves. I hope you like it and leave me your appreciated comments.

Pimer paso:
- Agregue un plano con Shift +a mesh plano.
- Fui a la pestaña superior Geometry Nodes y agregue los siguientes nodos mostrados a continuación.
- Agregue un modificador smooth, solidify y beavel.
- Duplique el plano don shift+D y quite los modificadores y set smooth y split Edges. y agregue curve to mesh y circle to mesh como lo muestro a continuación.
- Agregue el Material en la pestaña superior shading con los siguientes nodos. Emisión para la estructura y metalic en 1 para para la parte metalica. Hay mucha mas textura que se le puede agregar a la parte metálica pero depende de la computadora.
- Add a plane with Shift +a plane mesh.
- I went to the top Geometry Nodes tab and added the following nodes shown below.
- Add a smooth, solidify and beavel modifier.
- Duplicate the plane with shift+D and remove the modifiers and set smooth and split Edges. and add curve to mesh and circle to mesh as I show below.
- Add the Material in the top shading tab with the following nodes. Emission for the structure and metalic in 1 for the metal part. There is much more texture that can be added to the metal part but it depends on the computer.
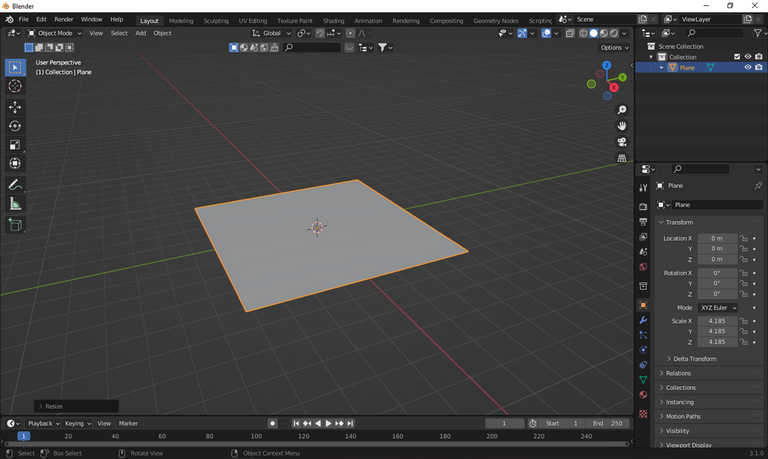
Figura 1. Creación del plano
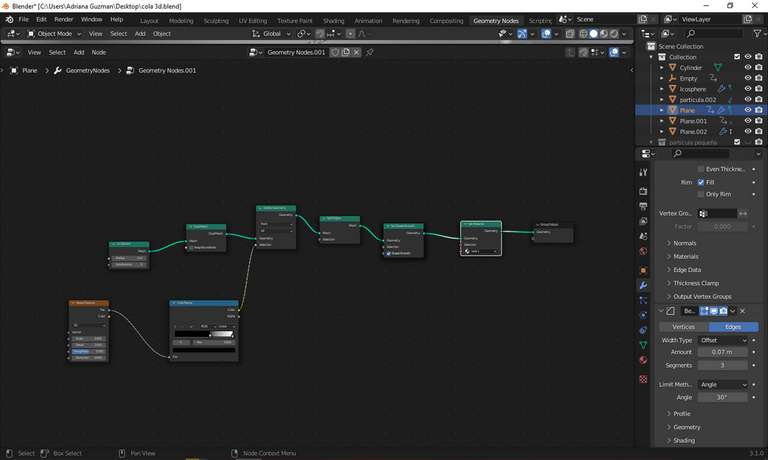
Figura 2. Nodos de la estructura metálica
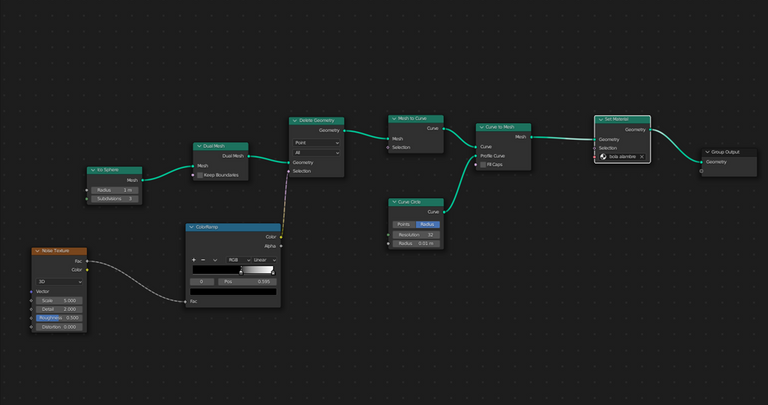
Figura 3. Nodos geométricos de la emisión
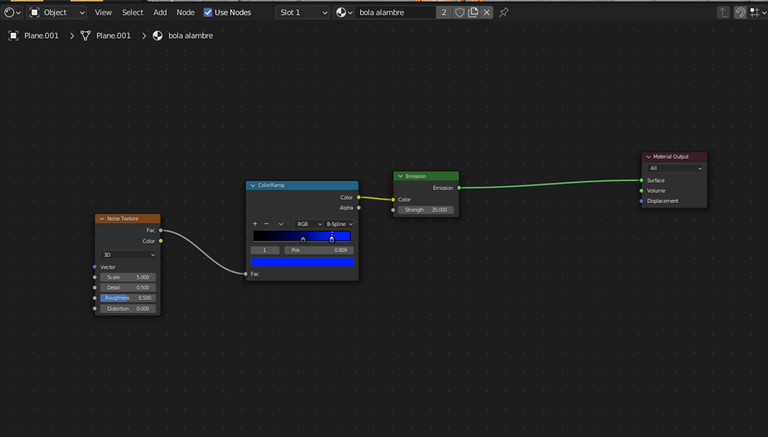
Figura 4. Nodos del Shading de la Emisión
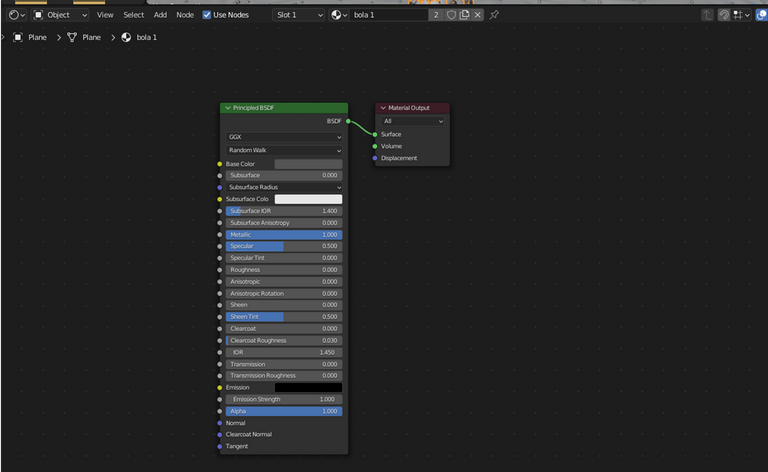
Figura 5. Nodos de Shading de la parte metálica.
Segundo paso:
- Agregue un plano con shift+a mesh plane.
- Con tabular coloque el edit mode y con el boton secundario agregue el subdivide y las divisiones en 100, luego ctrl+a all transforms.
- Agregue modificadores de subdivision, displacement, y wave como lo muestro a continuación.
- Agregue una ico sphere para el sistema de particulas.
- Agregue el shading al plano con los nodos que muestro abajo.
- Add a plane with shift+a mesh plane.
- With tabular put the edit mode and with the secondary button add the subdivide and the divisions in 100, then ctrl+a all transforms.
- Add subdivision, displacement, and wave modifiers as shown below.
- Add an icon sphere for the particle system.
- Add the shading to the plane with the nodes shown below.
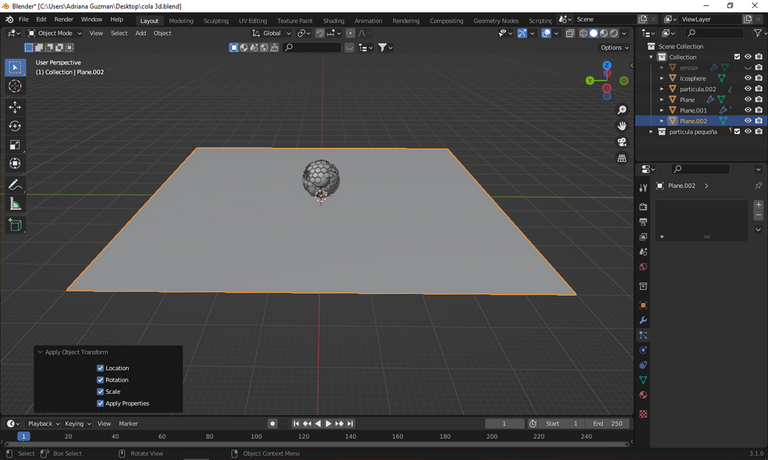
Figura 6. Creación del plano

Figura 7. Modificadores.
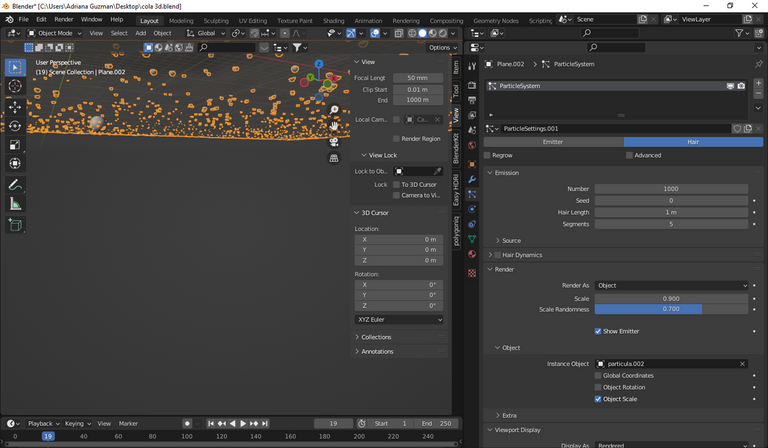
Figura 8. sistema de partículas
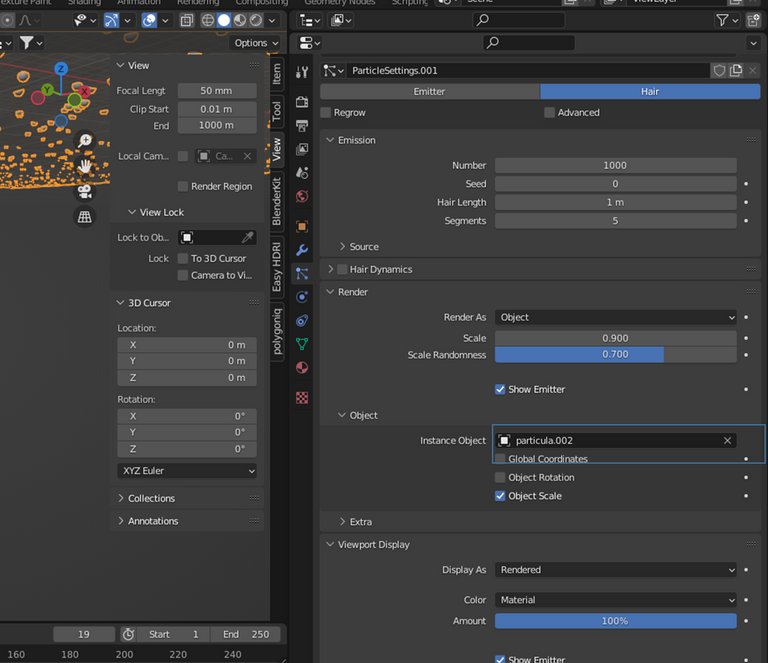
Figura 9. Agregando las partículas al plano.
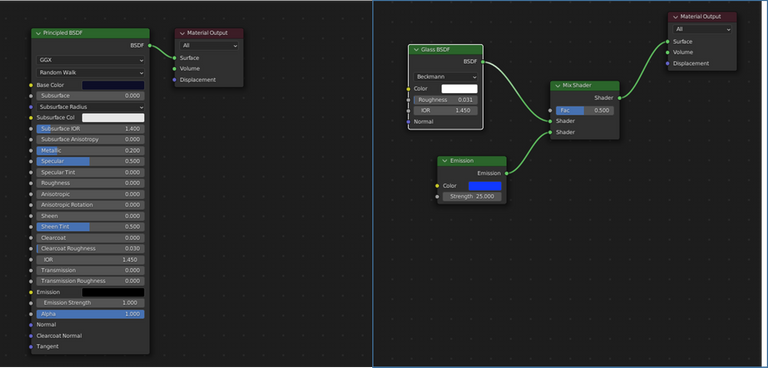
Figura 10. Shaging de plano y las particulas.

0
0
0.000
https://twitter.com/PinkgirlArt/status/1507741982654873610
The rewards earned on this comment will go directly to the person sharing the post on Twitter as long as they are registered with @poshtoken. Sign up at https://hiveposh.com.