Making of the "Buchanan Rum Bottle" - Part Three - Labels
Hello, Hive.
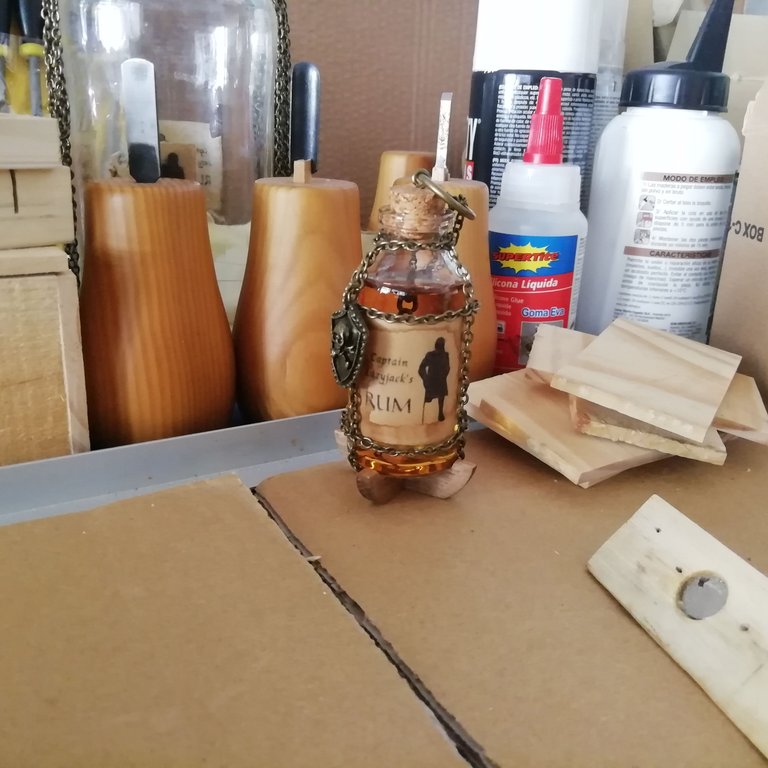
Welcome to part three of this multi-part post, where i document the process of making the "Buchanan Rum Bottle", a decorative item i've been making.
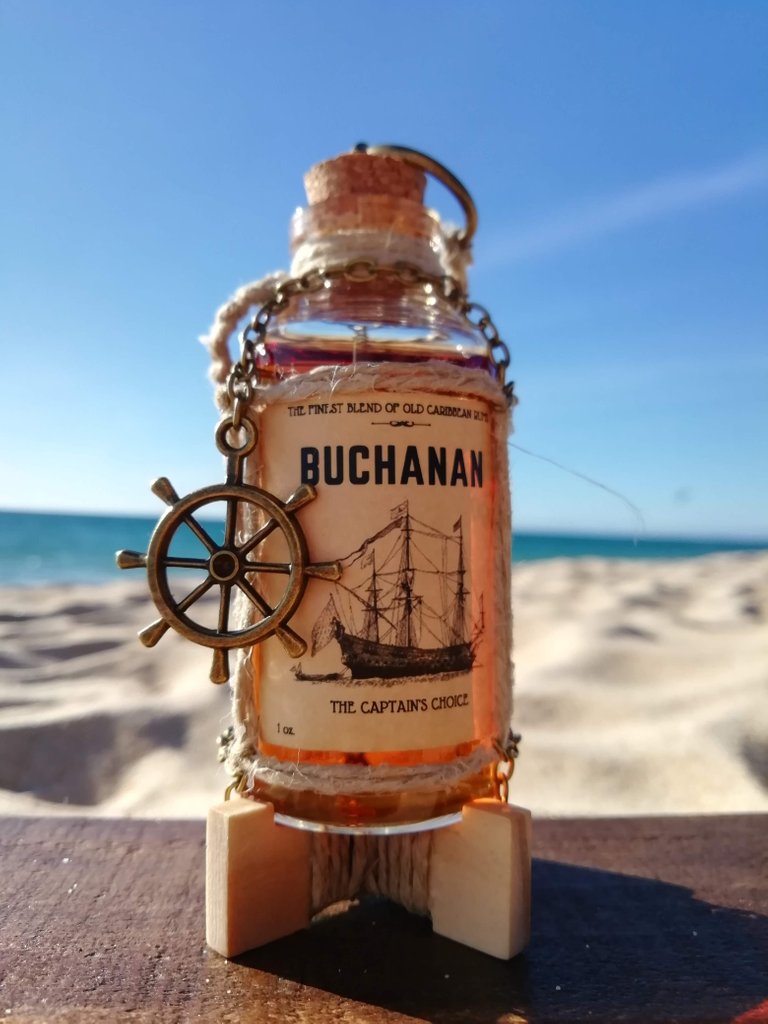
The bottle above uses laser printed labels, but i've done inkjet labels as well, so in this part three, i'm going to talk about how i mitigate smearing that occurs when staining an Inkjet printed label.

Check out the first and second parts of this multi-part process also:
Part One https://peakd.com/hive-130560/@gamemapmaker/making-of-buchanan-rum-bottle-part-one
Part Two https://peakd.com/hive-130560/@gamemapmaker/making-of-the-buchanan-rum-bottle-part-two
It's no secret that people make aged paper by staining it with coffee or tea, and then drying it out in the oven.
The issue with aging paper using a liquid such as coffee or tea is: how to avoid smearing the ink when wetting the paper.
The solution comes down to two things:
- Use a Laser printer.
- Use an Inkjet printer and follow this tutorial!
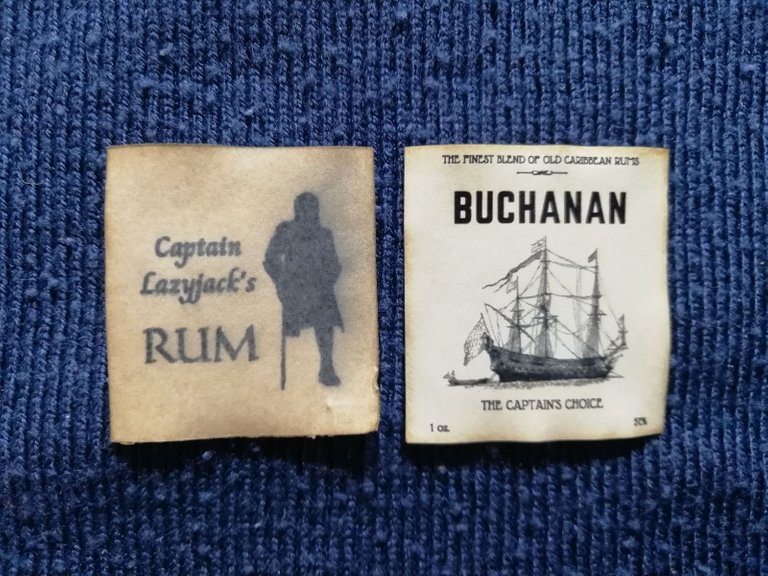
On the left, a label printed on an inkjet printer. On the right, a laser printed label. You can see how there's a bit of smearing near the figure on the inkjet print. The laser printed label is pristine.
So how does the laser print avoid becoming smeared?
It avoids smearing altogether because these printers don't use liquid ink, like inkjet printers do. Inkjets use pigments that are soluble in water. These pigments are mixed with water (what's inside the ink cartridges) and dropped onto the paper. When the water on the paper dries, the pigments stay on top of the paper; but add any liquid to them, and they mix with the liquid again and smear away. Laser printers, on the other hand, use toner, or pigment powder, and they burn the pigments into the paper instead of dropping them on the surface. Besides being burnt into the paper, as opposed to merely dropped on it, the pigments are also highly water resistant, which makes them virtually impossible to dissolve by a liquid, like tea or coffee.
Hence the zero smearing.
Why bother with the inkjet prints, then? Well, they have a very different look from the laser prints, so i think they're still a good thing.
Onwards to Inkjetville!
Printer Settings
Draft vs Normal Mode; How much ink to use when printing the label.
Draft will prevent smearing, more, because the printer uses less ink than Normal mode, so there's less ink available to smear the paper!
Normal will increase the amount of smearing, but, the label will come out with more color, making it look more vivid.
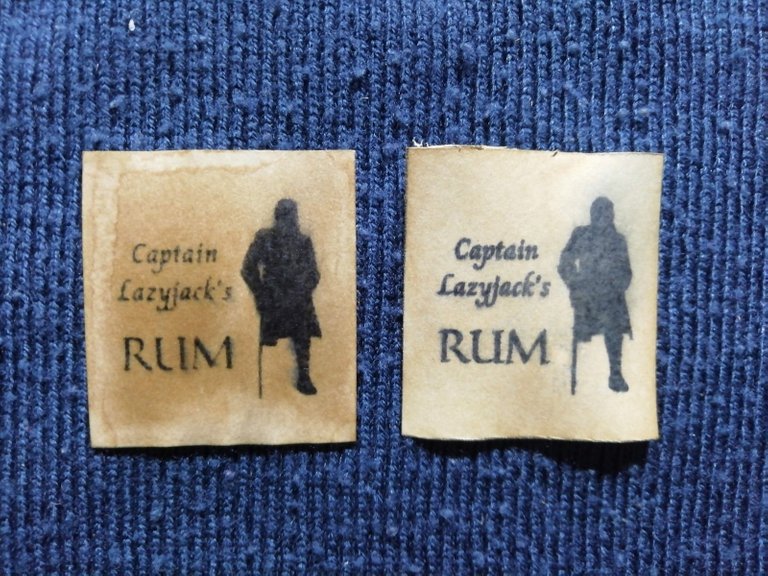
Color difference between both modes. Normal on the left; Draft on the right. I prefer Normal mode, as the colors are more vivid.
You can see the difference in vivacity in the figures. The text difference is just a different font effect (regular against bold).
Steps
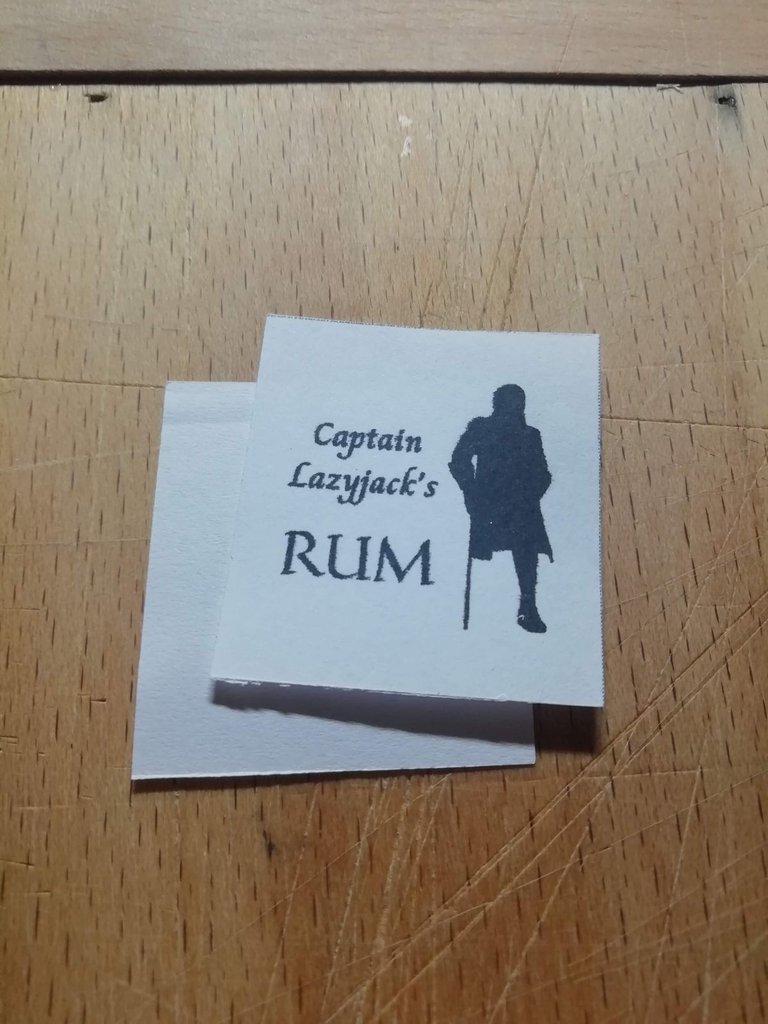
Step 1 - The label. First i cut the label and another piece of paper the same size as the label. This other piece of paper will serve as an absorbent for the ink that runs off the label. That's it, that's the major trick! You can stop reading now...
Step 2 - Mixing the stainer; I use soluble coffee for these labels, mixed with hot water. If i measure the quantities, i can make a lot of visually consistent labels.
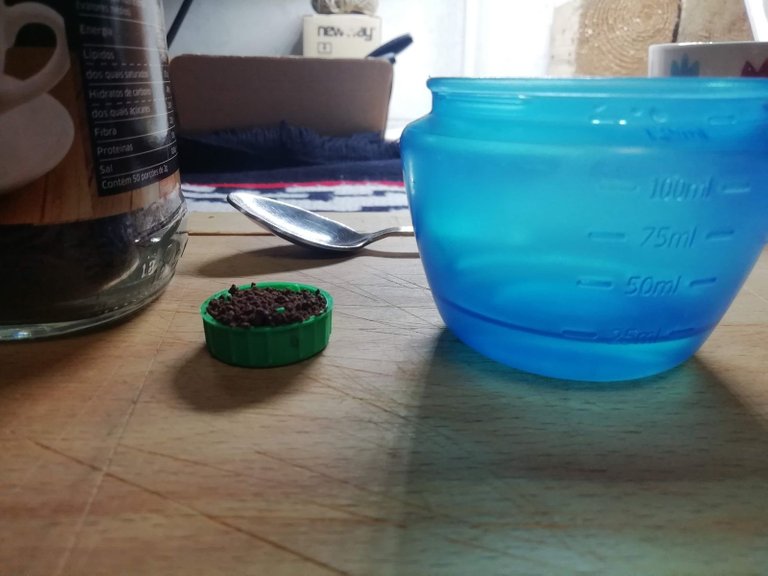
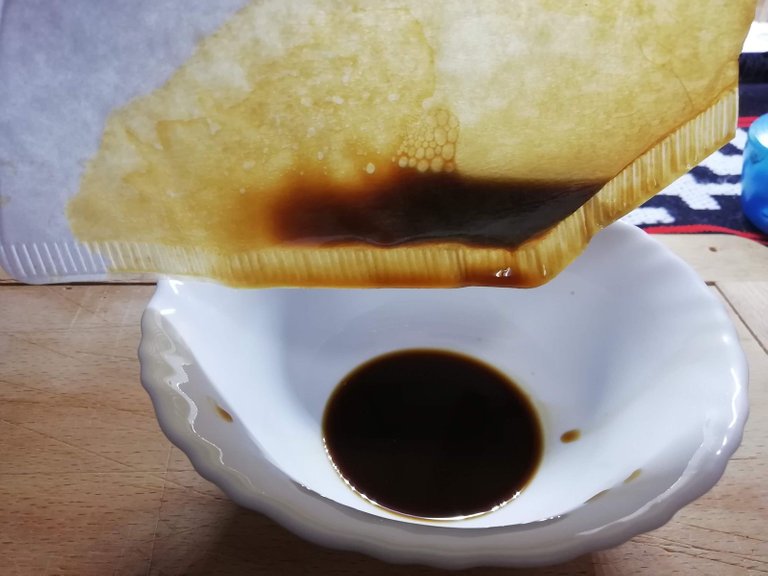
Step 3 - Filtering the coffee; i don't want to end up with small pieces of coffee that might not have been dissolved, from getting onto the label.
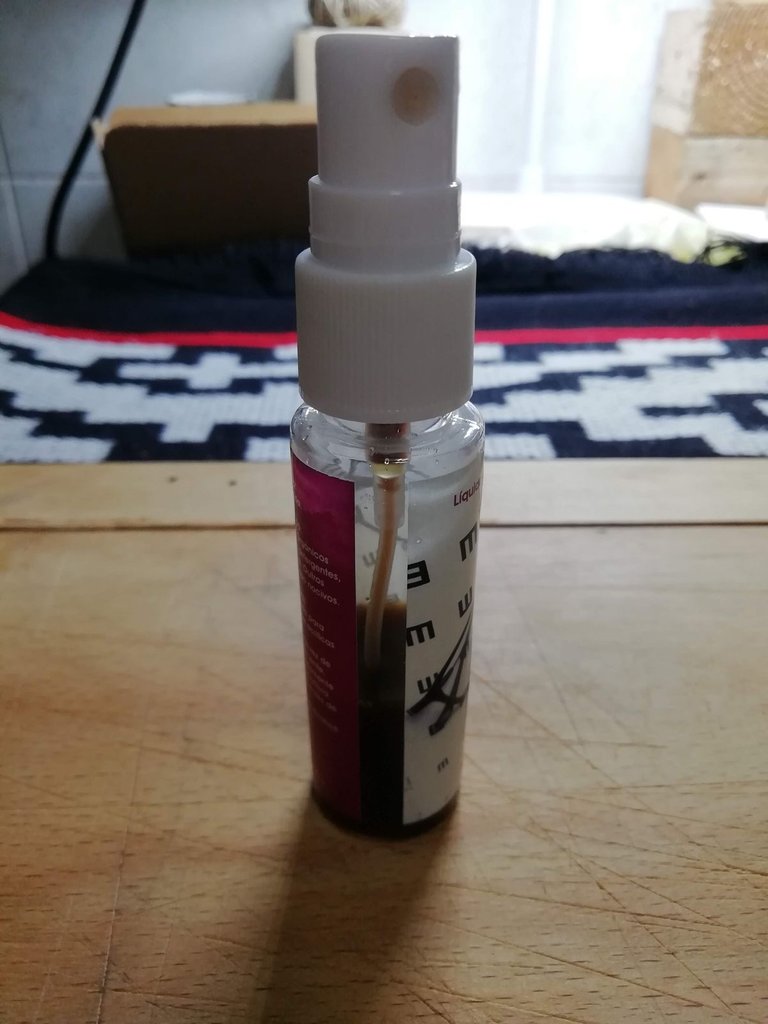
Step 4 - Staining method. A spray bottle. Another reason to filter the coffee is so that the larger particles don't clog the spray mechanism.

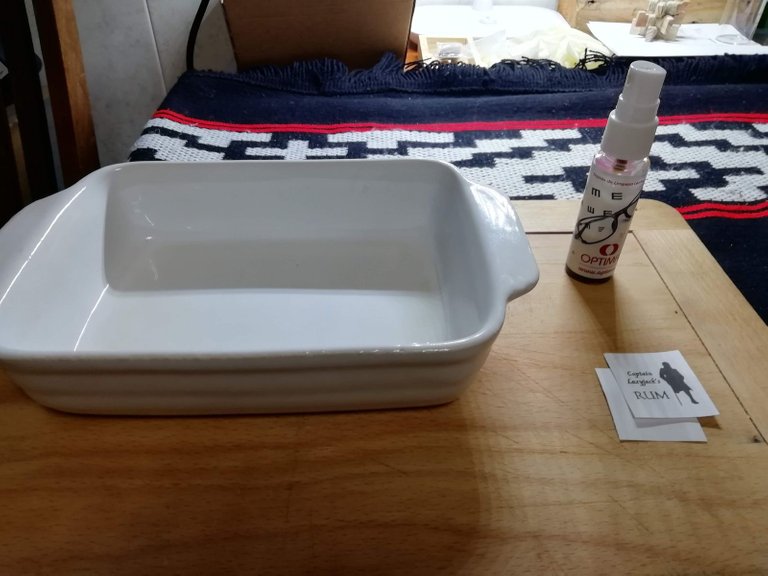
Step 5 - The oven-ready, flat surface.
Step 6 - Staining. I place the label and the absorbent underneath the label, and hold it down with a toothpick.
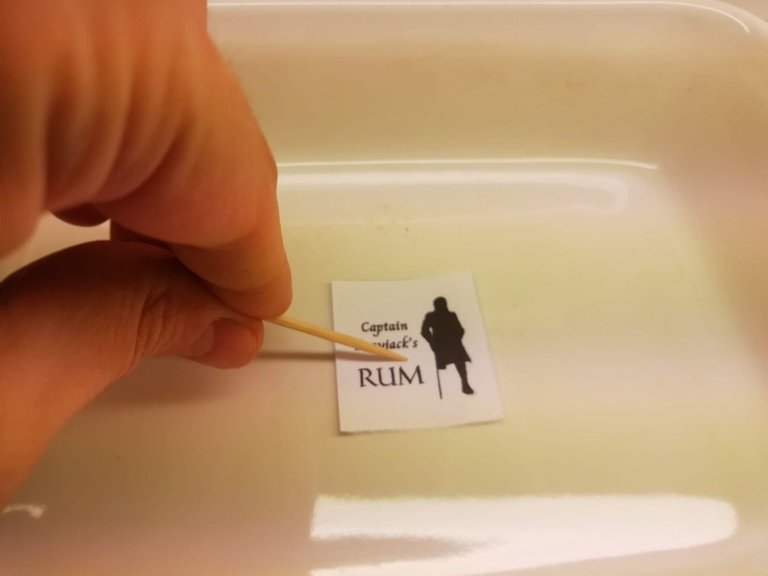
As soon as i spray the label, if the two pieces of paper happen to not adhere to each other, which is very likely to happen, then the label will lift up and curl on itself. This is not ideal as i need them to stick together so the ink can seep into the absorbent.
Step 7 - Applying the coffee. Only a few sprays, just until the surface is covered. Too much coffee will increase the smearing.
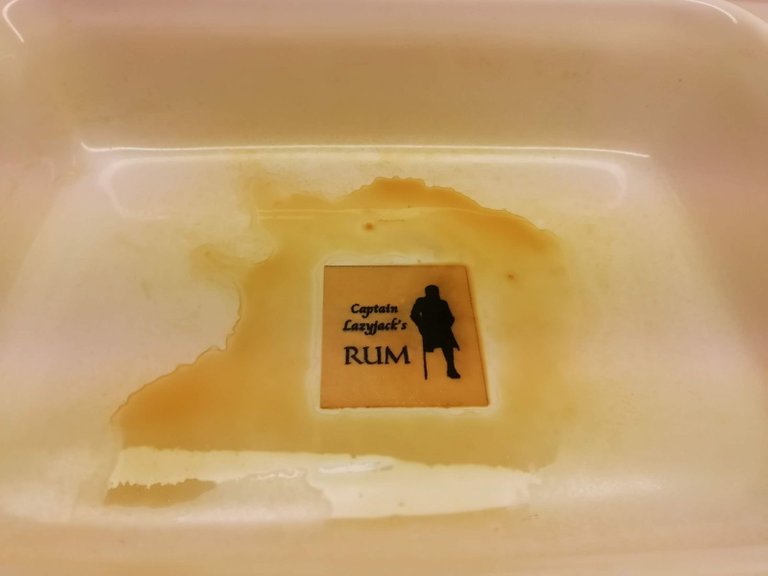
This is where keeping the label horizontally stable so that the liquid on top of the label doesn't move, increasing the smearing comes into play. My oven doesn't have a tray that i can pull out and stays perfectly flat. So, i have to pick up the container the label is in and carefully put it in the oven! The absorbent will only do so much to help at this stage as the ink hasn't started to seep into it.
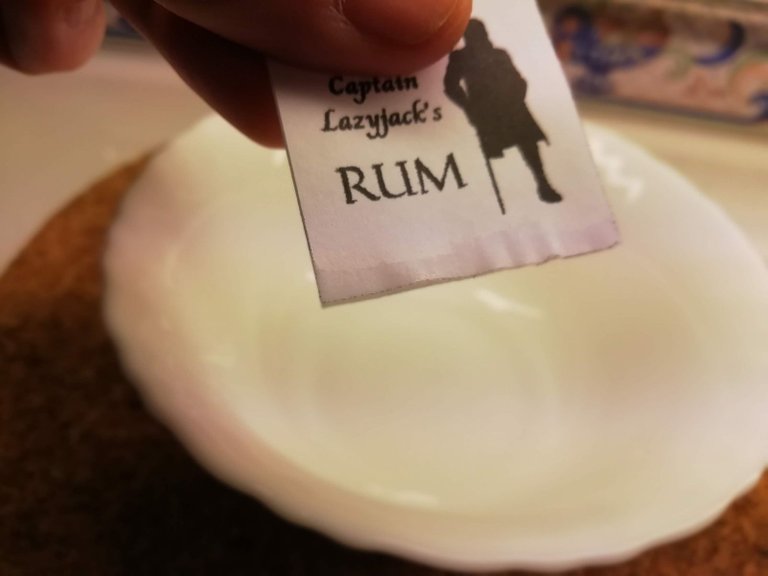
After a few dozens seconds in the oven, the label is now dry enough that i can separate it from the absorbent paper underneath. Notice how the absorbent has the image of the label "traced" onto it. That's the extra ink that got loose from the label, potentially smearing it.
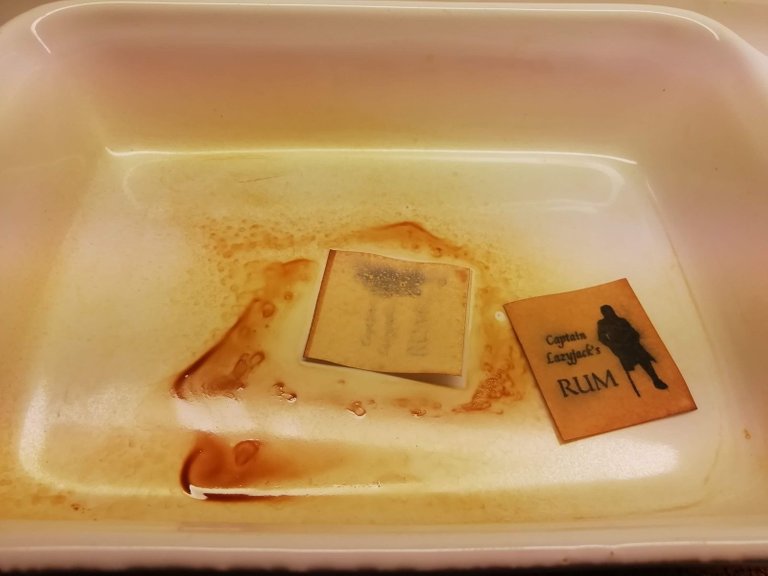
There's still a bit of smearing near the figure's right side and this technique doesn't always produce good results, one hundred percent of the time, but it will produce very good results most of the time, as you can can see in the label of the bottle below.
That's it.
Have fun!
And i hope you enjoyed this post. Inkjets produce less pixel perfect prints, very good for a look of "handmade" items, so they're very much worth the while.
See you in the next post, where i finish the "Buchanan" bottle!
The people doing V2K want me to believe it is this lady @battleaxe Investigate what she has been up to for 5 years. Its the next step to stopping this. Make her prove where she has been for 5 years or where she is now. She is involved deeply with @fyrstikken and his group. Her discord is Battleaxe#1003. I cant say she is the one directly doing the v2k. Make her prove it. They have tried to kill me and are still trying to kill me. I bet nobody does anything at all. Make @battleaxe prove it. I bet she wont. They want me to believe the v2k in me is being broadcasted from her location. @battleaxe what is your location? https://ecency.com/fyrstikken/@fairandbalanced/i-am-the-only-motherfucker-on-the-internet-pointing-to-a-direct-source-for-voice-to-skull-electronic-terrorism
Impressive! One would not imagine all the hard work behind a homemade label!
Thanks a lot for sharing the whole process with such detail! Keep it up!
!LUV
@ruralio(1/1) gave you LUV. H-E tools | connect | <><
Given the current emission rate of LUV pushing 500/day, increases to required LUV levels will likely be forthcoming.
thanks, cous!
Congratulations @gamemapmaker! You have completed the following achievement on the Hive blockchain and have been rewarded with new badge(s):
Your next target is to reach 400 upvotes.
You can view your badges on your board and compare yourself to others in the Ranking
If you no longer want to receive notifications, reply to this comment with the word
STOPCheck out the last post from @hivebuzz:
Support the HiveBuzz project. Vote for our proposal!