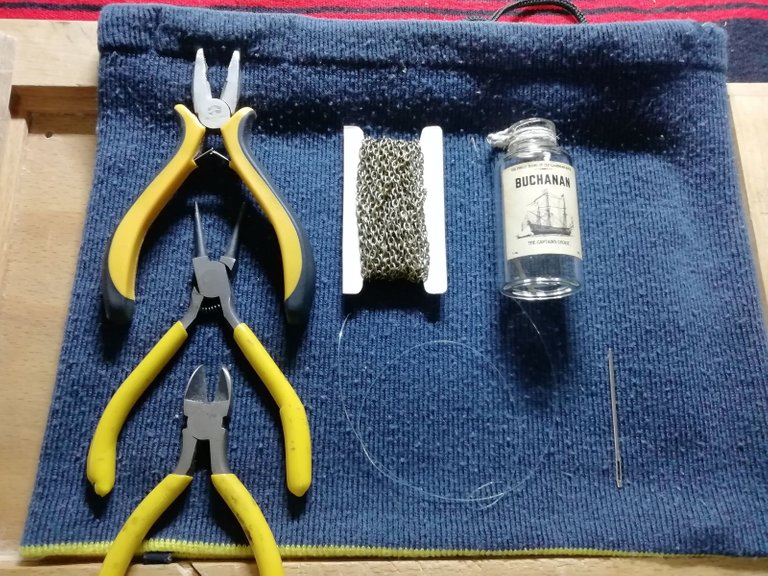
Making of the "Buchanan Rum Bottle" - Part Four - Finalizing the Label, and Bottle Assembly
Hello, Hive.
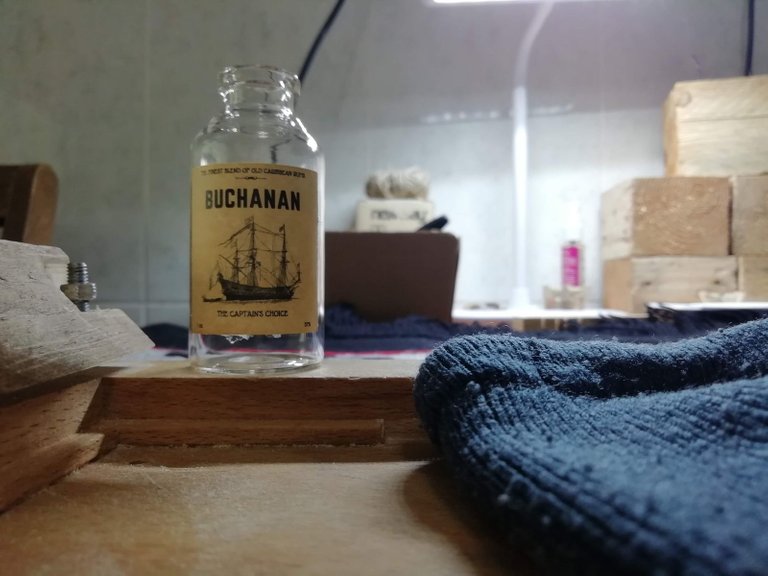
In this last part, i'll be assembling the bottle to it's final look. Let's get started.

Be sure to catch up to this point, by reading previous parts of this build:
Part One https://ecency.com/hive-130560/@gamemapmaker/making-of-buchanan-rum-bottle-part-one
Part Two https://ecency.com/hive-130560/@gamemapmaker/making-of-the-buchanan-rum-bottle-part-two
Part Three https://ecency.com/hive-130560/@gamemapmaker/making-of-the-buchanan-rum-bottle-part-three-labels
Let's finish the label, literally.
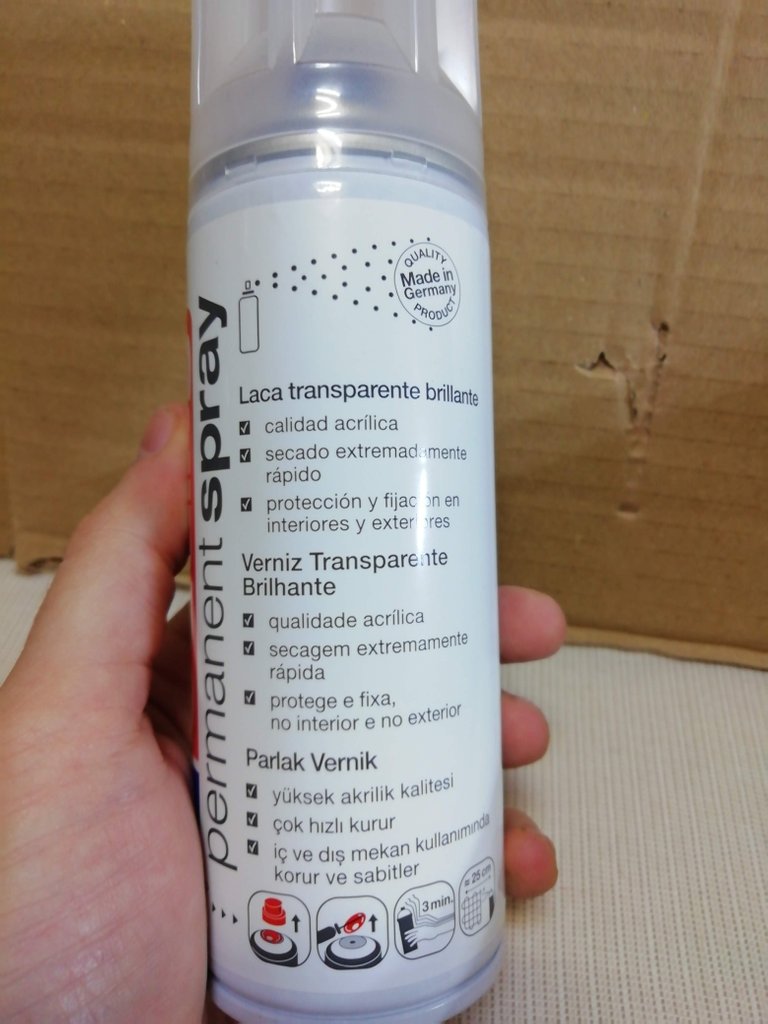
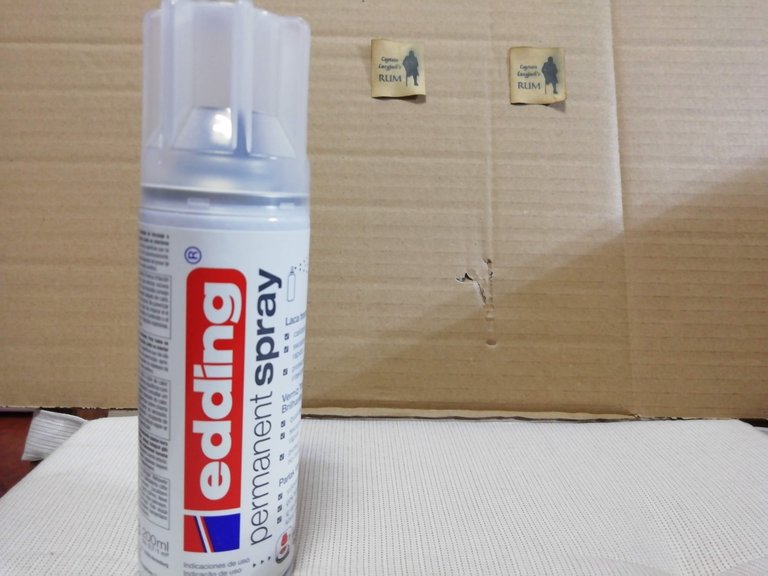
To protect the label against the environment, i use transparent varnish; it blocks natural light from deteriorating inkjet prints, it protects the label against water and moisture, and gives the label more vivid colors.
For this build i use laser printed labels, but i will continue showing the inkjet labels, which i started in part three, so you can see how you can easily use inkjet labels as well.
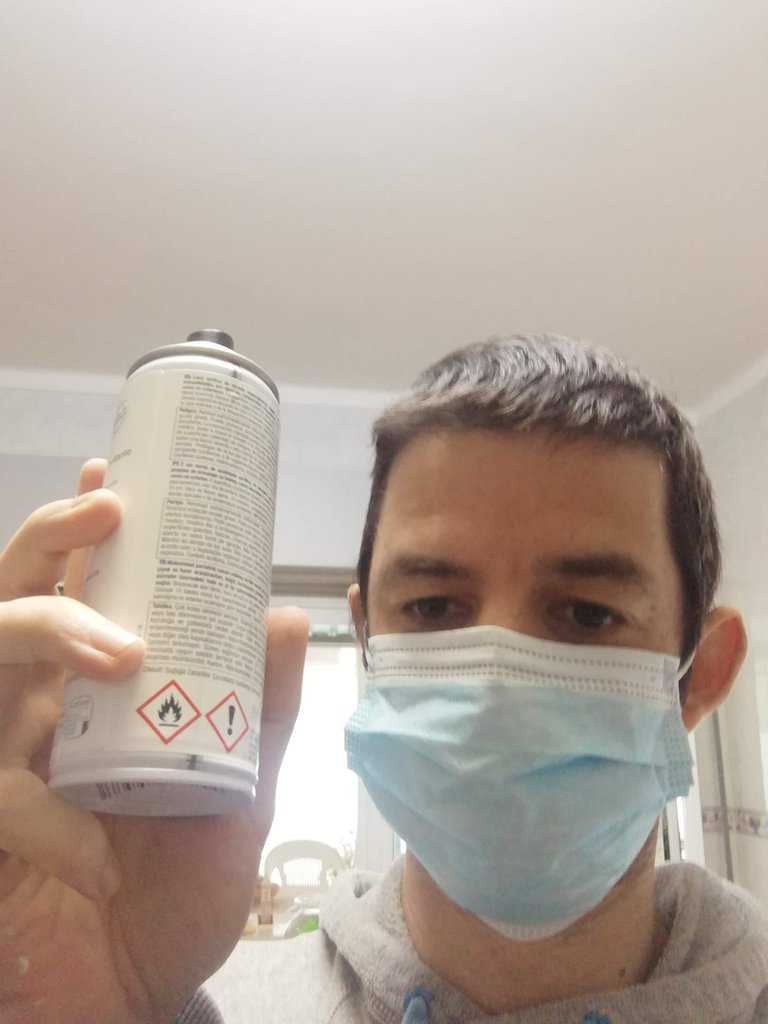
It's odorless, and the most safe i could find, but like any product that contains even the minor of chemical quantities, take protective measures when using said products, and use them in well vented rooms, or even better, outside.
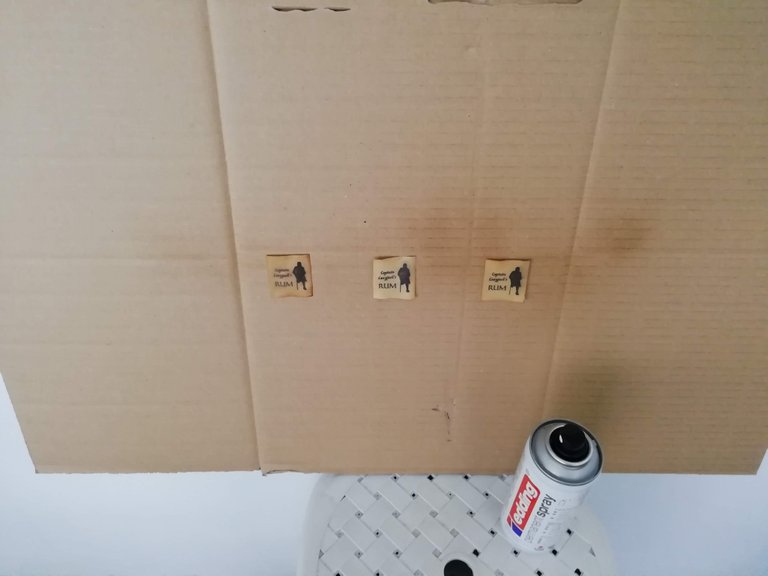
I do just one quick spray. Too much varnish will give the label a glossy look. With inkjets, it might seep into the paper, ruining the ink as well.
Easy, once you have the varnish, it is a one or two second process spraying them, which is about 1% of the time it took me to find the right varnish type.
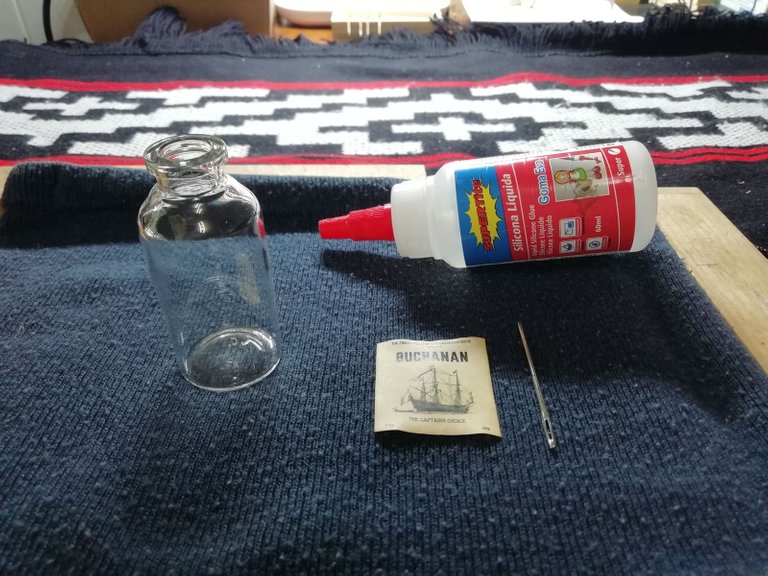
Next, what type of glue to use. I did many different google searches to figure what glue would be good for gluing paper to glass. One that:
- Would stick the paper firmly to glass;
- Doesn't seep into the paper, ruining the label;
- Won't come off with water, detaching the label.
After hours down the internet rabbit hole for types of glues, pivoting into reading about the chemical composition that makes up the substance known as adherents, and finally finding myself reading about the meaning of all life and the existence of the universe itself, i finally got up and decided to just start using glues i had around the house!
Fun fact, milk is used by some people, as a glue to stick paper to glass! The label will come off just by the mention of water, not to mention an inkjet label will just melt in contact with milk, but i found it surprising what things people come up with!
Moving onto gluing.
Surprisingly, this cheap stuff is incredible resilient and fits the bill better than i could have imagined; Liquid Silicone.
It's pretty much guaranteed not to come off with any accidental water contact and it doesn't seep into the label, potentially tearing it.
A decent amount of glue.
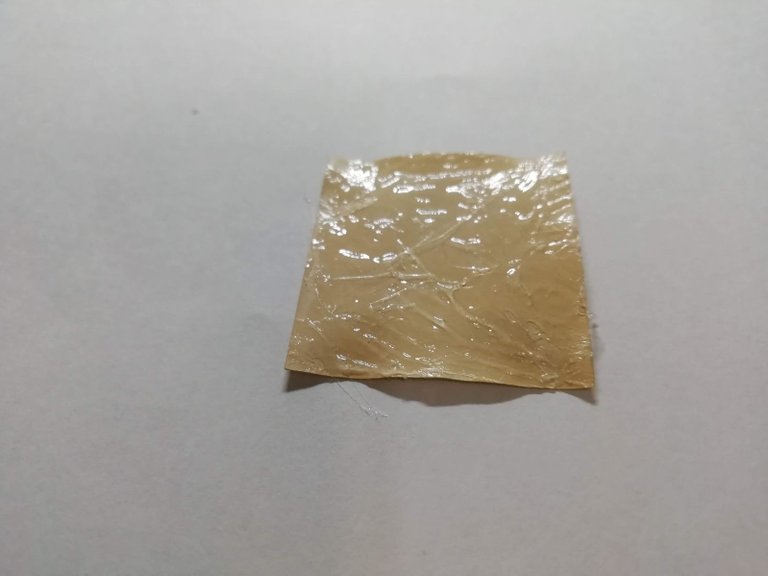
The idea of the amount of glue is so that the label doesn't stay loose on any part of it's surface, especially along the edges.
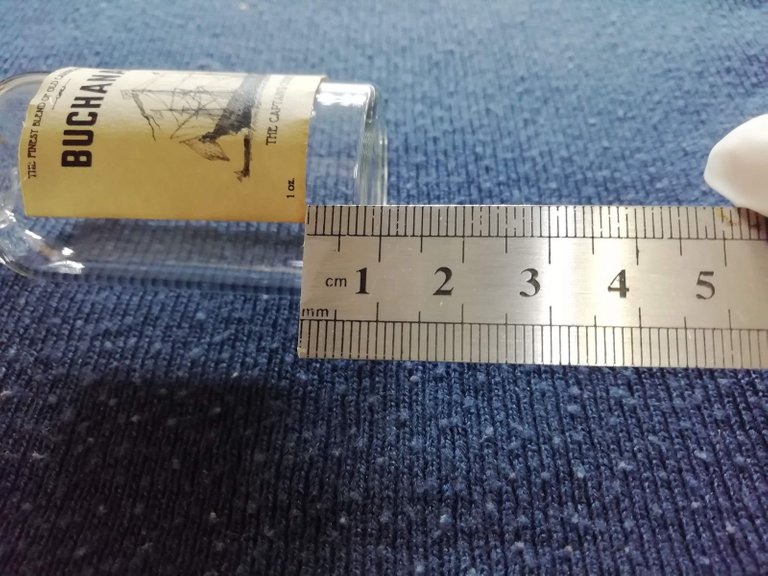
Measuring.
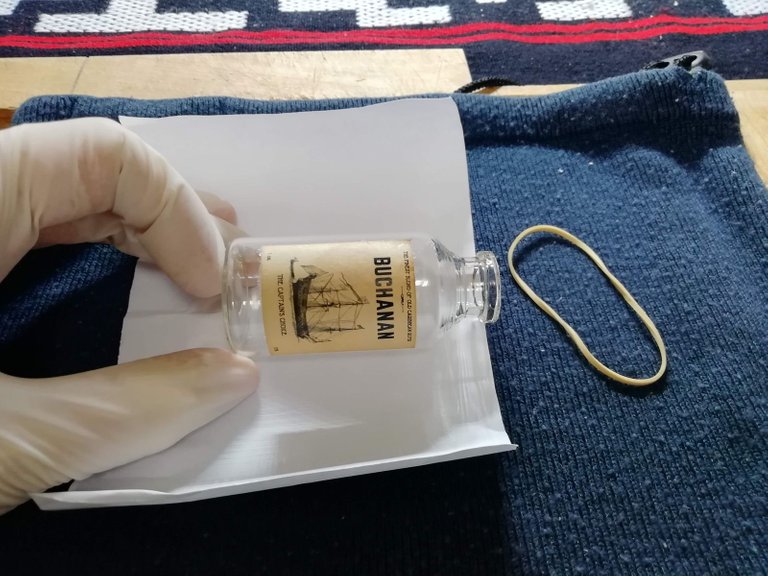
Now i place the label on the bottle, with just enough pressure to make the label stick to the glass, so that i can still move it around when measuring it into place. I want to keep all the bottles i make as visually consistent as i can.
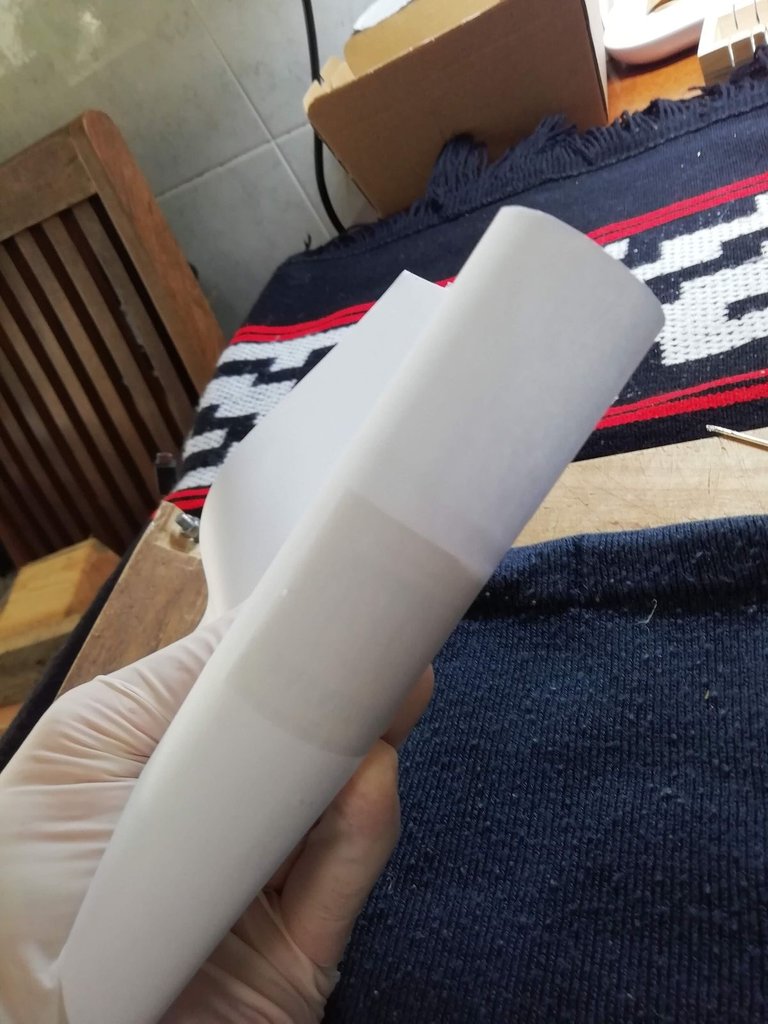
Applying maximum pressure.
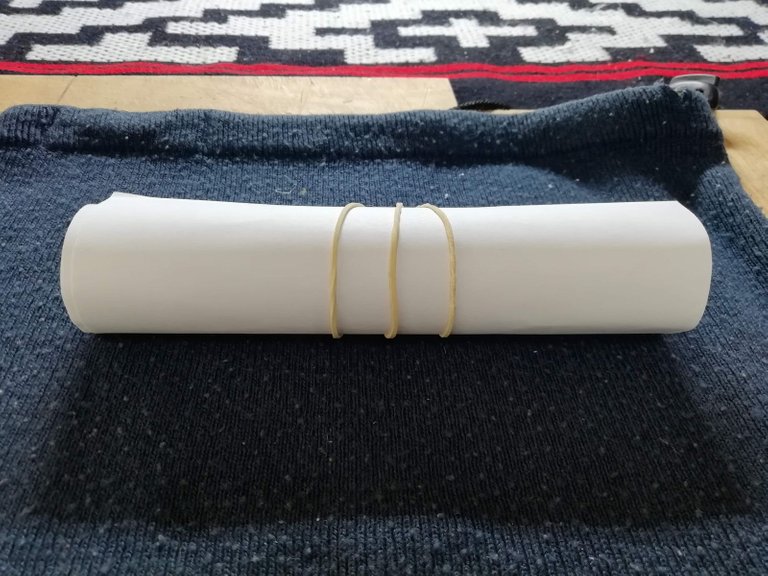
Now that the label is aligned, i roll the bottle in a piece of paper and tighten it for a couple dozens seconds, so all area of the label is being pressured against the glass.
Clearing out excess glue.
While applying pressure, i can go ahead and remove any extra glue from under the label. I can exercise some pressure, over the wrapped paper without damaging the label underneath.
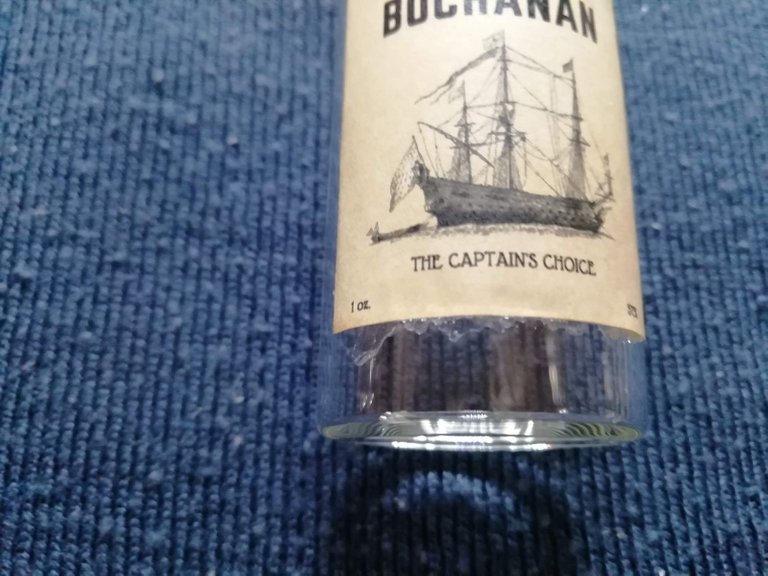
A quick check to see if the label is vertically angled..
..and it looks good.
At this point the glue has attached the paper quite firmly, but i can still move it around using some force.
More excess glue removal.
I do a careful pass over the label itself now, to see if any excess glue exists. I want the label to be as close to the glass as possible. Leaving excess glue under the label will give the appearance of it sitting on top of glue, and not connected to the glass.
I also use gloves for this entire process. I've washed the bottle thoroughly previously, and handling it bare handed would create a museum of fingerprints.
Pressure wrapping.
Before the glue dries off completely, i pressure-wrap the bottle and leave it overnight.
It'll be hardened after an hour, but i usually let it sit overnight, as i have other bottles in different states of development i can work on.
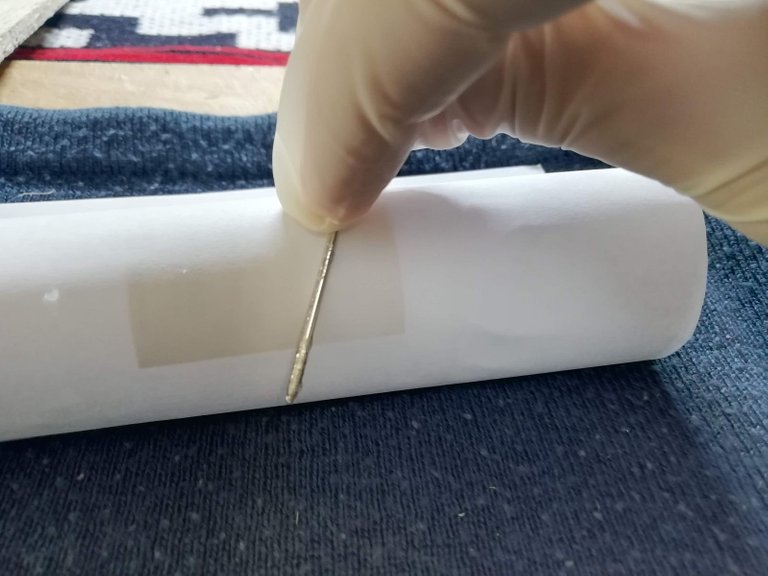
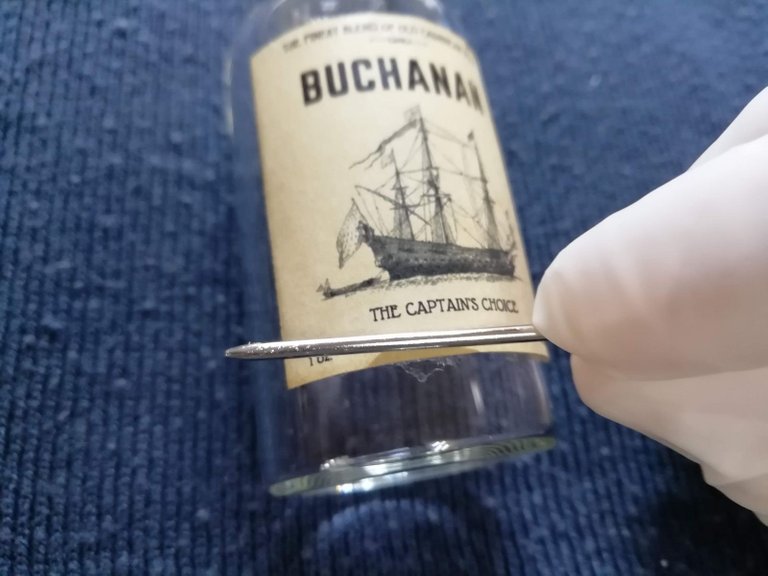
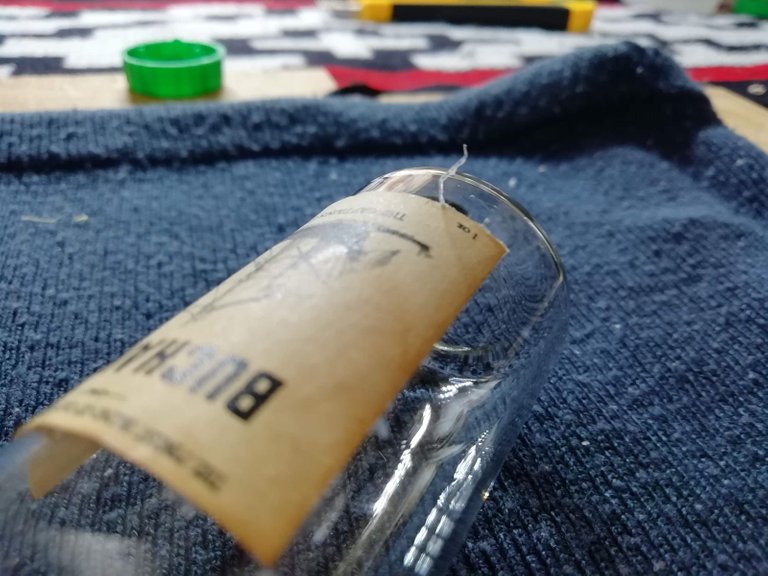
Cleaning excess glue.
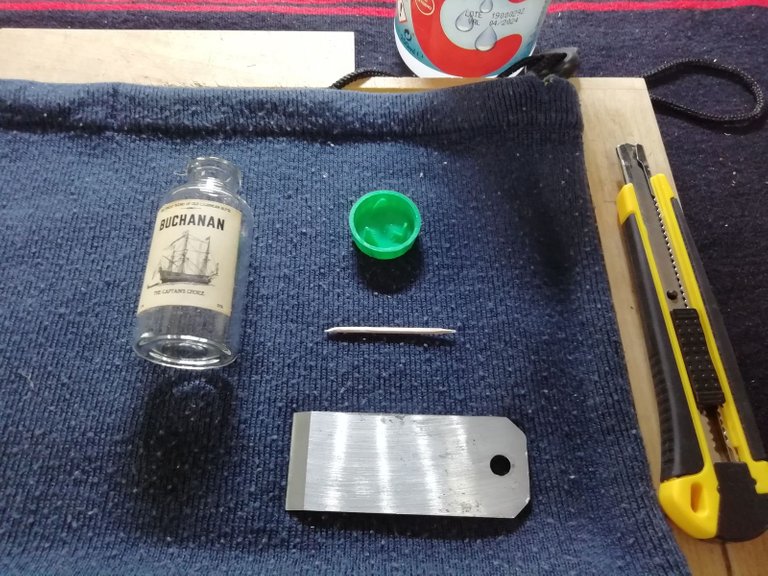
I use rubbing alcohol and a toothpick to scrape off the extra glue from the glass; the alcohol dissolves the silicone pretty well, and the toothpick avoids scratching the glass.
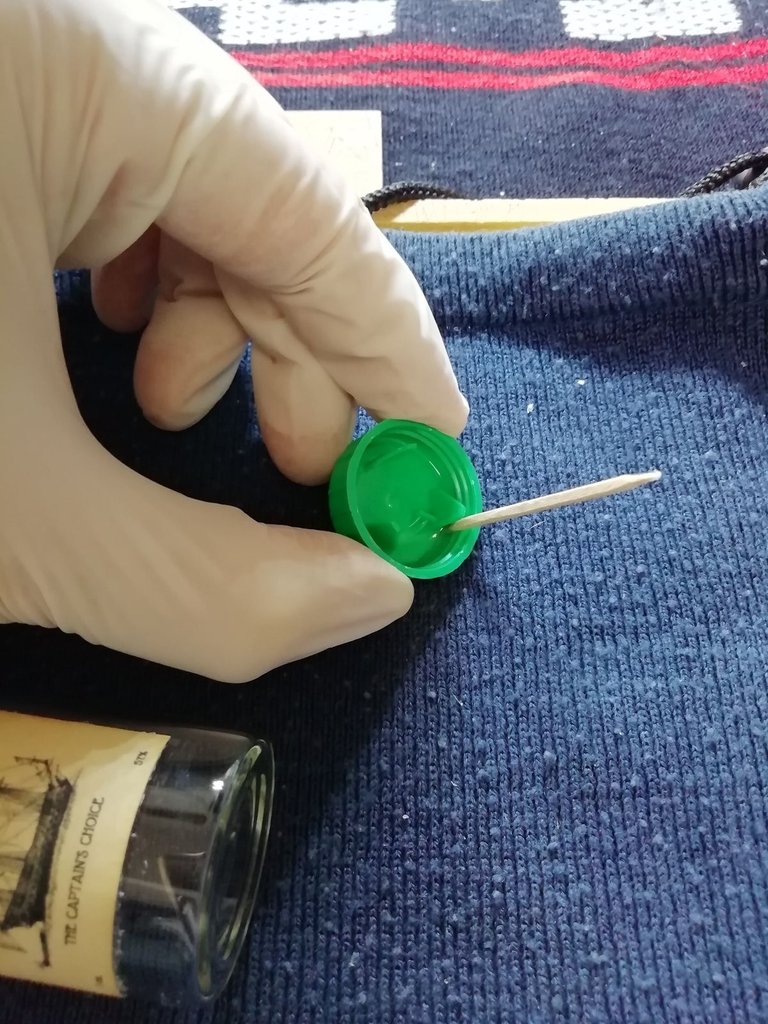
Near the label i don't use the toothpick; the alcohol soaked toothpick will wet the label and soften the glue underneath it. So i use the blade of a mini Japanese plane and make cuts on the glue.
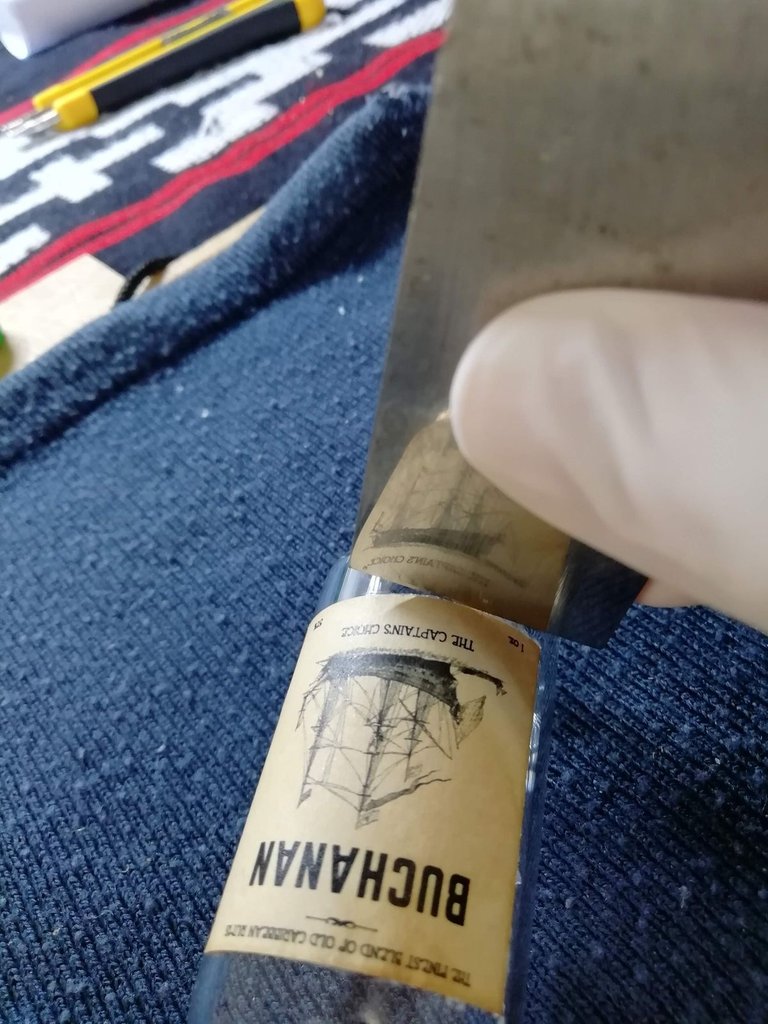
Then it's just a matter of peeling off the glue.
I repeat the process all around the label, alternating between the toothpick and the blade.
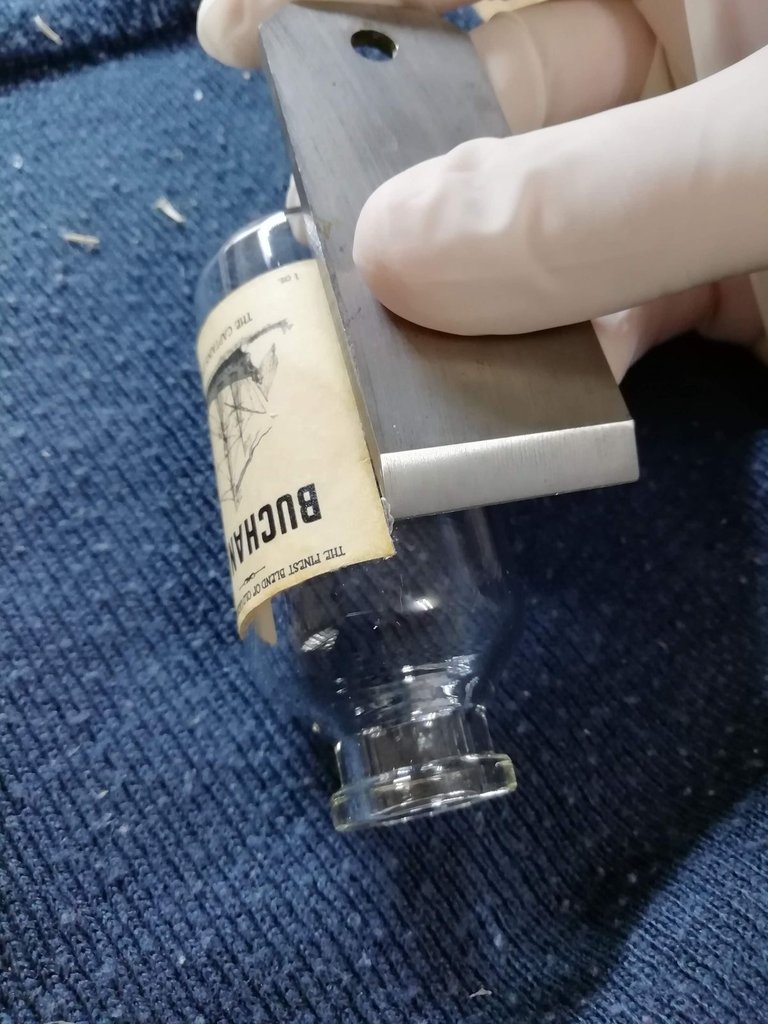
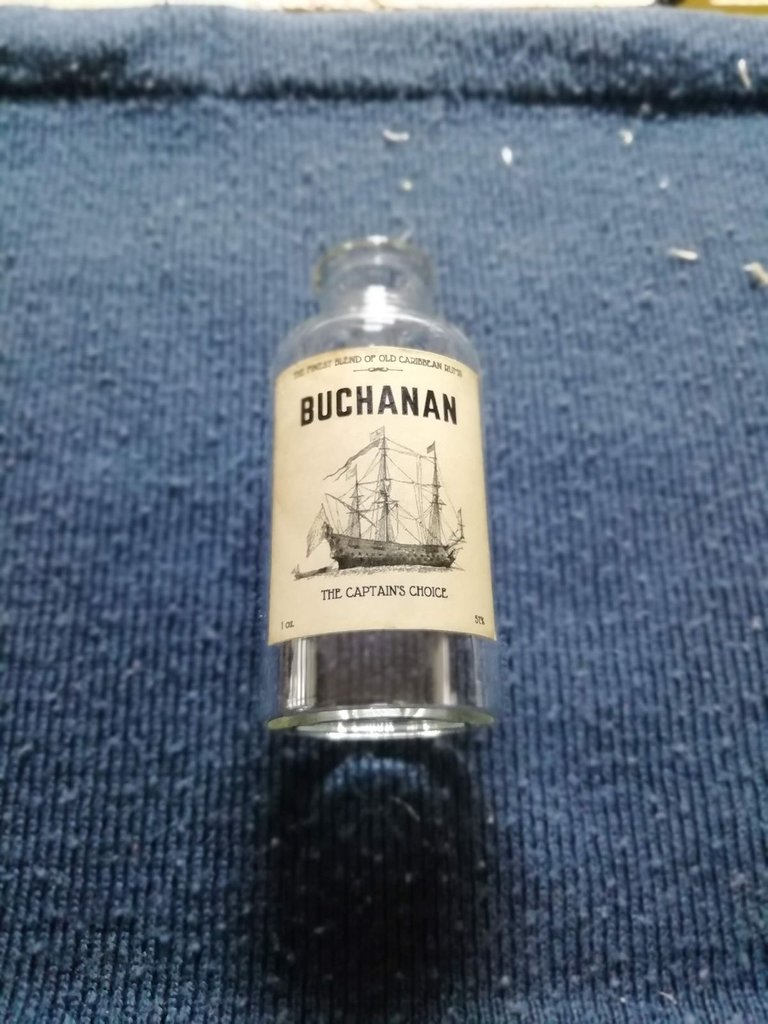
Until i'm happy with it.
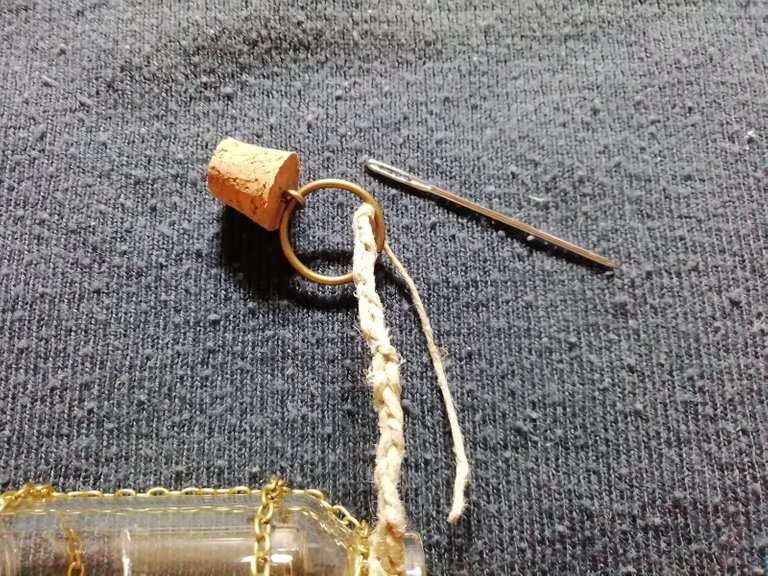
Onto assembling the the lid of the bottle, and the cord that secures it.
My multipurpose workbench comes into play again.

And i quickly make a single strand braid. Just something visually pleasing instead of a plain cord.
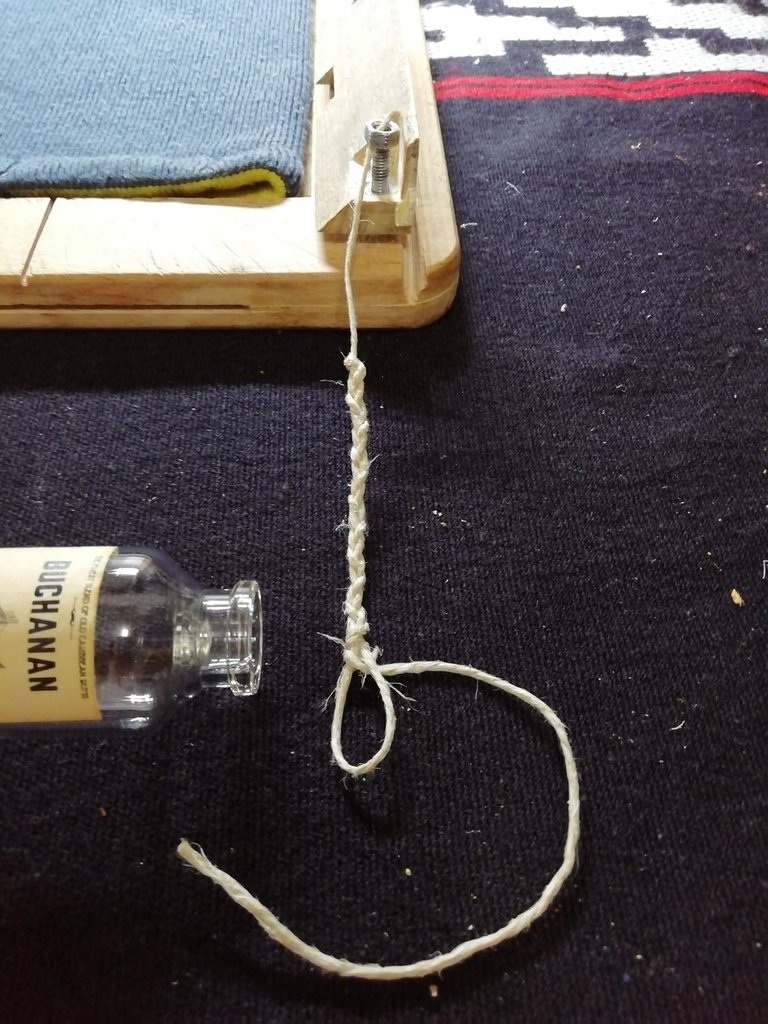
A bit of that "super glue" tucked away under the cord to keep it in place.
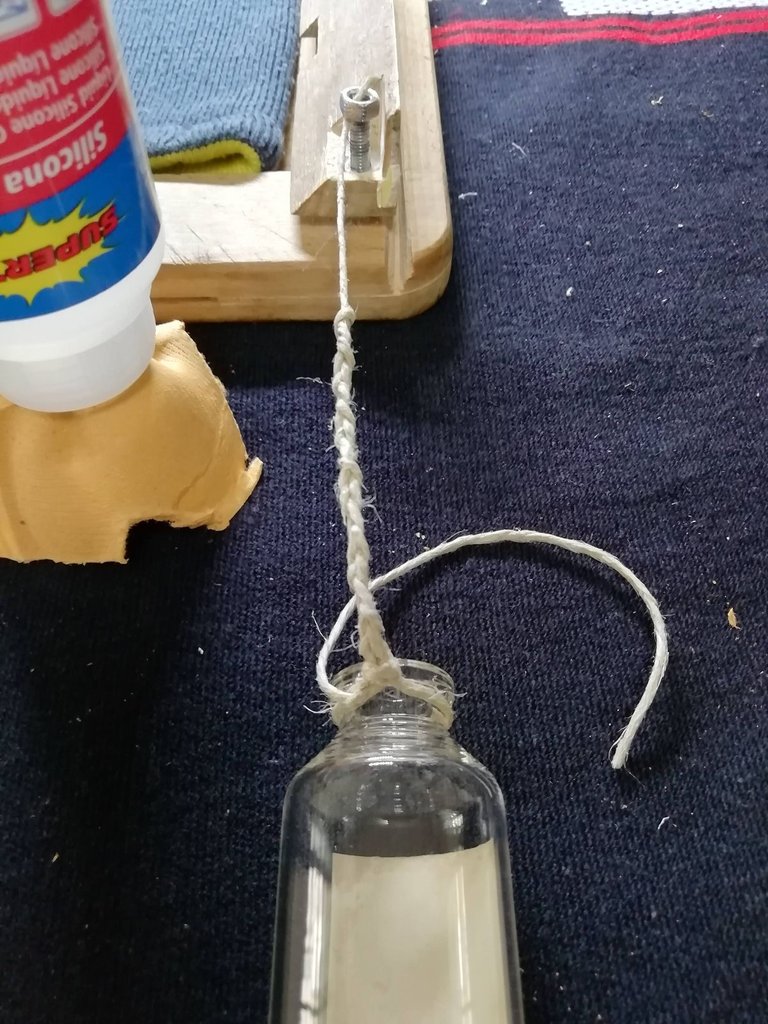
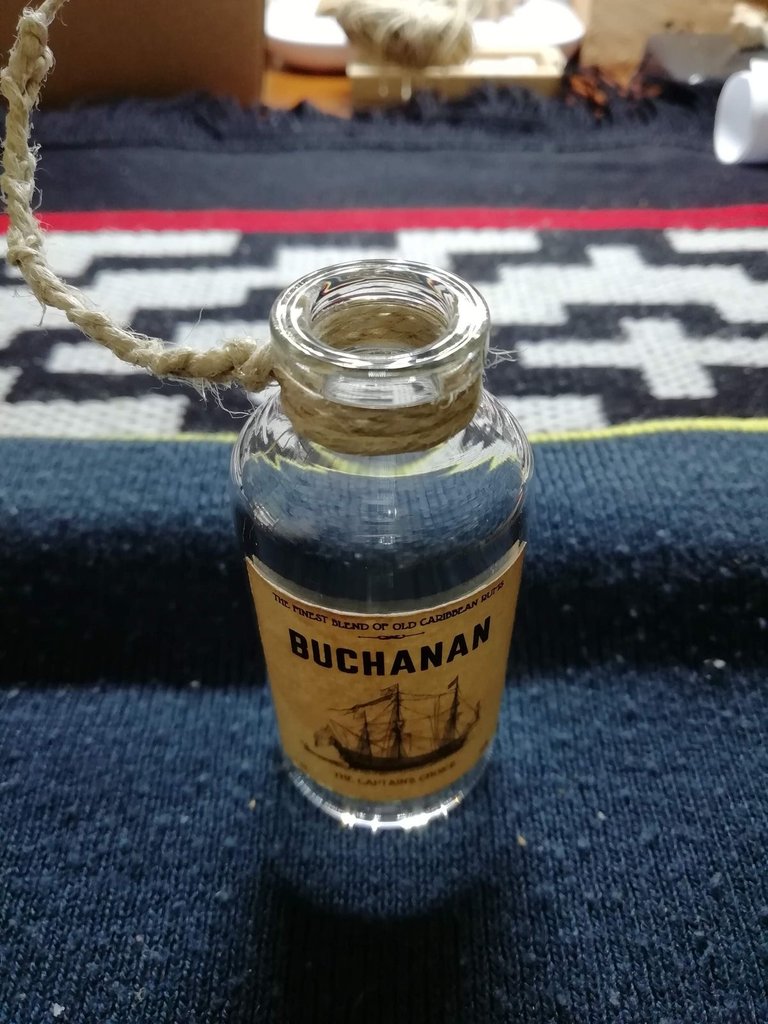
And it's looking sharp!
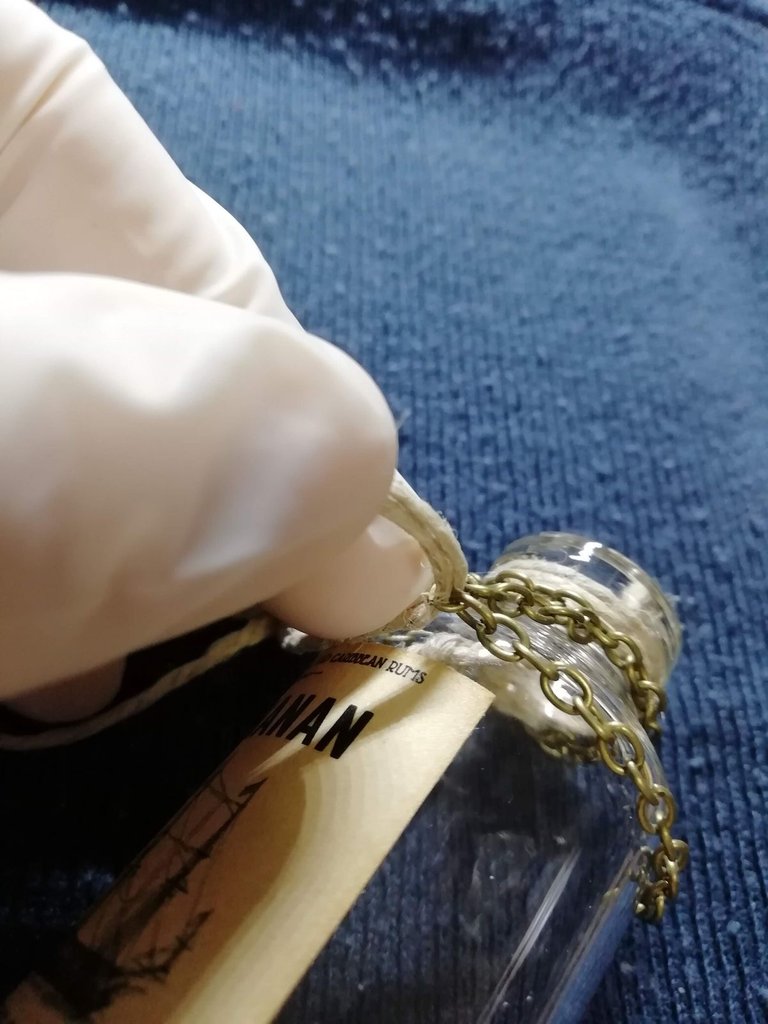
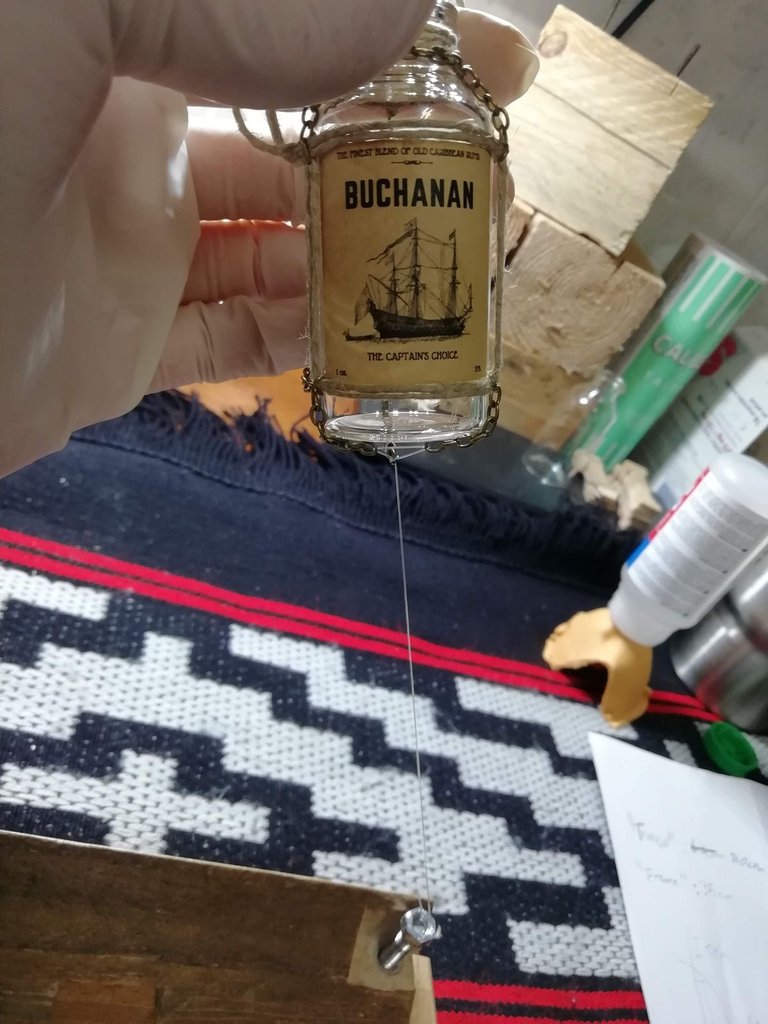
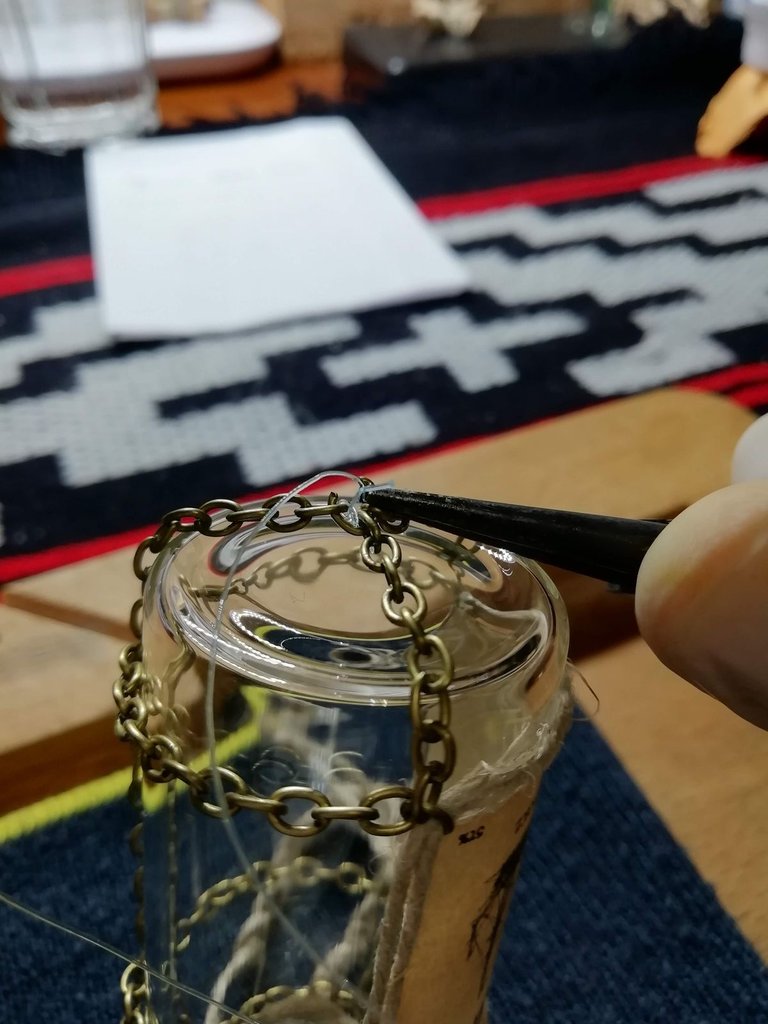
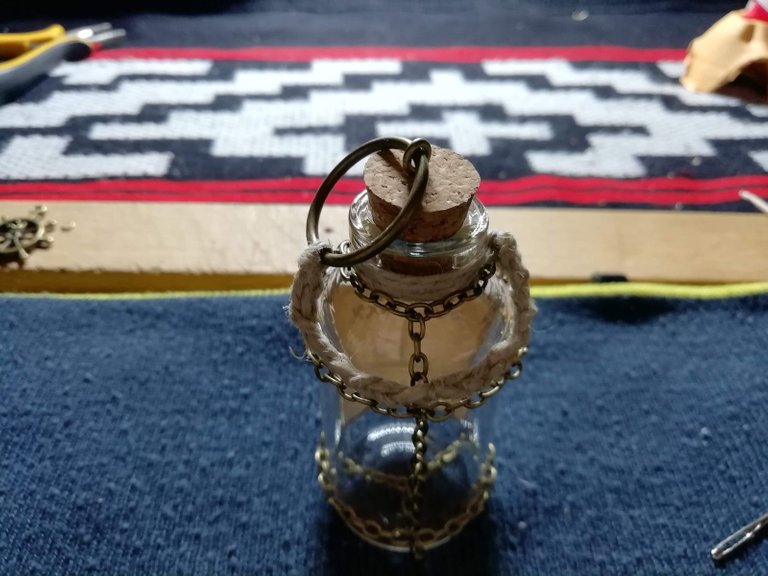
Now comes the more intricate work; attaching the chains around the bottle.
I use fishing line to help secure the chains in place - it makes the process so much easier!
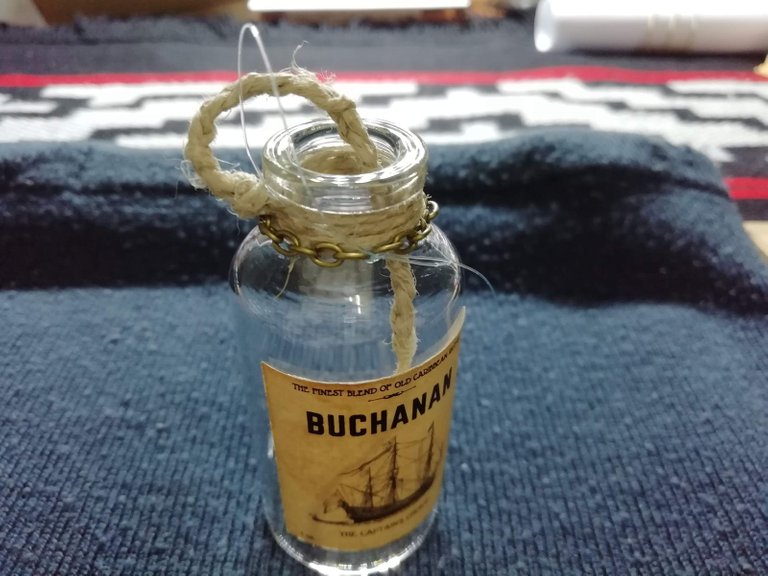
I attach two chains that will hold the cord frame around the label.
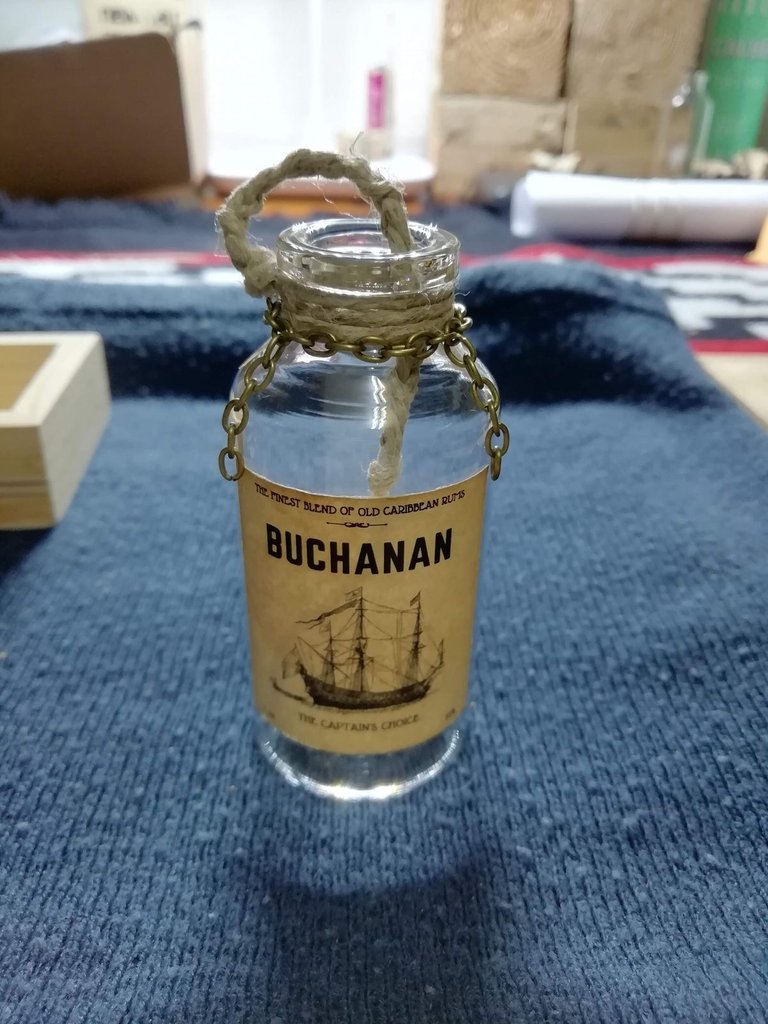
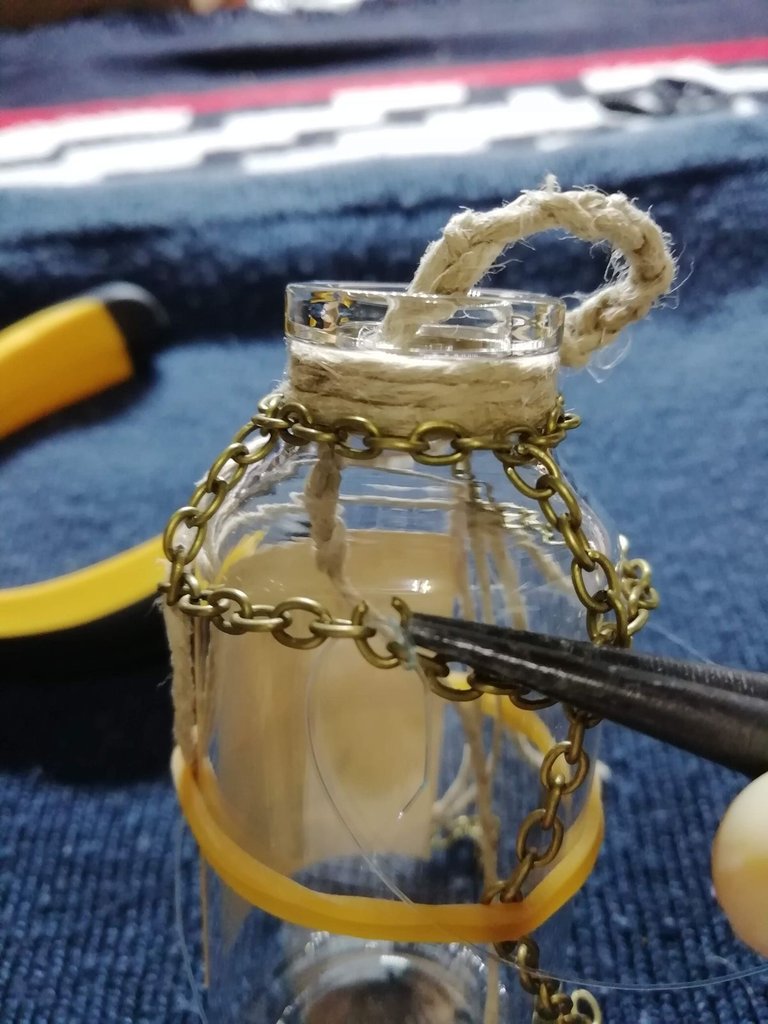
I add the "backbone" chain.
And i fit the cord.
I make a single "join" from the front cord frame to the backbone, to start securing it into shape. I want the cord to be the foremost visible thing from the front of the bottle, so chains are attached behind the cord.
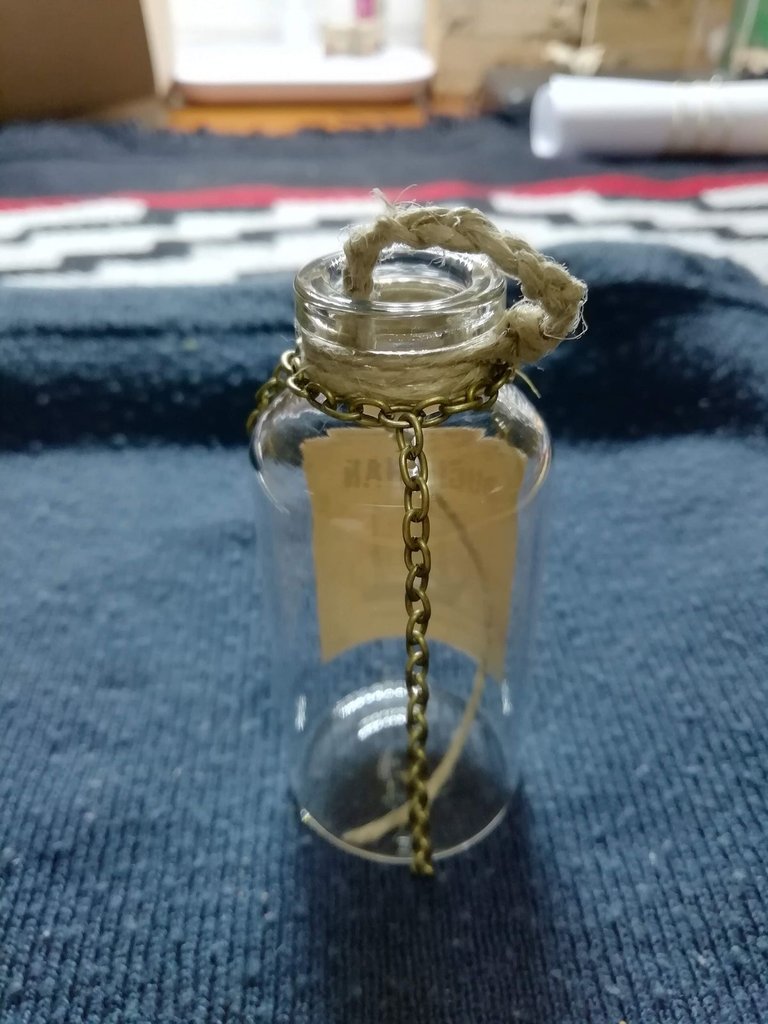
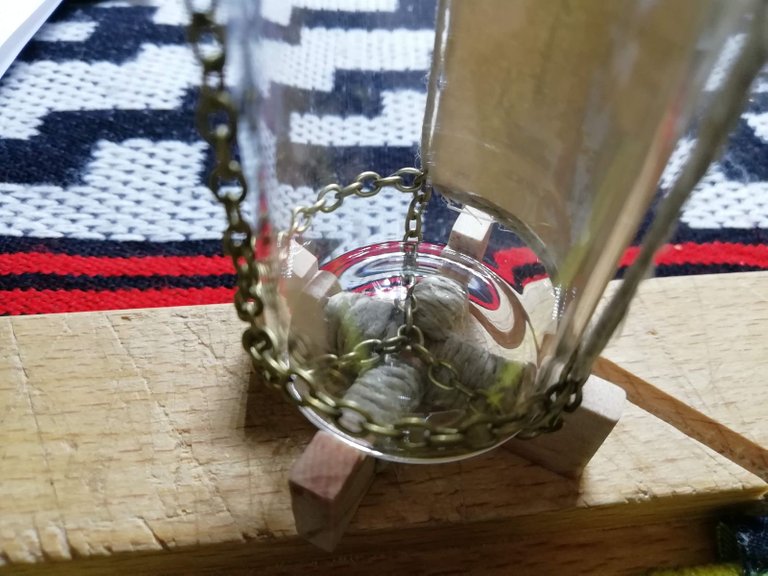
I add two bottom chains that go under and attach to the backbone, under the bottle.

And with help of the fishing line and a rubber band to help keep everything in place, i start fitting all the side chains, which secures the frame cord horizontally.
And done.
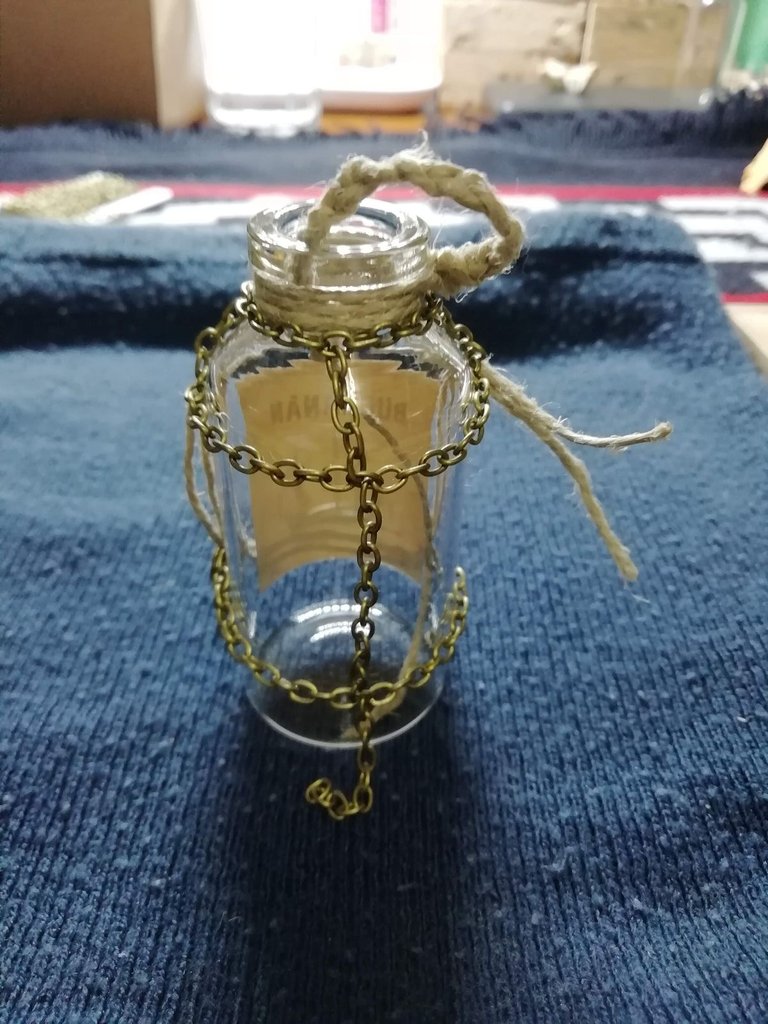
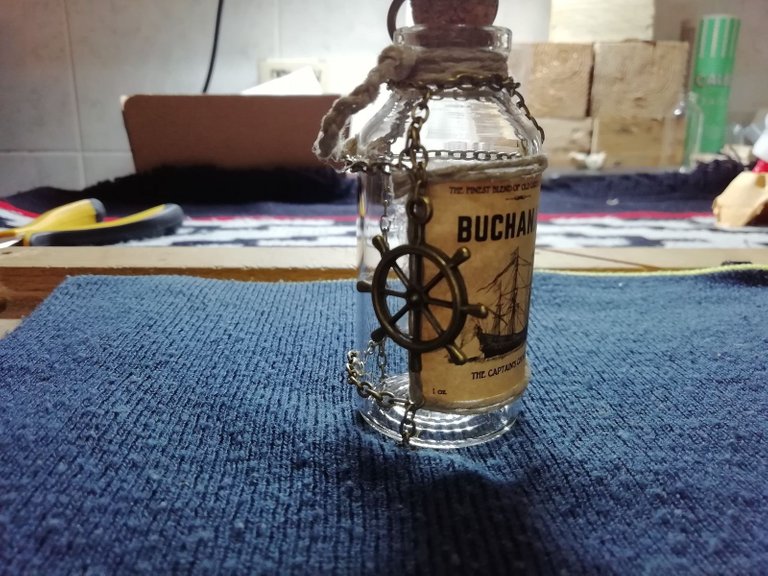
Adjusting the cord.
Pulling the chains from underneath pulls everything together tightly, and allows me to make small adjustments to frame the label.
The final chain connection piece.
And done!
The dimple in the middle of the wooden base (which i mentioned in the previous post) now has it's reason be know! It gives the chains under the bottle space to fall into, so the bottle can rest on the wood and stand angled.
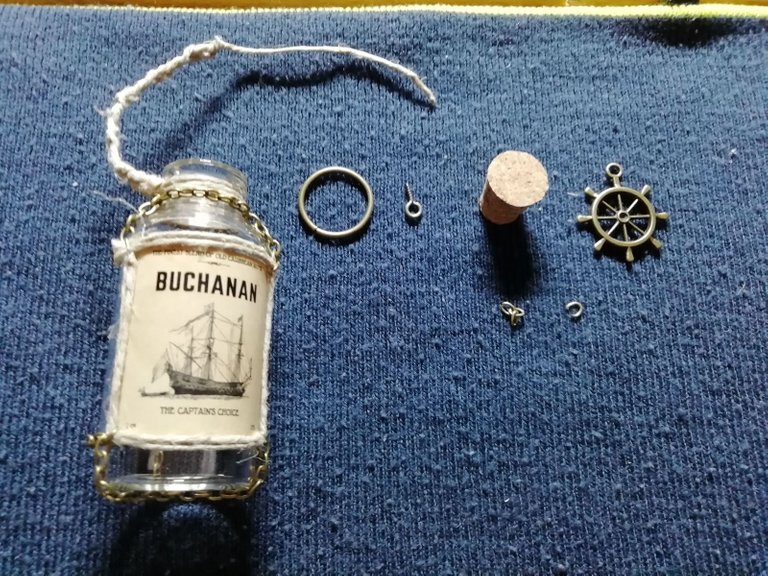
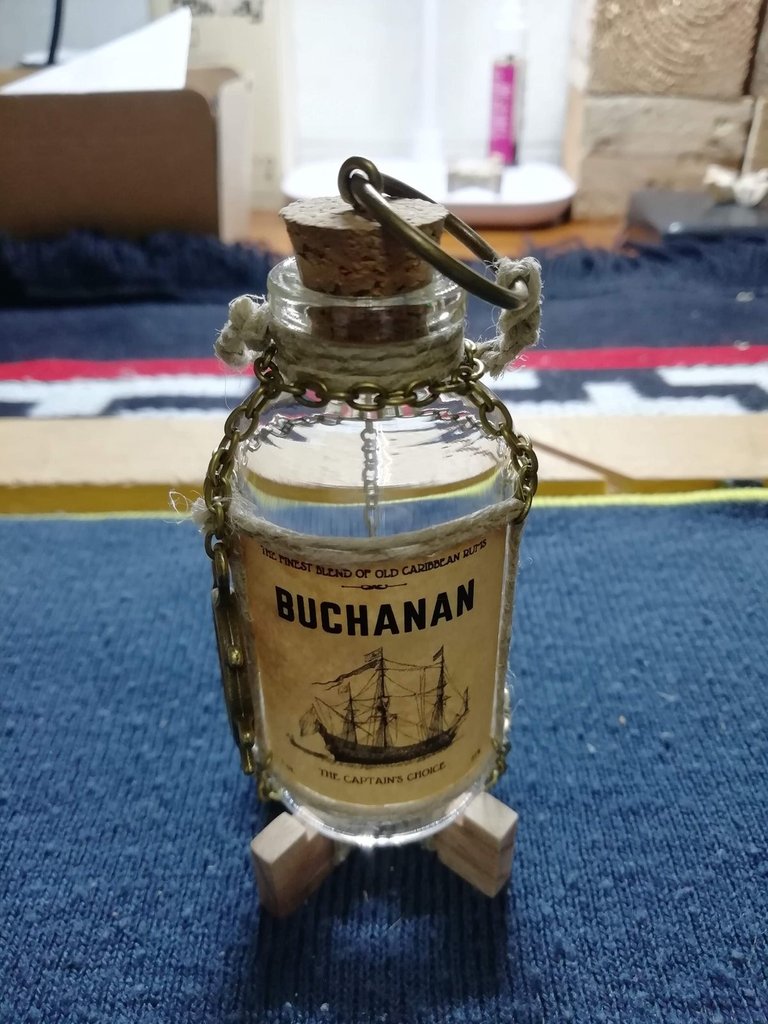
Fitting the last things.
Little left to do now. Just fitting the final pieces; the lid and the charm.
A little bit of cord sewing into itself with a tad bit of glue.
And that's done.
Fitting the charm - the easiest part of the process!
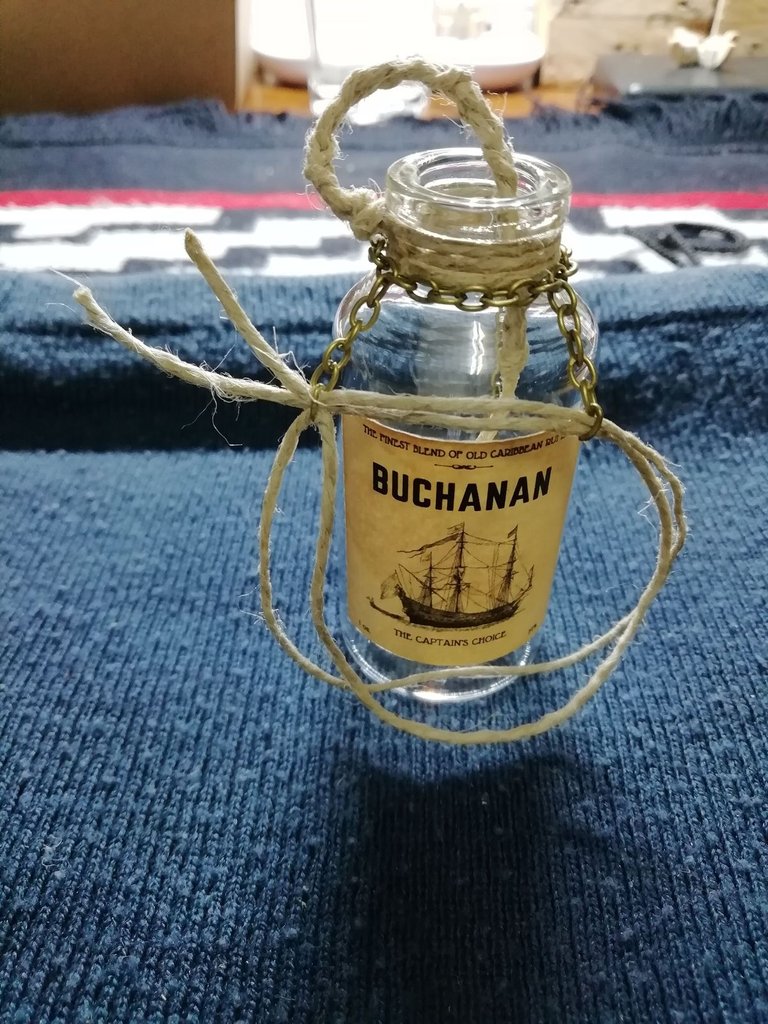
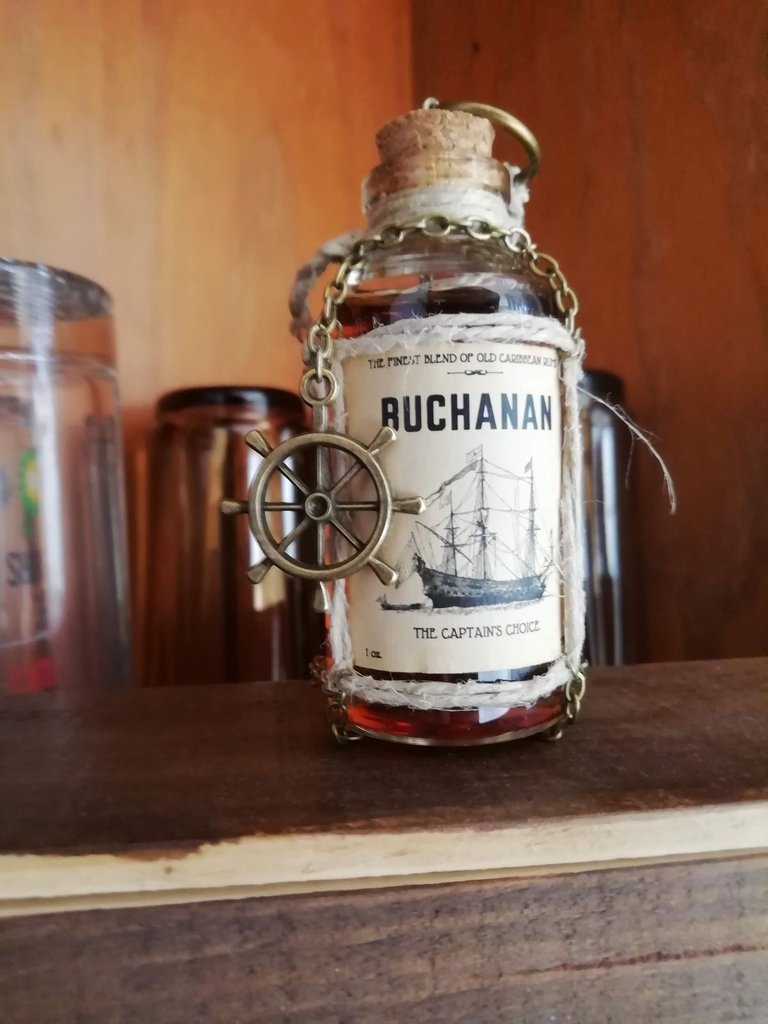
And done! A Buchanan bottle, ready to be filled with old Caribbean rums, ready to decorate any living room, or kitchen, with other old-timey, piratey, naval themed trinkets!
I hope you enjoyed seeing this bottle come into existence!
And thanks for reading!
I am selling these bottles, if you'd like to purchase one for yourself, or to gift someone to adorn their home or as a Halloween trinket, please do so by going to my Etsy store (link in my profile)!
Thanks again!
Congratulations @gamemapmaker! You have completed the following achievement on the Hive blockchain and have been rewarded with new badge(s):
Your next target is to reach 200 upvotes.
You can view your badges on your board and compare yourself to others in the Ranking
If you no longer want to receive notifications, reply to this comment with the word
STOPTo support your work, I also upvoted your post!
Check out the last post from @hivebuzz:
Support the HiveBuzz project. Vote for our proposal!
Уау! Страхотно!