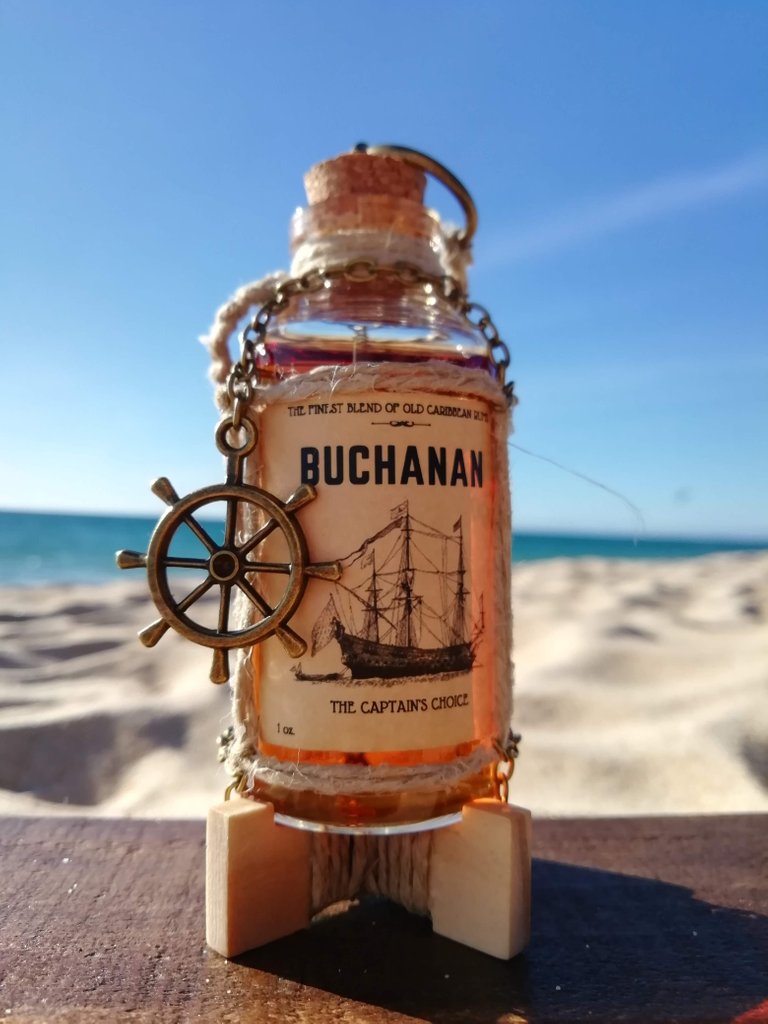
Making of "Buchanan Rum Bottle" - Part One
Hello!
Hola nuestros irmanos! Portuguese native here, not so good at spanish. Hopefully, it's ok that i share with you my process of making one of my crafty item projects; hopefully it will be a fun read, and i can entertain and well as share!
Let's get into it, shall we?
I will be going through all the steps i take to make this, showing you the quickest way i've learnt to make such item. And i'm sure you can learn something if you do hand-crafted items as well. If not, then i hope it's just as enjoyable to read, as a curiosity on how something is done! And someone does it!
I hope you enjoy!
««« »»»
I'm going to divide the process to make the decoration bottle item into several posts. These can get quite long!
In this first post, i'm going to just be making the wooden base:
Alright, let's start!
The important thing is getting the wood; i use used fruit crates i get from the local market. These end up being destroyed at some point, when they get too much use out of fruit carrying! The wood is heat treated only. Meaning, they don't contain chemicals which are used to treat woods, when undergoing whatever process is needed to make the wood last a bit longer, in the wild (once cut).
Now, with me, they'll get a second, much longer life!
Who would toss away perfectly fine wood, anyway?!
Taking it apart is quick and easy work, just a couple of removed staples later, and i end up with a bunch of fine planks, ready to be worked on.

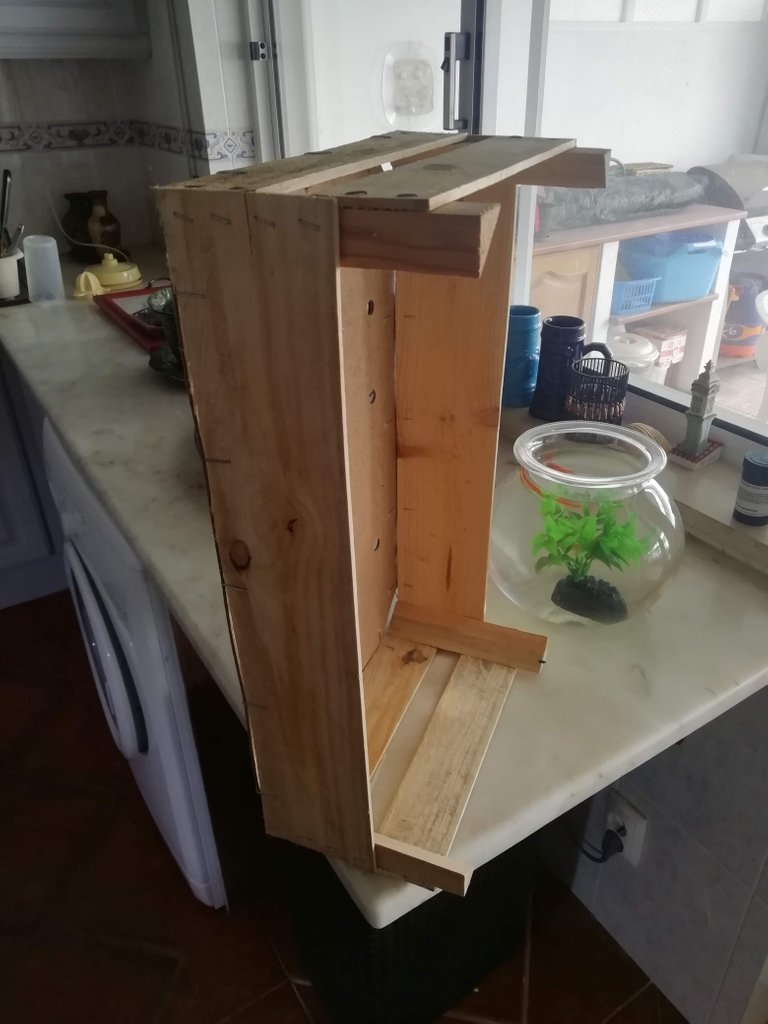
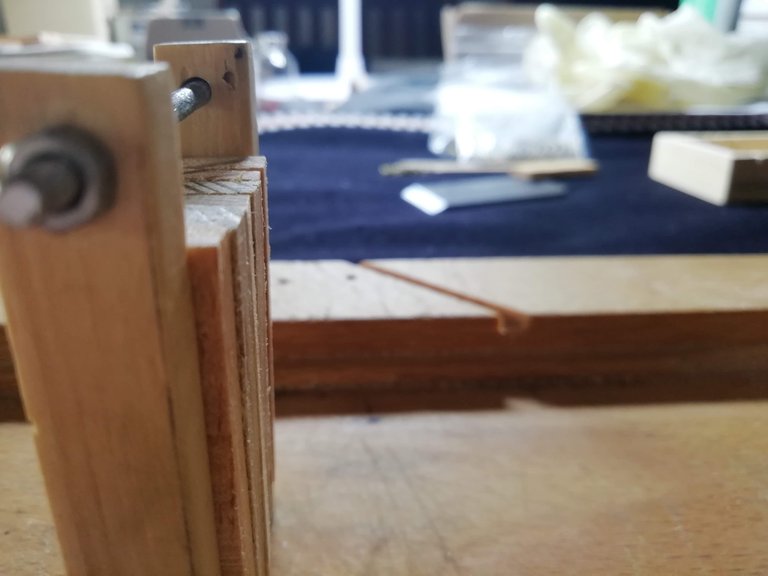
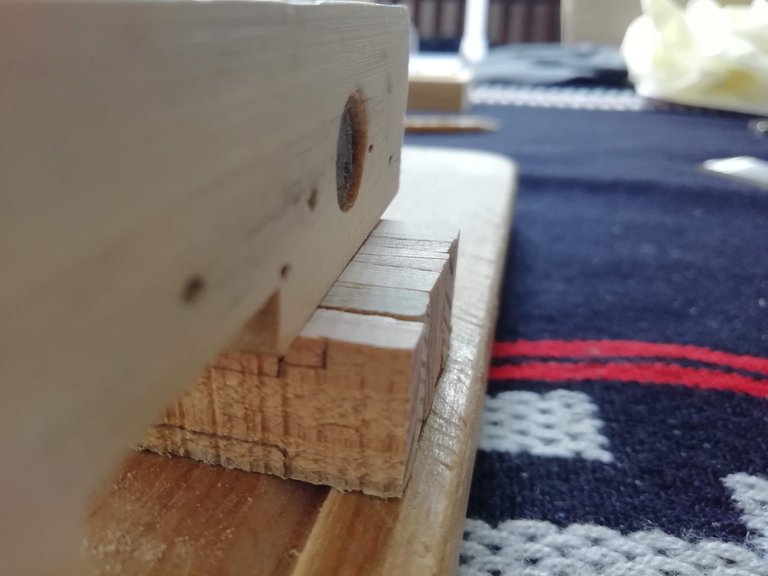
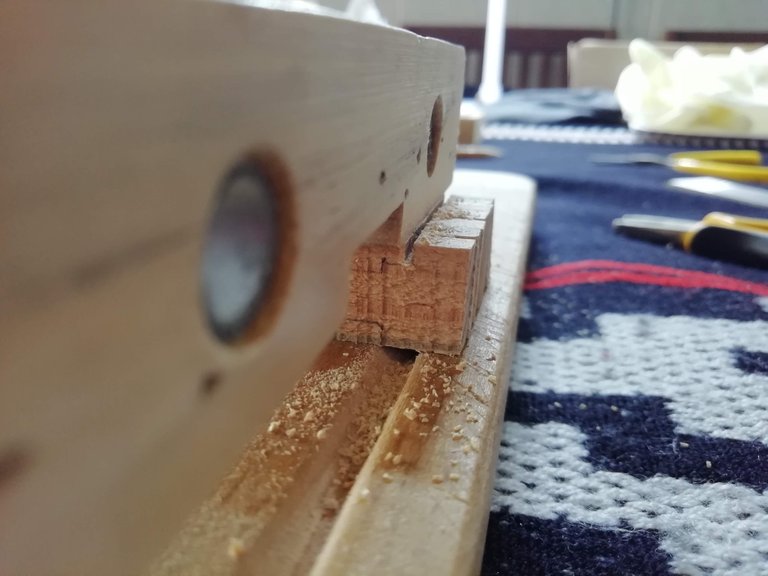
Planks dismatled, i get straight into cutting, setting up a plank into my custom made workbench!
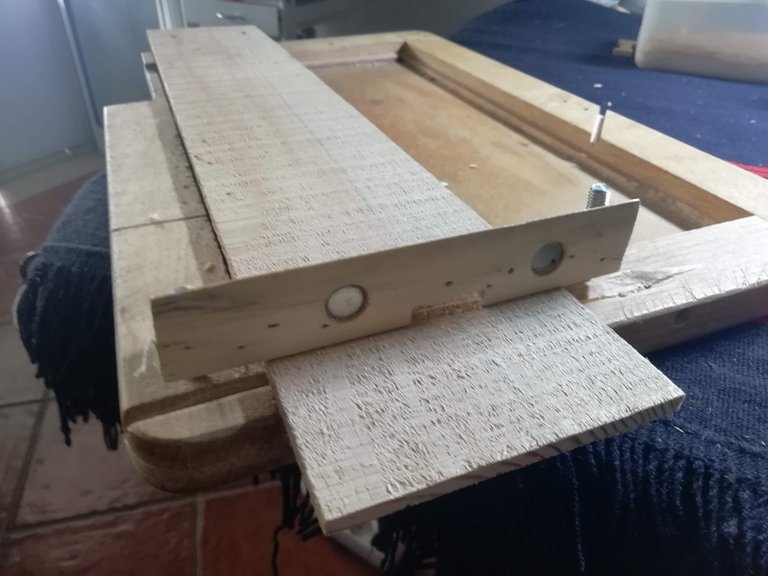
The wooden piece that tightens the wood into position has a high wall, so that the saw has a straight guide it can lean up against, when cutting into the wood.
The two circular things that are incrusted into the wood are magnets; this forces the blade to latch on tightly to the guiding wall, while i'm cutting and ensures my cutting motion doesn't wobble the blade out of the 90ª angled position, ever!
Is it too much thought gone into just cutting a piece of wood?
No!
Cuts made at perfect angles need less work down the line, with no need of sanding or anything, to be adjusted into a straight angle!
This is tiny bits of wood i'm working with. 1 mm off is a terrible lot!
Plus, it's just nice that i can let go of the saw and have a drink of coffee.
Alright, piece is cut! No science there! The magnets take all the science out of it. Just plain old sawing force needed!
I clean up right away when the saw dust gets on the floor. Walking on top of this and dragging it around the house makes for a crackling step the rest of the week.
Keep you station clean, people!
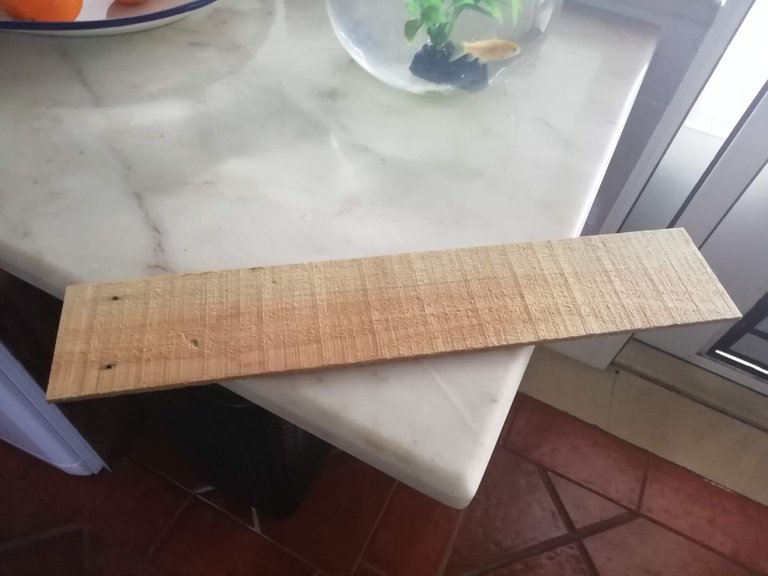
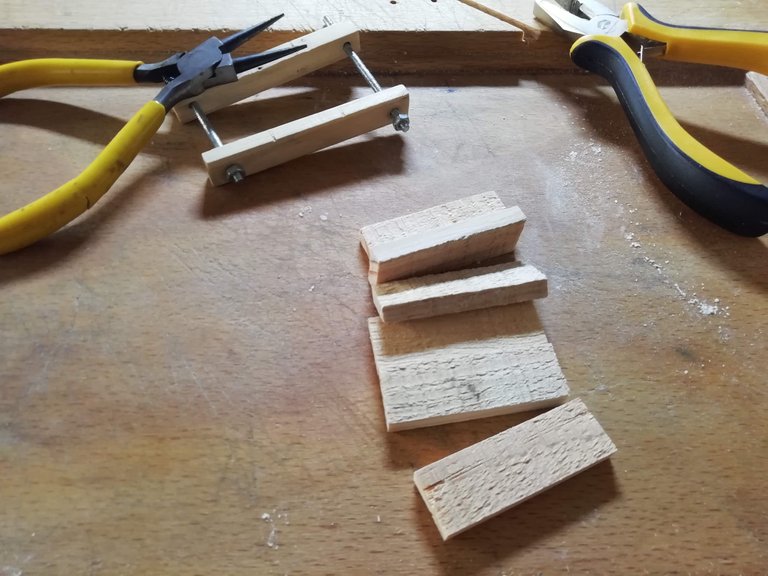
Now that i've made the first cut, i have a starting point piece, that has the width of the bottle's base. I now just need to cut two pieces out of this piece, for each bottle base i'm making.

As i am making several of these bottles, i need several pieces cut, so i cut away until there's no more wood to be cut.
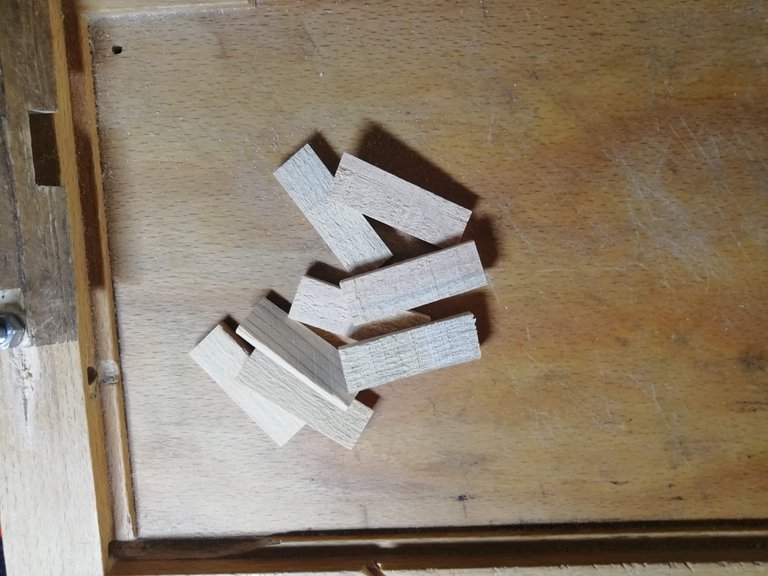
Cuts never make perfect pieces due to the "human-not-100%-precise" glitch that occurs during measurement, so now that i have a few, i will move onto sanding them so each piece can have a near-exact height.
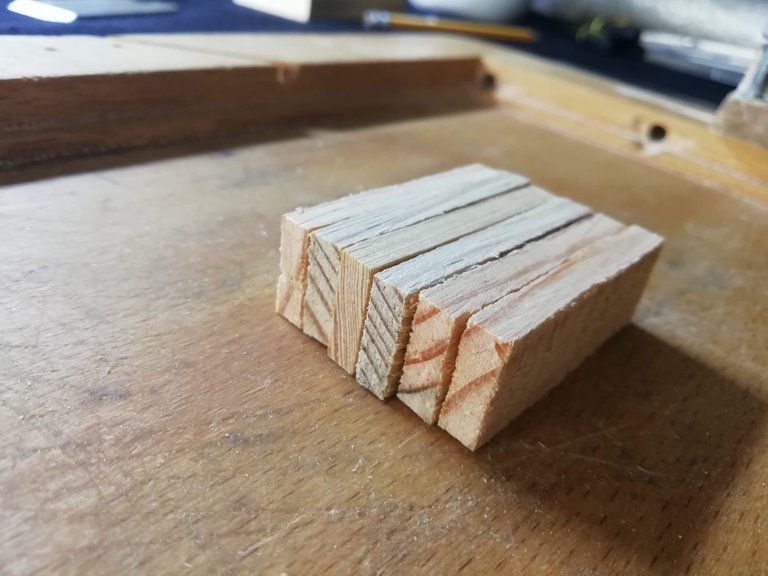
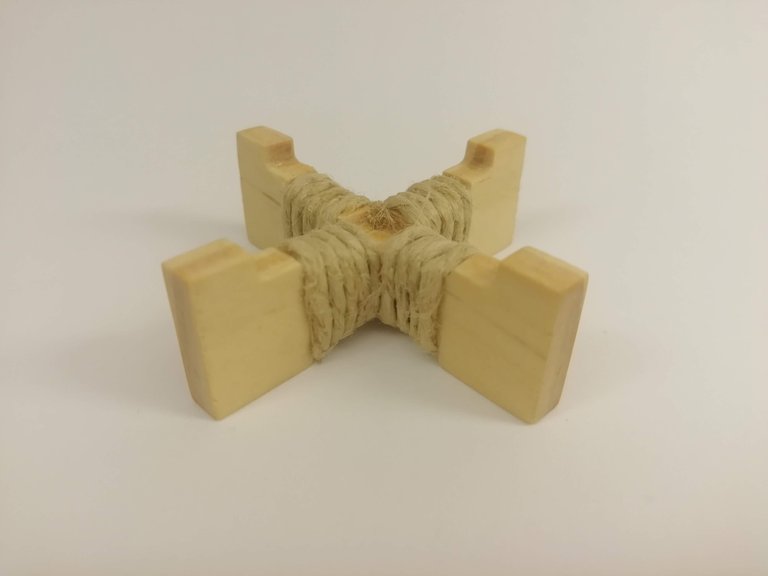
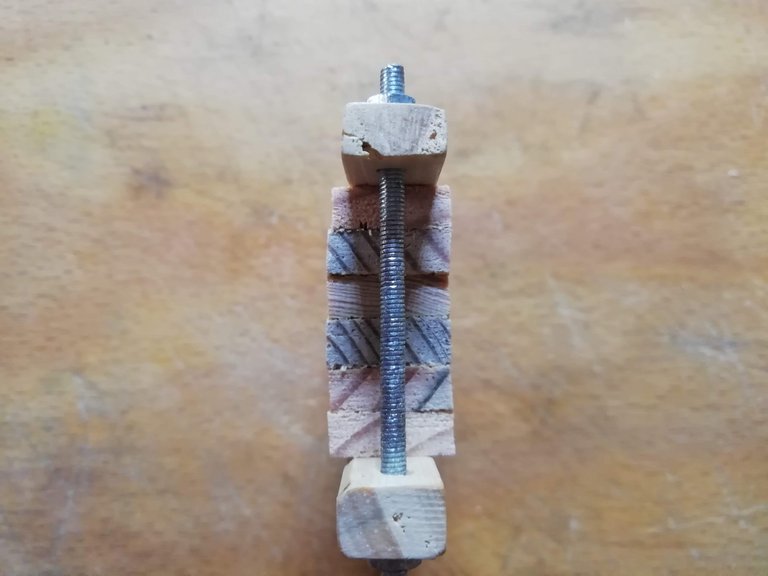
First, i use my home-made clamp to hold them all together. The pieces were resting on the workbench surface when i clamped them down, so the bottom side of all the pieces should be fairly aligned with one another.
This accentuates the hieght difference between each piece (now the faces pointing right). Look at those cliffs between each piece!
Even though the pieces where resting on the workbench surface, they are never aligned to a smooth surface! So i do sand both sides!
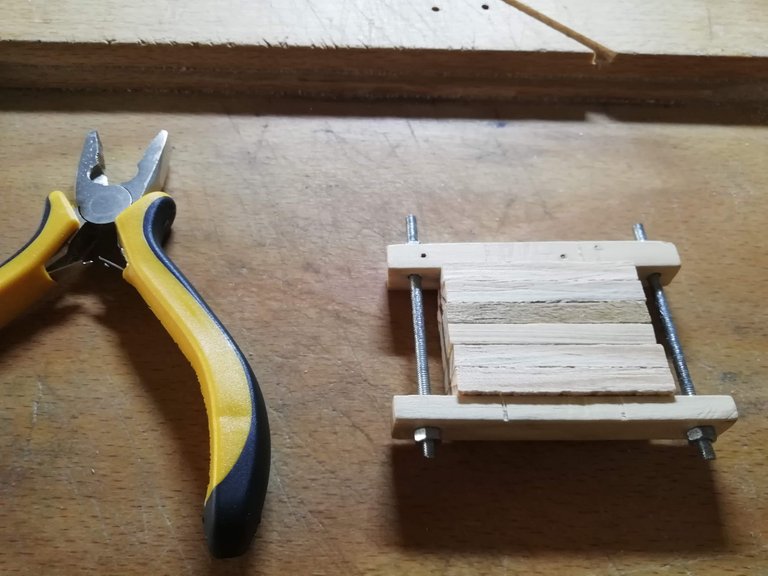
With the clamps tightened, i can center the pieces between the clamp, to give me sanding access to both sides. The clamp's tension makes the pieces all move as a single unit, which is fun and a time saver!
So now....onto sanding!
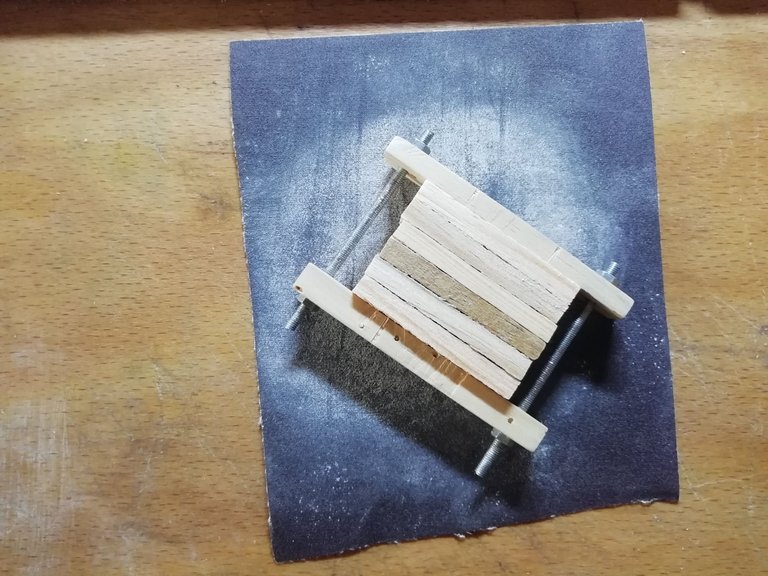
This is the easy part!
A few circular motions...
And look at that smoothed out floor!

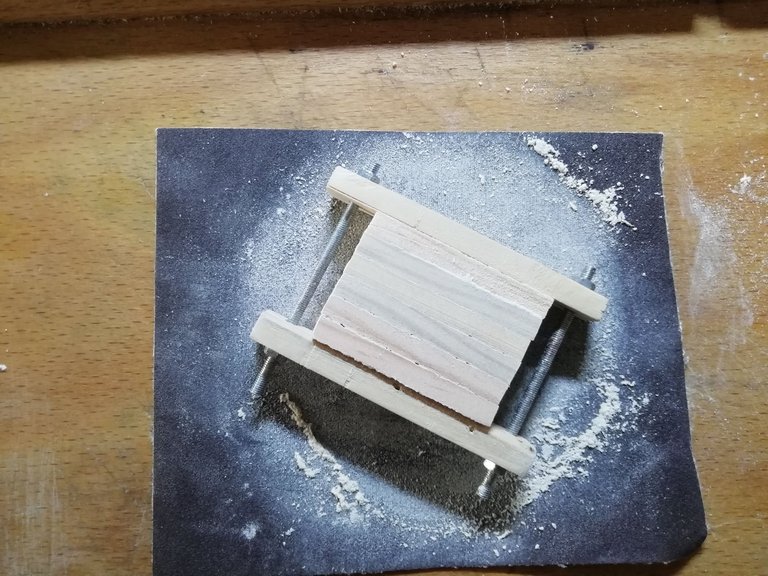
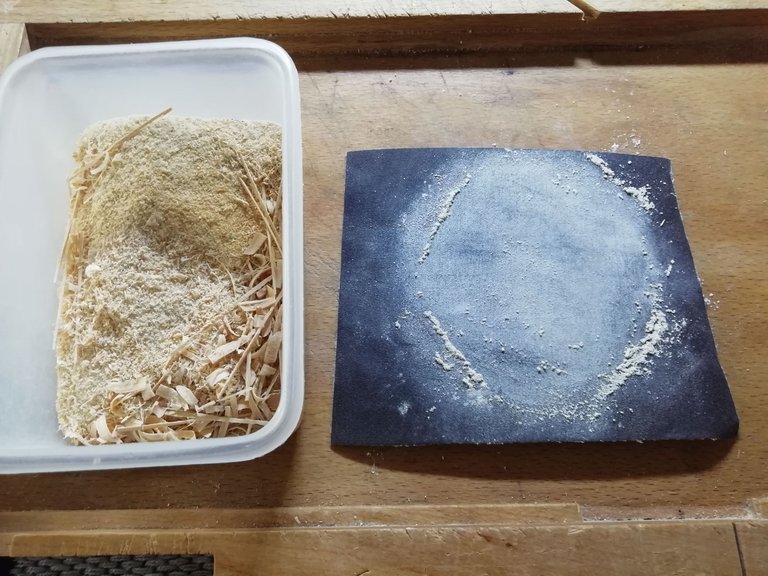
As the opposite side receives the same circular sanding treatment, this creates a good amount of saw dust. This time, not onto the floor!
This time, it's gathered into my saw dust box, for future use! On something..I know not yet what...
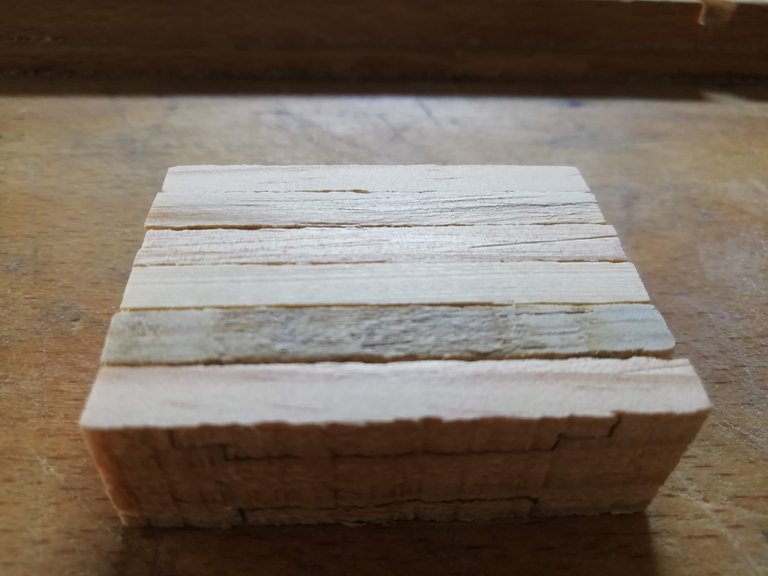
Alright, so i now have fairly identical pieces, height-wise!
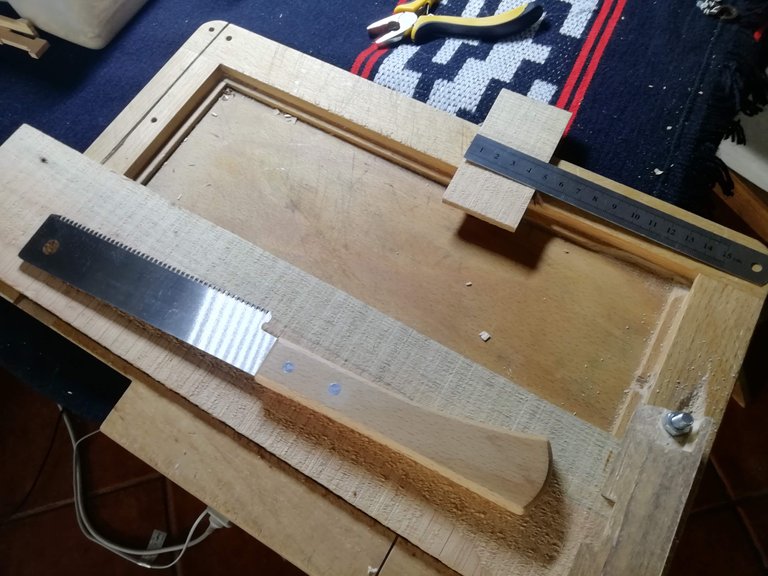
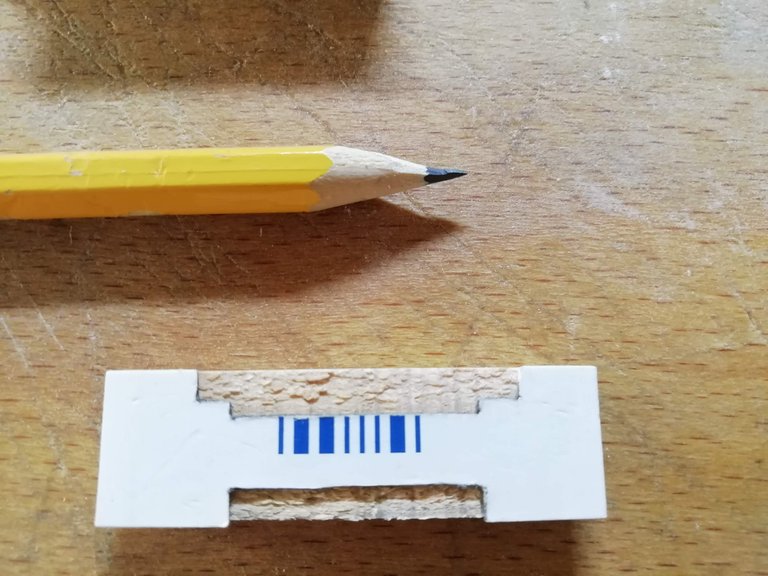
Using a cuttout piece of thick paper - or thin carboard -, whichever way you wanna see it, i had previously cut and molded out, i now trace onto the wood the shape i will carve, fille and sand those pieces into.
No need to mark them all. Because i'll be taking a shortcut, as you'll see next, i only mark one..

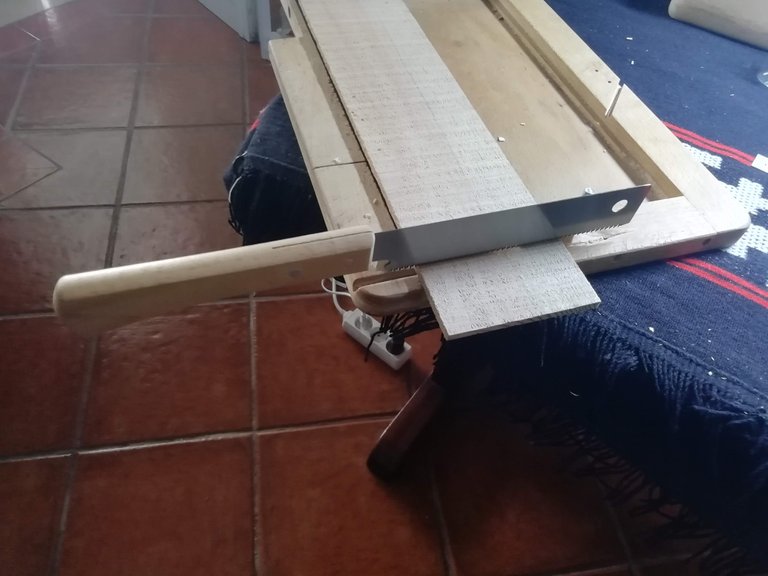
As opposed to marking them all and starting to carve them out from how their shape is now, i switch off careful manual carving mode and go into factory setting.
All of you, back to the workbench's tightener!
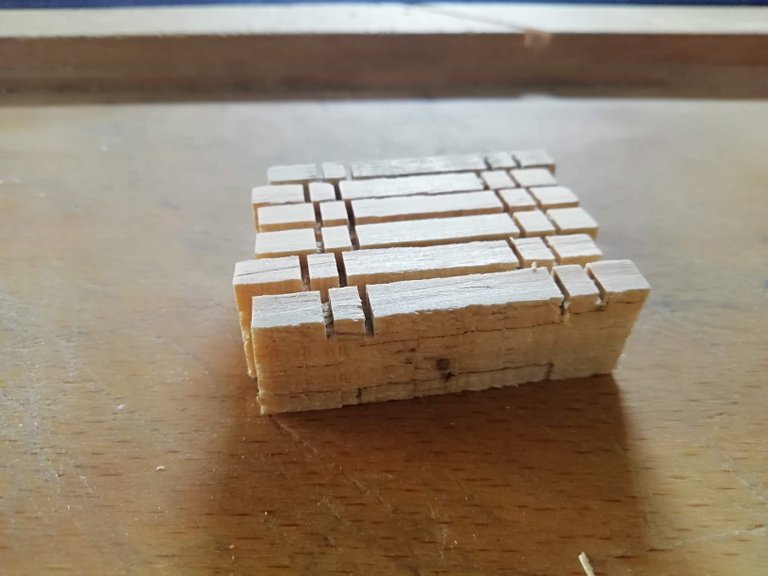
A few deep cuts, applied to all of them at once, allows me to afterwards take out huge chunks of wood in seconds, drastically reducing the time i spend carving!
Score!
But there's is a problem with factory setting. One mistake gets repeated over and over. The effect of the error ripples..
I cut it right on top of the marking there!
But no worries, nothing is ruined! There's just less margin for error from now on!
Moving on, and using that almost fatal error as something to keep in mind for the next cuts, i end up with some nice cuts.
Puzzely!
And now i mark!
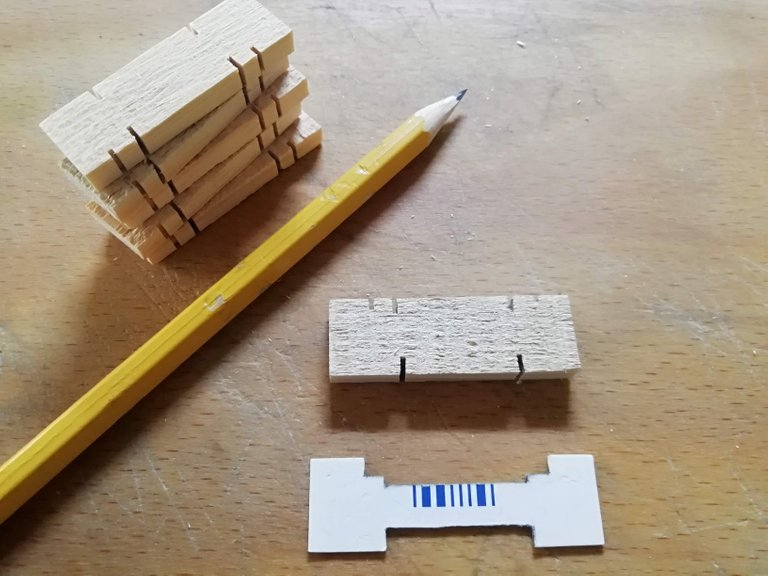
All the pieces...
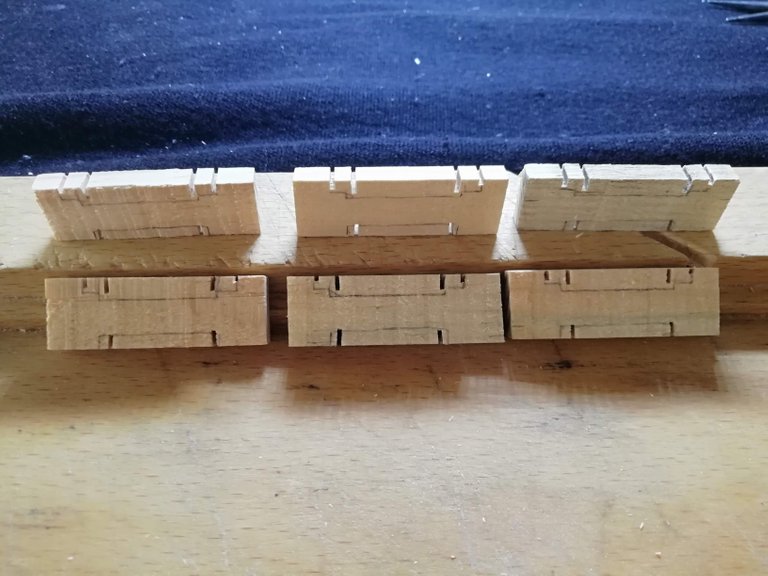
Readying them for the carving, filling and sanding process to come, turning this:

Into this:
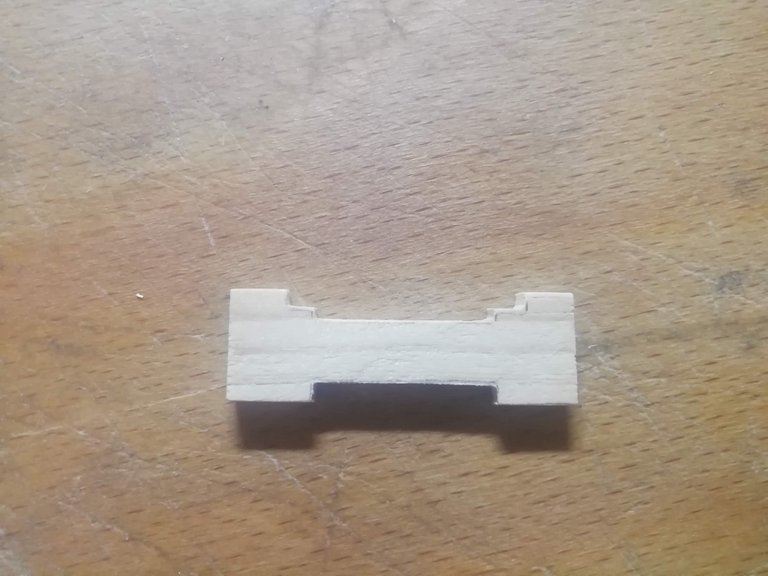
Into this:
I hope you've enjoyed the trip!
I will come back for a next post, where i'll be doing carving, filling and sanding.
And probably i can finish the base, with the ropes and all, but we'll see if the post doesn't become to long!
Please feel free to comment on this kind of post, if you enjoyed it.
Thanks!
Hello @gamemapmaker! This is @indayclara from @ocd (Original Content Decentralized) team. We saw that you already posted your first blog here in Hive! Congratulations and welcome to Hive!
You are talented and creative! That was a detailed tutorial too. However, the best way to start your journey here in Hive is do an awesome introduction post telling us more about your passion and interests. You can choose on whatever information you would like to share and how you got to know about Hive. This will help others be comfortable supporting your works here.
Make sure to share your future blogs in the appropriate Communities or you can check out the Communities Incubation Program.If you are looking for tips and information as a Hive newbie, click here.
Also, letting you know since content on the Hive platform is monetized, using other people’s ideas or images could be considered as an offense and which is also viewed in a serious light on the blockchain. Here is a useful collection of resources about how plagiarism and abuse is viewed and handled on Hive.
If you have questions, you can hop into Discord server and we'll gladly answer your questions. Feel free to tag @lovesniper @indayclara once you have made your awesome introduction post! See you around.
That looks so cool!
This is original content that deserve upvotes.
Upvoted and donated 15000 LASSECASH POWER: https://peakd.com/@gamemapmaker/wallet/hive-engine
/Lasse
thanks, mate!
very much appretiated!
Cool work 😅🍷👌👌👌 now when it is read ... lets drink the rum .
thank you
when it's done, i'll post a toast pic @foxkoit
cool .... I try be ready ;)
Yay! 🤗
Your content has been boosted with Ecency Points, by @ruralio.
Use Ecency daily to boost your growth on platform!
Support Ecency
Vote for new Proposal
Delegate HP and earn more
hi @gamemapmaker
I'm glad you took your first steps into Hive!! The crafts you do are awesome, you're truly talented!! There's no need to add me as beneficiary, i showed you how to post on Hive, but the work is all yours and the rewards should be as well!
Here's some !PIZZA for you, keep those posts coming, i know you got a lot more to share with the Hive community!
PIZZA Holders sent $PIZZA tips in this post's comments:
@ruralio(2/5) tipped @gamemapmaker (x1)
Please vote for pizza.witness!